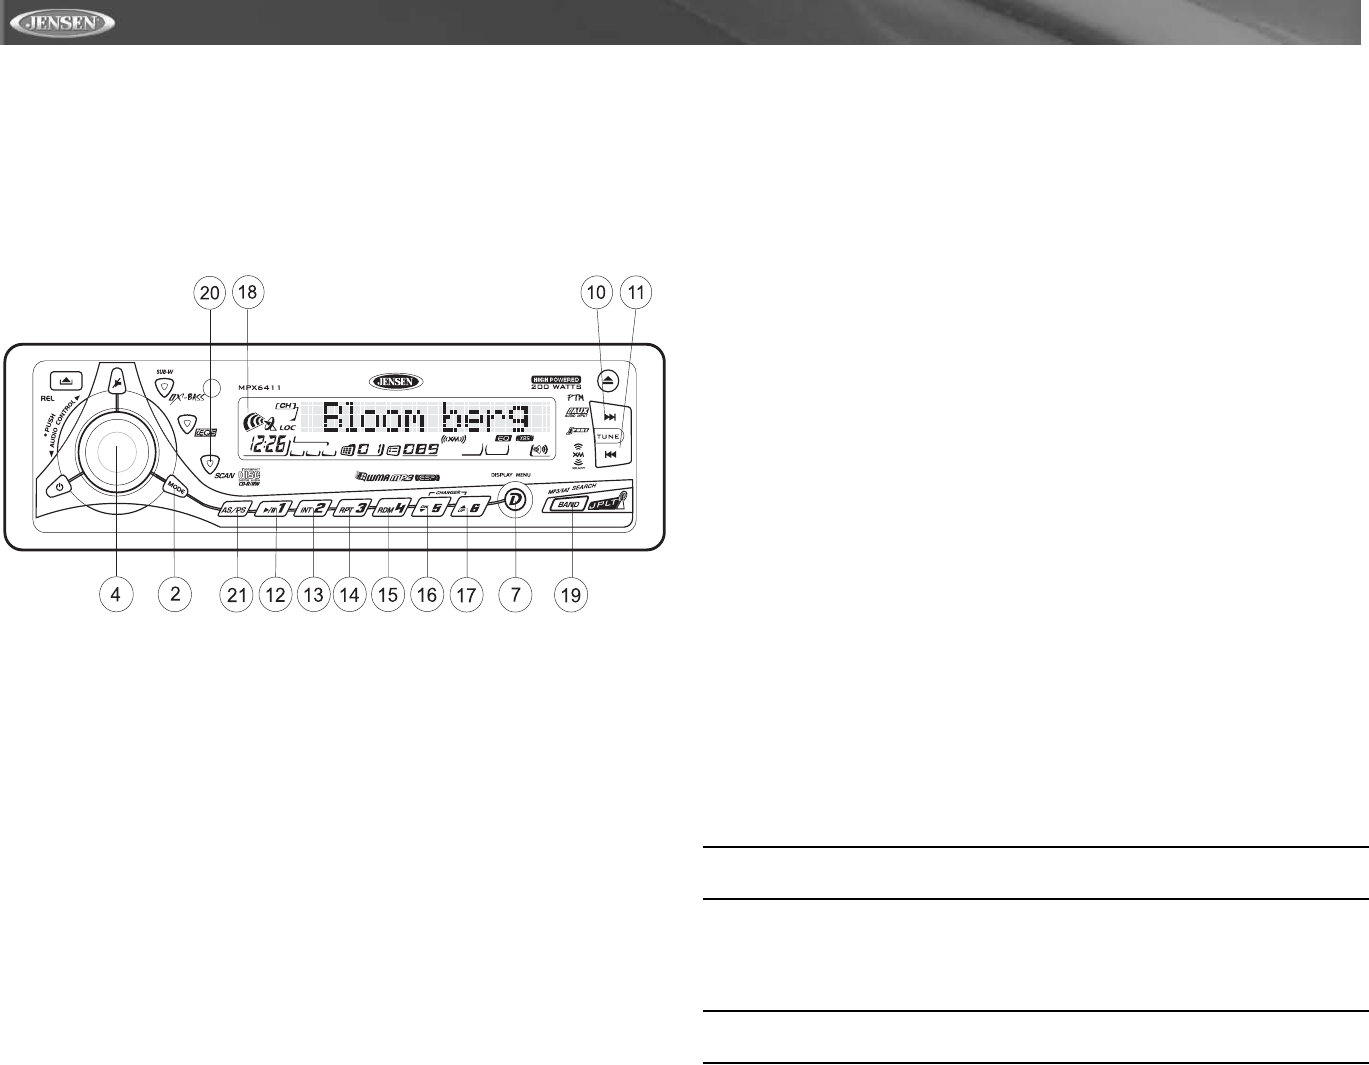
MPX6411
10
XM
®
RADIO OPERATION
Listeners can subscribe to XM
®
Radio on the Web by visiting www.xmradio.com, or by
calling (800) 967-2346. Customers should have their Radio ID ready (see “Displaying the
Identification (ID) Code”). Customers can receive a limited number of free-to-air
channels without activation.
Accessing XM
®
Radio Mode
To switch to XM
®
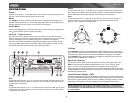
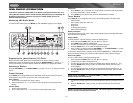
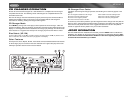
Radio mode, press MODE (2) until “XM RADIO” appears on the display.
Displaying the Identification (ID) Code
Before you listen to XM
®
Radio, you must subscribe to the service using your radio’s
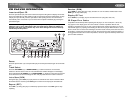
identification number. To display the radio ID, press the DOWN TUNING (|<<) button (11) to
access channel 000. The screen displays “RADIO ID” followed by an 8-figure ID number.
Selecting a Station
Press the UP TUNING (>>|) or DOWN TUNING (|<<) button (10 and 11) to change to another
station.
Preset Stations
Press BAND (19) to change between three XM
®
Radio bands. Each band stores up to six
preset stations. You can store and recall a total of 18 preset stations.
Store a Station
1. Select a band (if needed), then select a station.
2. Hold a preset button (12 – 17) for three seconds. The preset number appears in the
display.
Recall a Station
1. Select a band (if needed).
2. Press a preset button (12 – 17) to select the corresponding stored station.
Preset Scan
1. Press AS/PS (21) for < 3 seconds. The unit pauses for 5 seconds at each preset station
for all three bands (XM-1, XM-2, and XM-3).
2. Press AS/PS again to stop scanning when the desired station is reached.
Tuner Modes
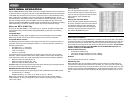
Press DISPLAY (7) to change the tuner mode to the following options in the order listed.
• Channel Name
• Genre (News, Sports, Hits, Kids, etc.)
• Artist name
• Song Name
• 11 Bar Spectrum Indicator
• PTM (Animated Message)
Display Information
If the selected channel name, artist, or title exceeds eight characters, the display information
will scroll twice upon selection.
Category Mode
To select stations in a specific category, perform the following steps.
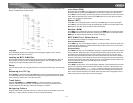
1. Press and hold the BAND button (19) until “Direct-T” appears.
2. Press BAND again to display “CATEGORY”.
3. Turn the rotary encoder to move through the available categories.
4. Press the AS/PS button (21) to select the displayed category.
5. Once a category is selected, press the UP TUNING (>>|) or DOWN TUNING (|<<) button
(10 and 11) to select stations in the current category.
To change the category while in category mode, press the AS/PS button. “CATEGORY” will
flash in the display, allowing you to use the 5 and 6 buttons to select a different category.
Direct Tuning Mode
To enter a station directly, perform the following steps.
1. Press and hold the BAND button (19) until “Direct-T” appears.
2. Turn the rotary encoder to display XM CH 0 _ _.
3. Turn the rotary encoder again to select the first digit of the desired channel (0, 1, or 2).
4. Press the ENTER button (rotary encoder) to enter the first number and move to the
second position.
5. Turn the rotary encoder again to select the second digit of the desired channel (0 - 9).
6. Press the ENTER button (rotary encoder) to enter the second number and move to the
third position.
NOTE: Use the UP TUNING (>>|) or DOWN TUNING (|<<) button (10 and 11) to move
between the first and third positions.
7. Turn the rotary encoder again to select the third digit of the channel you want to tune to (0
- 9).
8. Press the ENTER button (rotary encoder) to enter the third number and access the
channel.
NOTE: If the channel is unauthorized or invalid, “CH Unavail” appears on the LCD and
return to the input interface after 2 seconds.


