


Sheet SKU#011118 Revision 5/21/01SB-GM-BURB/10W3 - JL AUDIO, Inc 2001 • Page 5
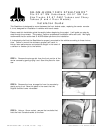
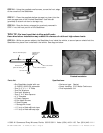
STEP 20: Place the assembled top section of the console onto
the Stealthbox. Align it so that it is flush on all sides.
STEP 21: While pressing down firmly and evenly on the top of
the console, mark the location of the mounting holes for all four of
the "L" brackets with a marker or felt tip pen. The lower hole in
each bracket should be used for mounting. The upper hole in each
bracket is unused.
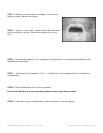
IT IS EXTREMELY IMPORTANT THAT YOU PRE-DRILL THESE HOLES! If the holes are not
pre-drilled the fiberglass may crack and the warranty on the Stealthbox WILL BE VOID.
STEP 22: Using a 1/16" drill bit, pre-drill the screw holes you
marked in STEP 22. The holes should be 3/4" deep.
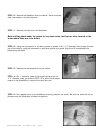
STEP 23: Mount the top section of the console to the Stealthbox
using four of the supplied pan head screws. Do not overtighten
the screws! We recommend installing these screws by hand to
lessen the chance of stripping the fiberglass.
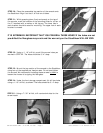
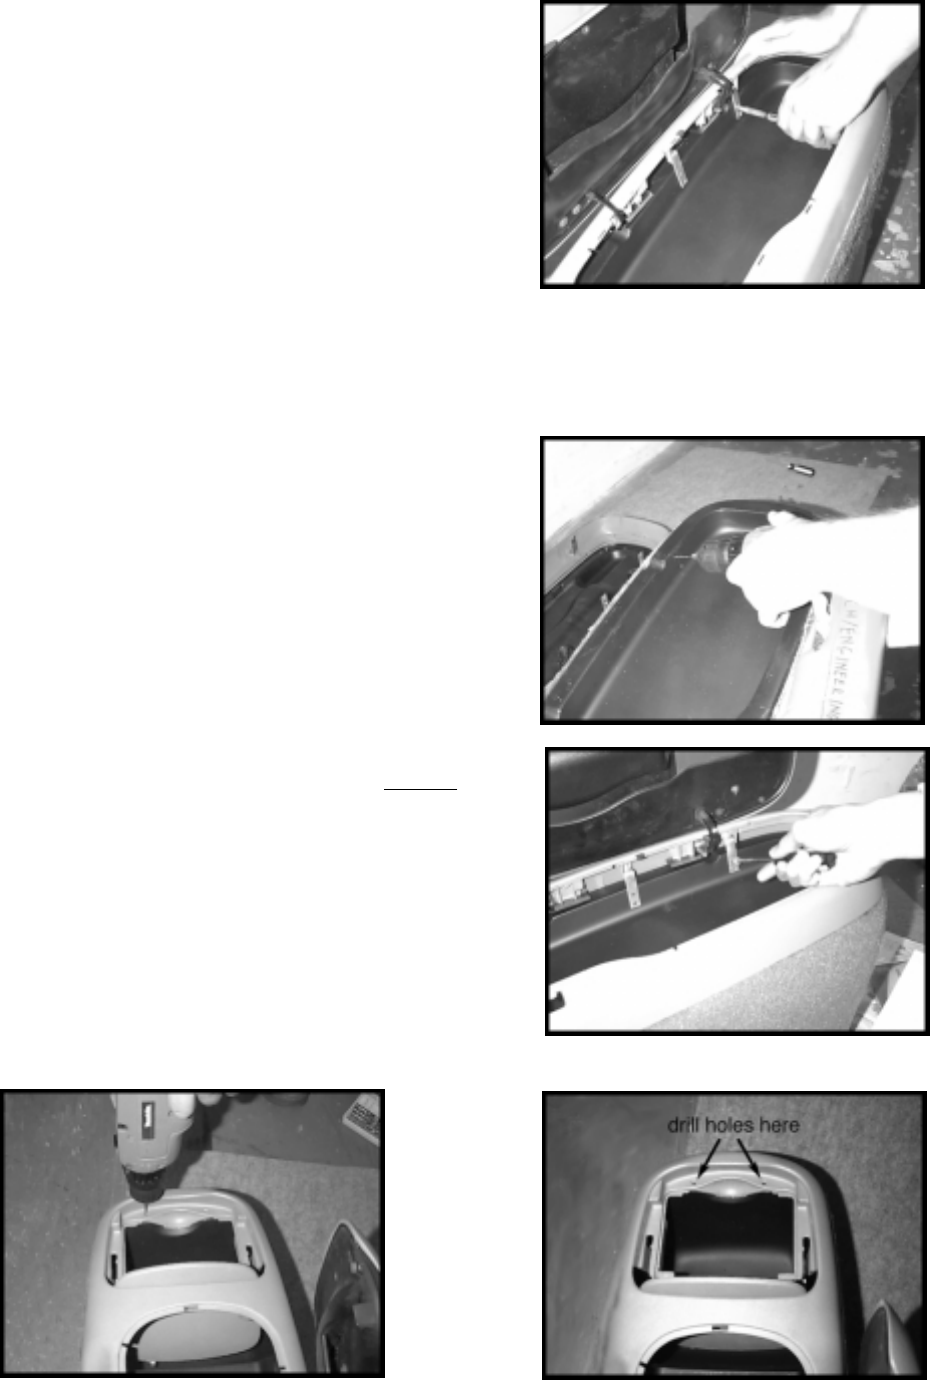
STEP 24: Under the front storage compartment lid, drill two holes
using a 1/16" drill bit, as shown. The holes should be 3/4" deep.
STEP 25: Using a 7/32" drill bit, drill countersink slots for the
screw heads.