


Sheet SKU#011118 Revision 5/21/01SB-GM-BURB/10W3 - JL AUDIO, Inc 2001 • Page 6
10369 N. Commerce Pkwy, Miramar, Florida 33025-3921 Voice: (954) 443-1100 Fax: (954) 443-1111
Finished Installation
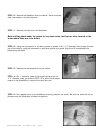
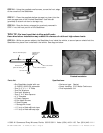
STEP 27: Place the supplied shallow storage tray insert into the
main storage area of the finished Stealthbox. Use Velcro®
(provided) to attach coin box to storage tray.
STEP 28: Snap the factory storage bin previously removed in
STEP 1 into the front portion of the Stealthbox.
TECH TIP: We have found that stuffing polyfill under
these bins before installation may reduce the chances of rattles at high volume levels.
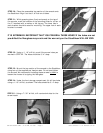
STEP 29: While one person adjusts the Stealthbox from inside the vehicle, a second person should bolt the
Stealthbox into place from underneath the vehicle. See diagram below:
3/8" Bolt
Split Lock Washer
Flat Washer
Car's Sheet Metal
Enclosure Wall (fiberglass)
Threaded Insert
Molded into
Enclosure
Bead of Silicone Sealant
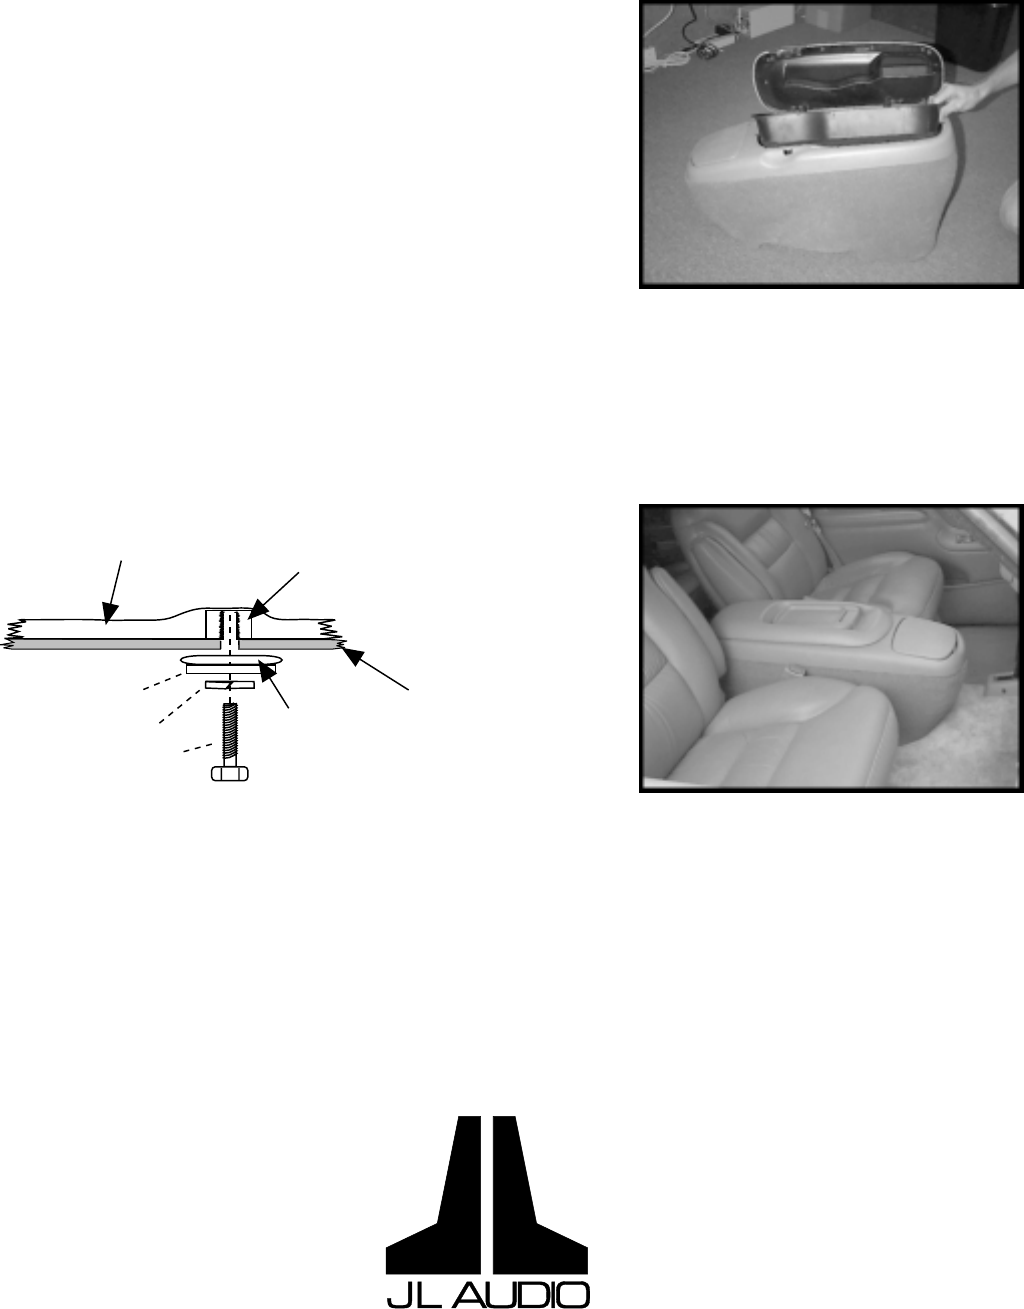
STEP 26: Using the supplied small screws, screw the front edge
of the console to the Stealthbox.
Specifications:
•Enclosure type: Sealed
•Power handling: 250 Watts Continuous
•Final Impedance: 3Ω
Parts list:
•One Stealthbox loaded with one
JL AUDIO 10W3-D6 subwoofer
•Two 3/8" X 1 1/2" Bolts
•Two Flat Washers
•Two Lock Washers
•Two 4" X 4" Wax Squares
•4 "L" Brackets
•2 Plastic Spacers
•8 Pan Head Screws
•2 Small Screws
•1 Storage Bin Insert
•1 2" strip of Velcro® hook tape
•1 2" strip of Velcro® loop tape