


13
E
N
G
L
I
S
H
14
E
N
G
L
I
S
H
2524
CQ-C1200U/C1120U/C1110U/C1100U CQ-C1200U/C1120U/C1110U/C1100U
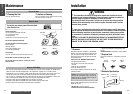
❐ Cleaning this Unit
Use a dry, soft cloth to wipe.
❐ Caution on Cleaning
Never use solvents such as benzine, thinner as they
may mar the surface of the unit.
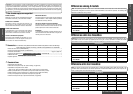
Label side
<Right> <Wrong>
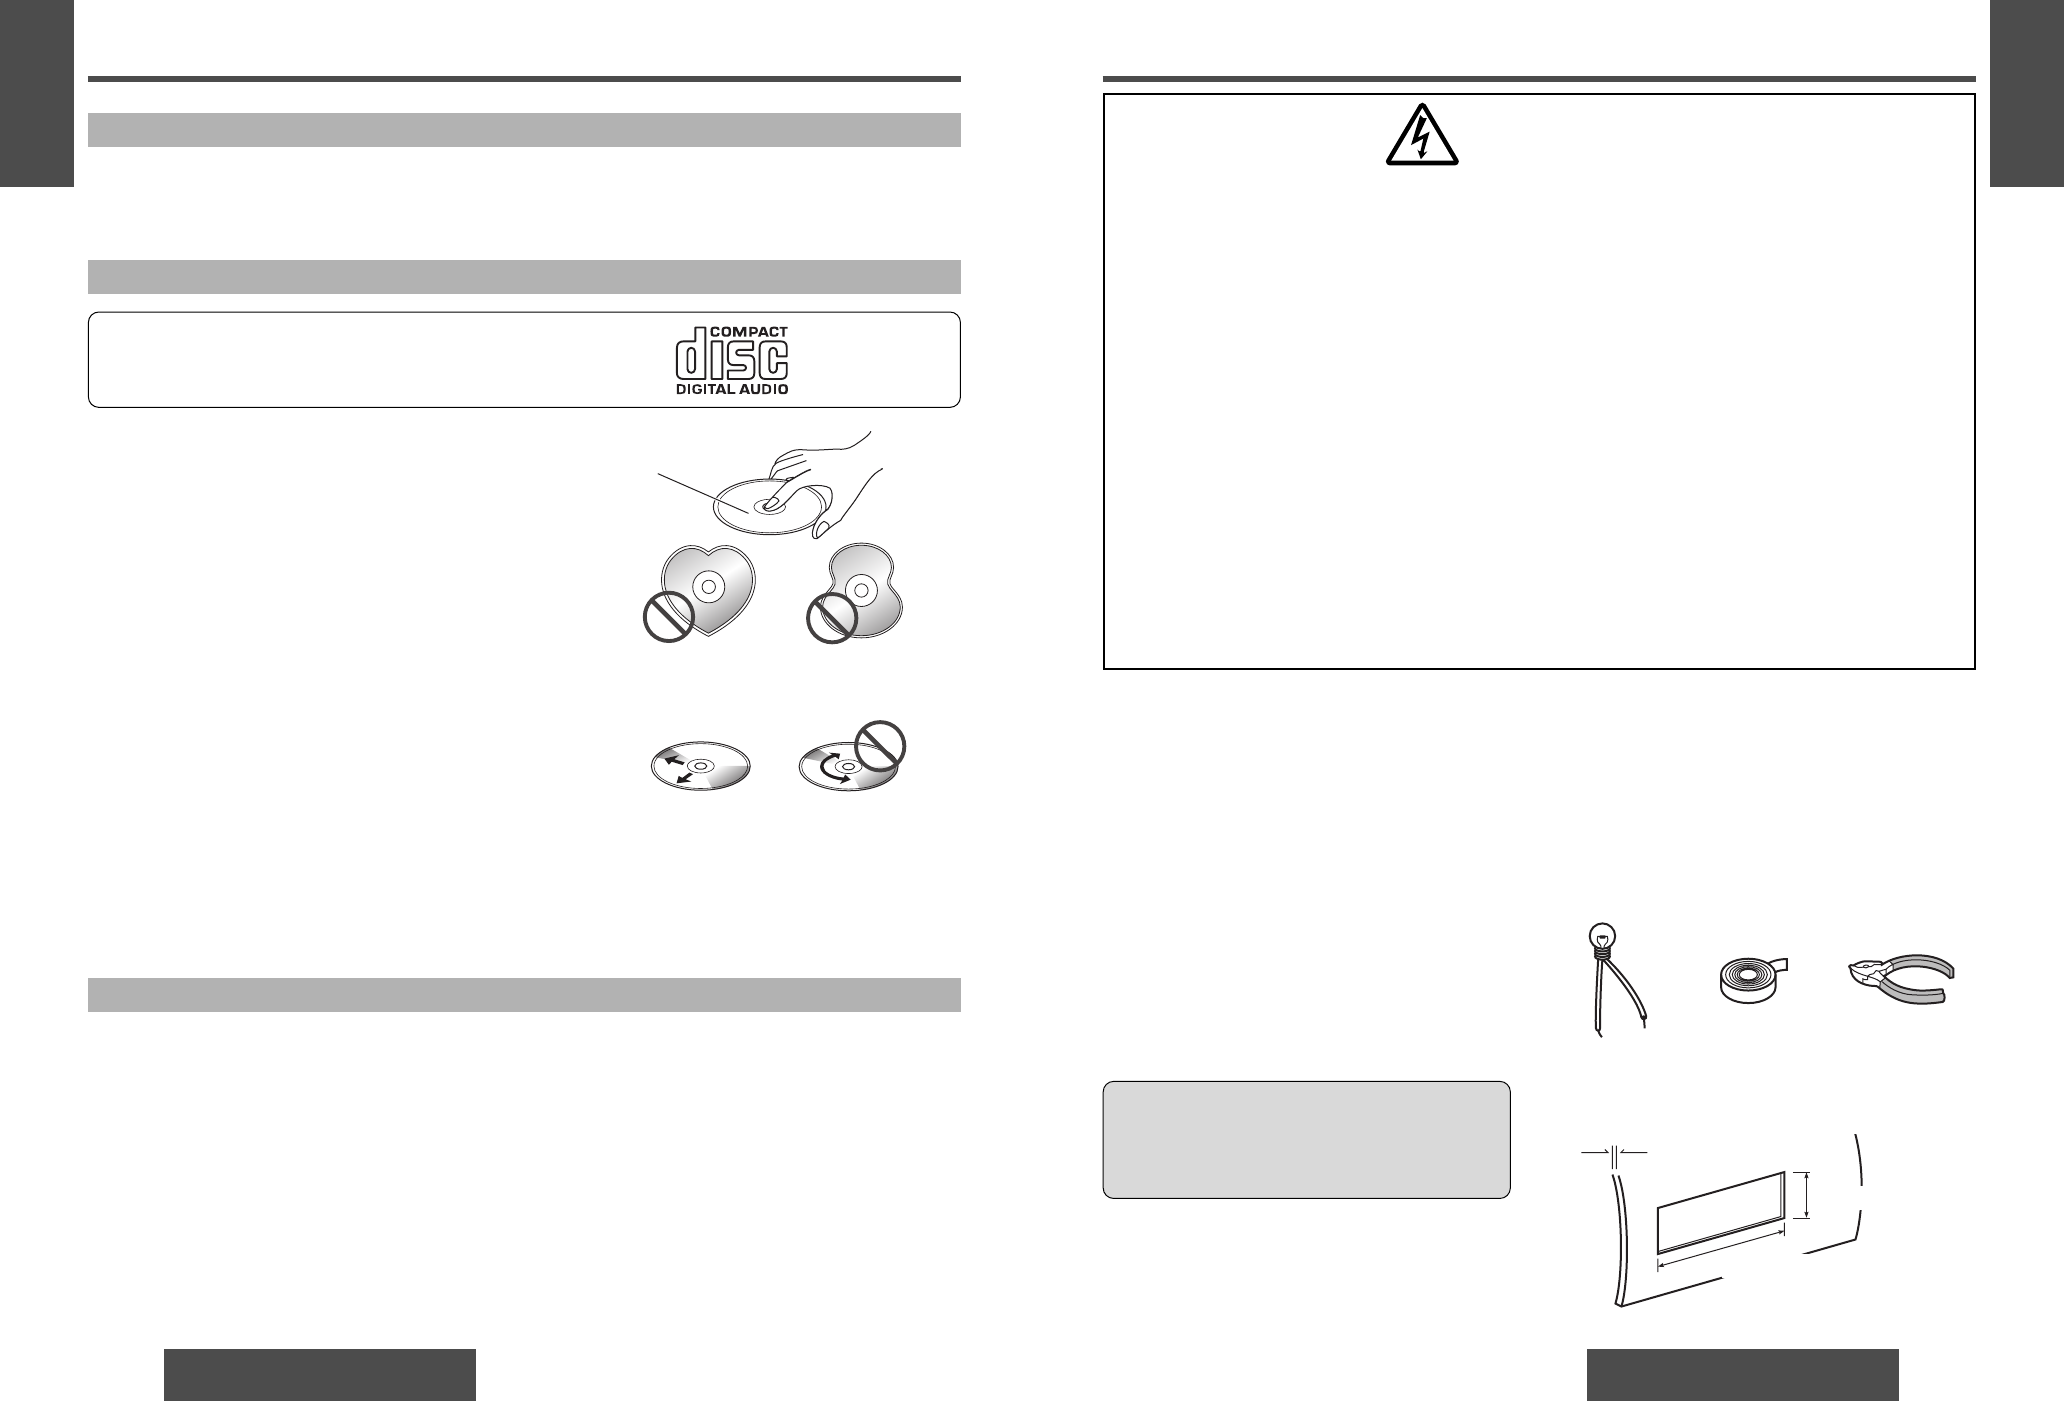
Do not use irregularly shaped discs.
How to hold the disc
• Do not touch the underside of the disc.
• Do not scratch the discs.
• Do not bend disc.
• When not in use, keep the disc in the case.
Do not use irregularly shaped discs.
Do not leave discs in the following places:
• Direct sunlight
•Near car heaters
• Dirty, dusty and damp areas
• On seats and dashboards
Disc cleaning
Use a dry, soft cloth to wipe from the center outward.
Do not attach any seals or labels to your discs.
Do not write on the disc label in a heavy pen or ball-
point pen stroke.
Notes on discs
Do not play any ordinary music CDs with labels
other than this one.
Notes on CD-Rs/RWs
•You may have trouble playing back some CD-R/RW discs recorded on CD recorders (CD-R/RW drives),
either due to their recording characteristics or dirt, fingerprints, scratches, etc. on the disc surface.
• CD-R/RW discs are less resistant to high temperatures and high humidity than ordinary music CDs.
Leaving them inside a car for extended periods may damage them and make playback impossible.
• The unit may not successfully play back a CD-R/RW that was made by the combination of writing soft-
ware, a CD recorder (CD-R/RW drive) and a disc if they are incompatible one another.
• This player cannot play the CD-R/RW discs if the session is not closed.
• This player cannot play the CD-R/RW discs which contains other than CD-DA data.
• Be sure to observe the instructions of CD-R/RW disc for handling it.
Care of the Unit
Maintenance Installation
WARNING
❐ This installation information is designed for experienced installers and is not
intended for non-technical individuals. It does not contain warnings or cautions of
potential dangers involved in attempting to install this product.
Any attempt to install this product in a motor car by anyone other than a qualified
installer could cause damage to the electrical system and could result in serious
personal injury or death.
❐ If your car is equipped with air bag and/or anti-theft systems, specific procedures
may be required for connection and disconnection of the battery to install this product.
Before attempting installation of this electronic component, contact your car dealer
or manufacturer to determine the required procedure and strictly follow their instruc-
tions.
FAILURE TO FOLLOW THE PROCEDURE MAY RESULT IN THE UNINTENDED DEPLOY-
MENT OF AIR BAGS OR ACTIVATION OF THE ANTI-THEFT SYSTEM RESULTING IN
DAMAGE TO THE VEHICLE AND PERSONAL INJURY.
Caution: This unit operates with a 12 V DC neg-
ative ground auto battery system only. Do not
attempt to use it in any other system. Doing so
could cause serious damage.
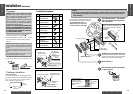
Min.
3
⁄
16
" (4.75 mm)
Max.
7
⁄
32
" (5.56 mm)
2
3
⁄
32
" (53 mm)
7
5
⁄
32
" (182 mm)
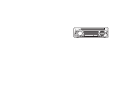
Thickness
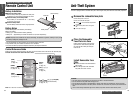
❐ Overview
This product should be installed by a professional.
However, if you plan to install this product yourself,
your first step is to decide where to install it. The
instructions in these pages will guide you through
the remaining steps:
(Please refer to the “WARNING” statement above.)
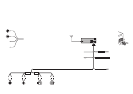
• Identify and label the car wires.
• Connect the car wires to the wires of the power
connector.
• Install the unit in the dashboard.
• Check the operation of the unit.
If you encounter problems, please consult your nearest
professional installer.
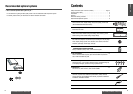
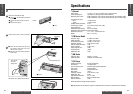
Before you begin installation, look for the items which are
packed with your unit.
• Warranty Card…Fill this out promptly.
• Panasonic Servicenter List for Service Directory
…Keep for future reference in case the product needs
servicing.
• Installation Hardware…Needed for in-dash installation.
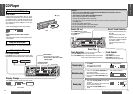
❐ Required Tools
You’ll need a screwdriver, a 1.5 V AA battery, and the fol-
lowing:
❐ Dashboard Specifications
12 V DC
Test bulb
Electrical
tape
Side-cut
pliers