Adjusting initial settings
1
Initial settings lets you perform initial set up of
different settings for this unit.
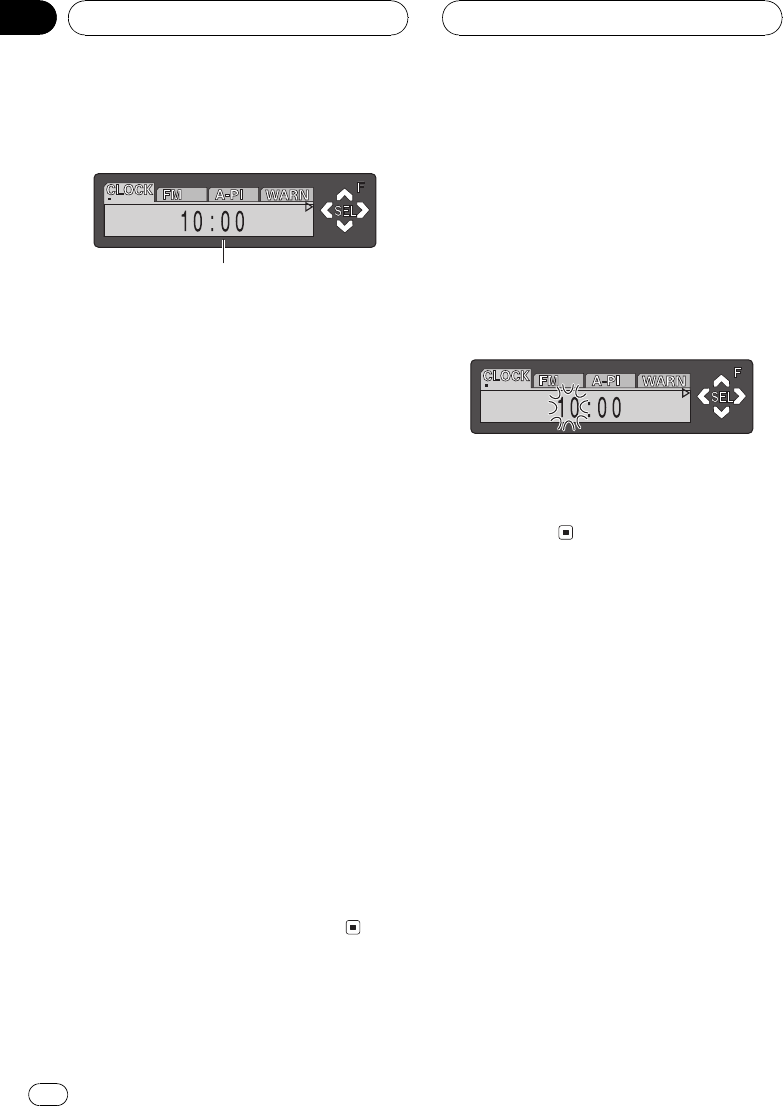
1 Function display
Shows the function status.
1 Press SOURCE and hold until the unit
turns off.
2 Press FUNCTION and hold until the
clock appears in the display.
3 Press FUNCTION to select one of the in-
itial settings.
Press FUNCTION repeatedly to switch be-
tween the following settings:
ClockFM Step (FM tuning step)Auto PI
(auto PI seek)Warning (warning tone)
AUX (auxiliary input)Dimmer (dimmer)
Brightness (brightness)ILLUMI (illumina-
tion color)REAR SP (rear output and sub-
woofer controller)Hands-Free (handsfree
telephoning)Telephone (telephone muting/
attenuation)/TELstandby (telephone standby)
Motion (motion screen)
Use the following instructions to operate each
particular setting.
# To cancel initial settings, press BAND.
# You can also cancel initial settings by holding
down FUNCTION until the unit turns off.
Setting the clock
Use these instructions to set the clock.
1 Press FUNCTION to select clock.
Press FUNCTION repeatedly until clock ap-
pears in the display.
2 Press c or d to select the segment of
the clock display you wish to set.
Pressing c or d will select one segment of the
clock display:
HourMinute
As you select segments of the clock display
the segment selected will blink.
3 Press a or b to set the clock.
Pressing a will increase the selected hour or
minute. Pressing b will decrease the selected
hour or minute.
Setting the FM tuning step
Normally the FM tuning step employed by
seek tuning is 50 kHz. When AF or TA is on,
the tuning step automatically changes to 100
kHz. It may be preferable to set the tuning step
to 50 kHz when AF is on.
1 Press FUNCTION to select FM Step.
Press FUNCTION repeatedly until FM Step ap-
pears in the display.
2 Press c or d to select the FM tuning
step.
Pressing c or d will switch the FM tuning
step between 50 kHz and 100 kHz while AF or
TA is on. The selected FM tuning step will ap-
pear in the display.
Initial Settings
En
44
Section
10


