


9
10
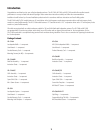
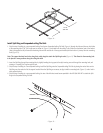
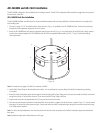
Install Split Ring and Suspended-ceiling Tile Rails
1.
Skip this step if installing in a non-suspended ceiling.
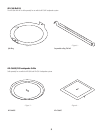
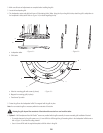
Pass the two Suspended-ceiling Tile Rails (Figure 6) through the hole and place on both sides
of the mounting hole 15.16" (395 mm) apart, as shown in (Figure 12) and install onto the ceiling T-rails. Make sure the bottom part of the bracket
(that is flat against the tile) is toward the mounting hole and the vertical rail of the support bracket (with the holes in it) is away from the mounting
hole (Figure 13).
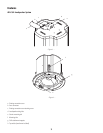
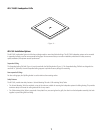
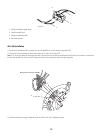
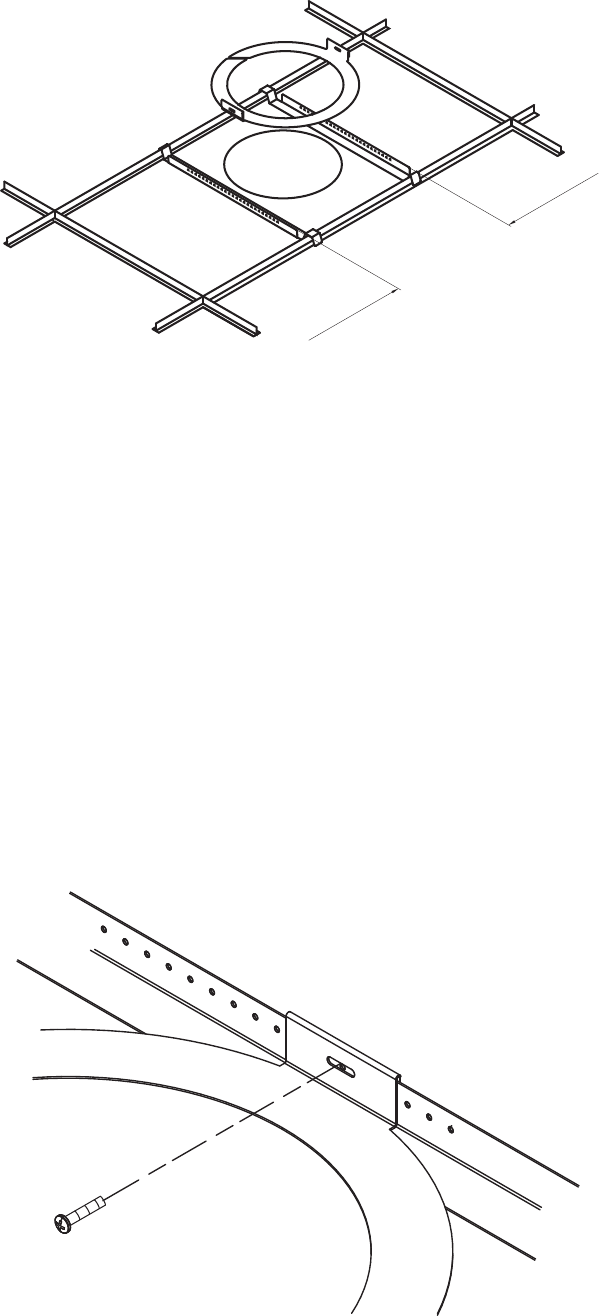
Note: The support brackets have holes along their usable length to attach the Split Ring bracket (Figure 13). This allows for the mounting hole
to be placed in many positions along the ceiling tile width.
2. Insert the Split Ring through the mounting hole by slightly bending the ring apart at the split, inserting one end through the mounting hole, and
rotating or “screwing” the ring through the hole.
3.
Skip this step if installing in a non-suspended ceiling.
Install the Split Ring onto the Suspended-ceiling Tile Rails by placing the vertical slots on the
Split Ring over the vertical rail of the support bracket. Move the Split Ring as necessary to align it with the mounting hole (Figure 13) and a hole in
each support bracket.
4.
Skip this step if installing in a non-suspended ceiling.
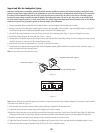
Use two of the M4 sheet metal screws provided in the AD-C800 RAIL KIT to attach the Split
Ring to the Suspended-ceiling Tile Rails.
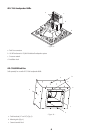
– Figure 12 –
– Figure 13 –
15.16"
395 mm