Clock Adjustment Réglage de l’horloge
ENGLISH FRANÇAIS
20
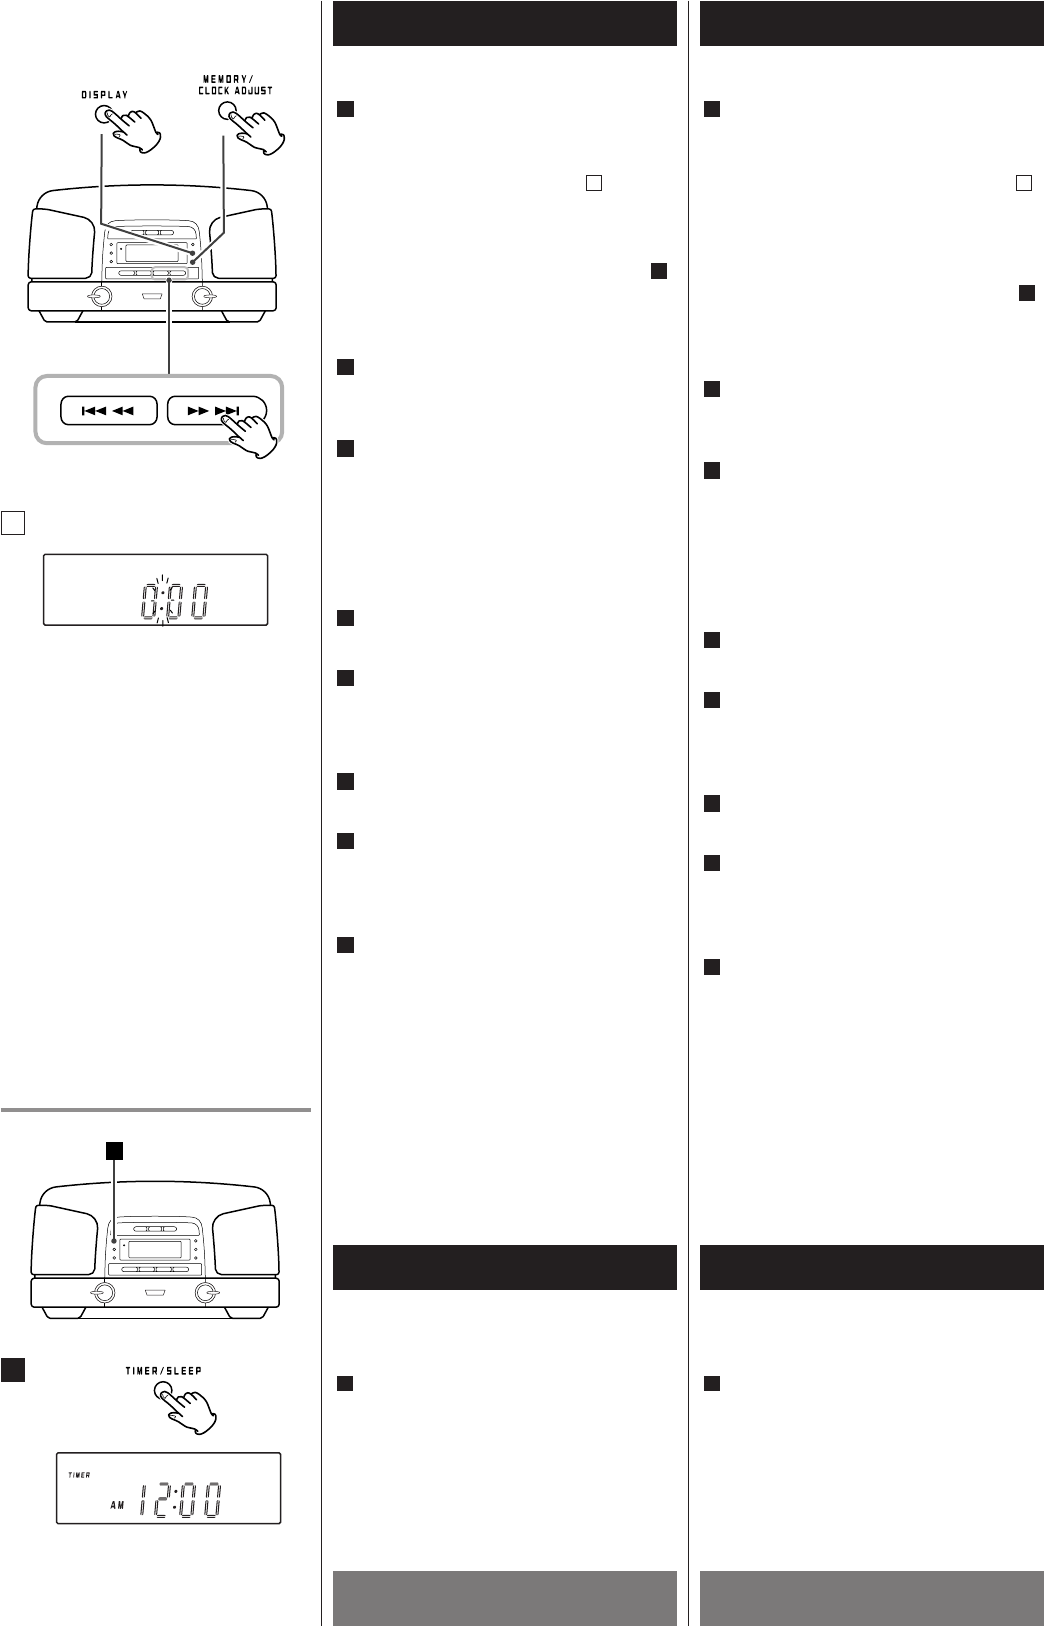
En mode de CD ou de TUNER, appuyez
sur la touche DISPLAY pour choisir
l’affichage de l’horloge
.
“:” clignote dans l’afficheur de l’horloge. ( )
< Si la touche AUX est sélectionnée ou si
l’appareil est mis hors tension, maintenez
pressée la touche MEMORY/CLOCK
ADJUST pendant 2 secondes ou plus et
continuez la procédure à partir de l’étape .
<
Appuyez sur la touche STOP pour annuler
le réglage de l’heure. (En mode de
TUNER, appuyez sur la touche DISPLAY.)
En dedans de 4 secondes, appuyez et
retenir la touche MEMORY/
CLOCK ADJUST pour 2 secondes ou plus.
Appuyez sur la touche .m
ou
,/
pour choisir “12H” ou “24H”.
Si vous choisisez “12H”, le témoin “AM”
s’allume pour le matin et le témoin “PM”
s’allume pour l’après-midi.
<
En mode de TUNER, utilisez la commande
TUNER.
Appuyez sur la touche MEMORY/CLOCK
ADJUST.
Appuyez sur la touche .m
ou
,/
pour régler l’heure.
<
En mode de TUNER, utilisez la commande
TUNER.
Appuyez sur la touche MEMORY/CLOCK
ADJUST.
Appuyez sur la touche .m
ou
,/
pour régler les minutes.
<
En mode de TUNER, utilisez la commande
TUNER.
Appuyez sur la touche MEMORY/CLOCK
ADJUST pour finir le réglage de l’horloge.
L'horloge démarre à 00 seconde.
<
Si l’appareil est débranché pour plus de 3
minutes, l’horloge et la minuterie devront
être régler de nouveau.
<
Si l’appareil est débranché pour moins de
3 minutes, il est possible que l’heure
affichée est inexacte.
8
7
6
5
4
3
2
3
A
1
In the CD mode or the TUNER mode,
press the DISPLAY button to select clock
display.
":" blinks in the clock display. ( )
<
If the AUX button is selected or the unit is
off, press and hold the MEMORY/CLOCK
ADJUST button for 2 or more seconds,
and continue the procedure from step .
<
Press the STOP button to cancel the time
setting. (In the TUNER mode, press the
DISPLAY button.)
Within 4 seconds, press and hold the
MEMORY/CLOCK ADJUST button for 2 or
more seconds.
Press the .m
or ,/ button
to select "12H" or "24H".
If you select "12H", "AM" indicator
appears in the morning and "PM"
indicator appears after noon.
<
In the TUNER mode, use the TUNING
knob.
Press the MEMORY/CLOCK ADJUST
button.
Press the .m
or,/ button to
set the current hour.
<
In the TUNER mode, use the TUNING
knob.
Press the MEMORY/CLOCK ADJUST
button.
Press the .m
or,/ button to
set the current minute.
<
In the TUNER mode, use the TUNING
knob.
Press the MEMORY/CLOCK ADJUST
button to finish the time setting mode.
The clock starts from 00 second.
<
If the unit is disconnected from the power
supply for more than 3 minutes, the clock
and timer setting will be reset.
<
If the unit is disconnected for less than 3
minutes the time displayed may not be
correct.
8
7
6
5
4
3
2
3
A
1
A
Adjust the clock before setting the timer.
Setting the timer
Press the DISPLAY button to change the
timer mode. (In the CD mode or the
TUNER mode, press the button twice)
The "TIMER" indicator blinks on the display.
Press the TIMER button to change the timer
mode, when using the remote control unit.
1
Timer 1 Minuterie 1
Régler l’horloge avant de régler la minuterie
Réglage de la minuterie
Appuyer sur la touche DISPLAY pour
changer le mode de minuterie. (En mode
de CD ou de TUNER, appuyez sur la
touche deux fois)
Le témoin “TIMER” clignote.
Appuyez sur la touche TIMER pour
changer le mode de miuterie, quand vous
utilisez la télécommande.
1
1
1


