English English
6 © Titan Tool Inc. All rights reserved.
Painting
The MultiFinish spray system has two dierent painting modes. The
MultiFinish mode is used for ne nish work with low to medium
viscosity materials (oil, stains, lacquers, etc...). The airless mode is
used for general painting with high viscosity materials (latex).
Painting in MultiFinish Mode
Use the MultiFinish mode for low-pressure ne nish work
(recommended pump pressure up to 1000 PSI).
1. Make sure that the airless spray hose is free of kinks and clear
of objects with sharp cutting edges.
2. Make sure the pressure control knob is in its OFF position in
the white zone.
3. Turn the compressor air pressure regulator counterclockwise
to its lowest setting.
4. Move the compressor ON/OFF switch to the ON position.
Air pressure
regulator
Compressor
ON/OFF switch
5. Move the pump ON/OFF switch to the ON position.
6. Turn the PRIME/SPRAY valve to SPRAY.
7. Turn the pressure control knob clockwise until the material
pressure gauge reads 400 PSI. The paint hose should stien as
paint begins to ow through it.
8. Turn the air pressure regulator clockwise until the air pressure
gauge reads 20 PSI.
9. Unlock the spray gun trigger.
10. Trigger the spray gun to bleed air out of the material hose.
11. When material reaches the spray tip, spray a test area to check
the spray pattern.
12. Adjust the spray pattern to the desired size and atomization.
a. Use the pressure control knob to control the ow of paint to
the gun.
b. Use the air pressure regulator to control the amount of
atomization air available to the gun.
c. Use the pattern adjustment knob on the gun to ne tune the
spray pattern.
NOTE: Refer to the spray gun Owner’s Manual for
information on the operation of the gun.
Painting in Airless Mode
Use the airless mode for general high-pressure spraying (pump
pressure from 500 to 3300 PSI).
1. Make sure that the airless spray hose is free of kinks and clear
of objects with sharp cutting edges.
2. Make sure the pressure control knob is in its OFF position in
the white zone.
3. Turn the PRIME/SPRAY valve to SPRAY.
4. Move the pump ON/OFF switch to the ON position.
5. Turn the pressure control knob clockwise to its highest
setting. The paint hose should stien as paint begins to ow
through it.
6. Unlock the spray gun trigger.
7. Trigger the spray gun to bleed air out of the material hose.
8. When material reaches the spray tip, spray a test area to check
the spray pattern.
9. Use the lowest pressure setting necessary to get a good spray
pattern. If the pressure is set too high, the spray pattern will
be too light. If the pressure is set too low, tailing will appear
or the paint will spatter out in “gobs” rather than in a ne
spray.
Good spray pattern
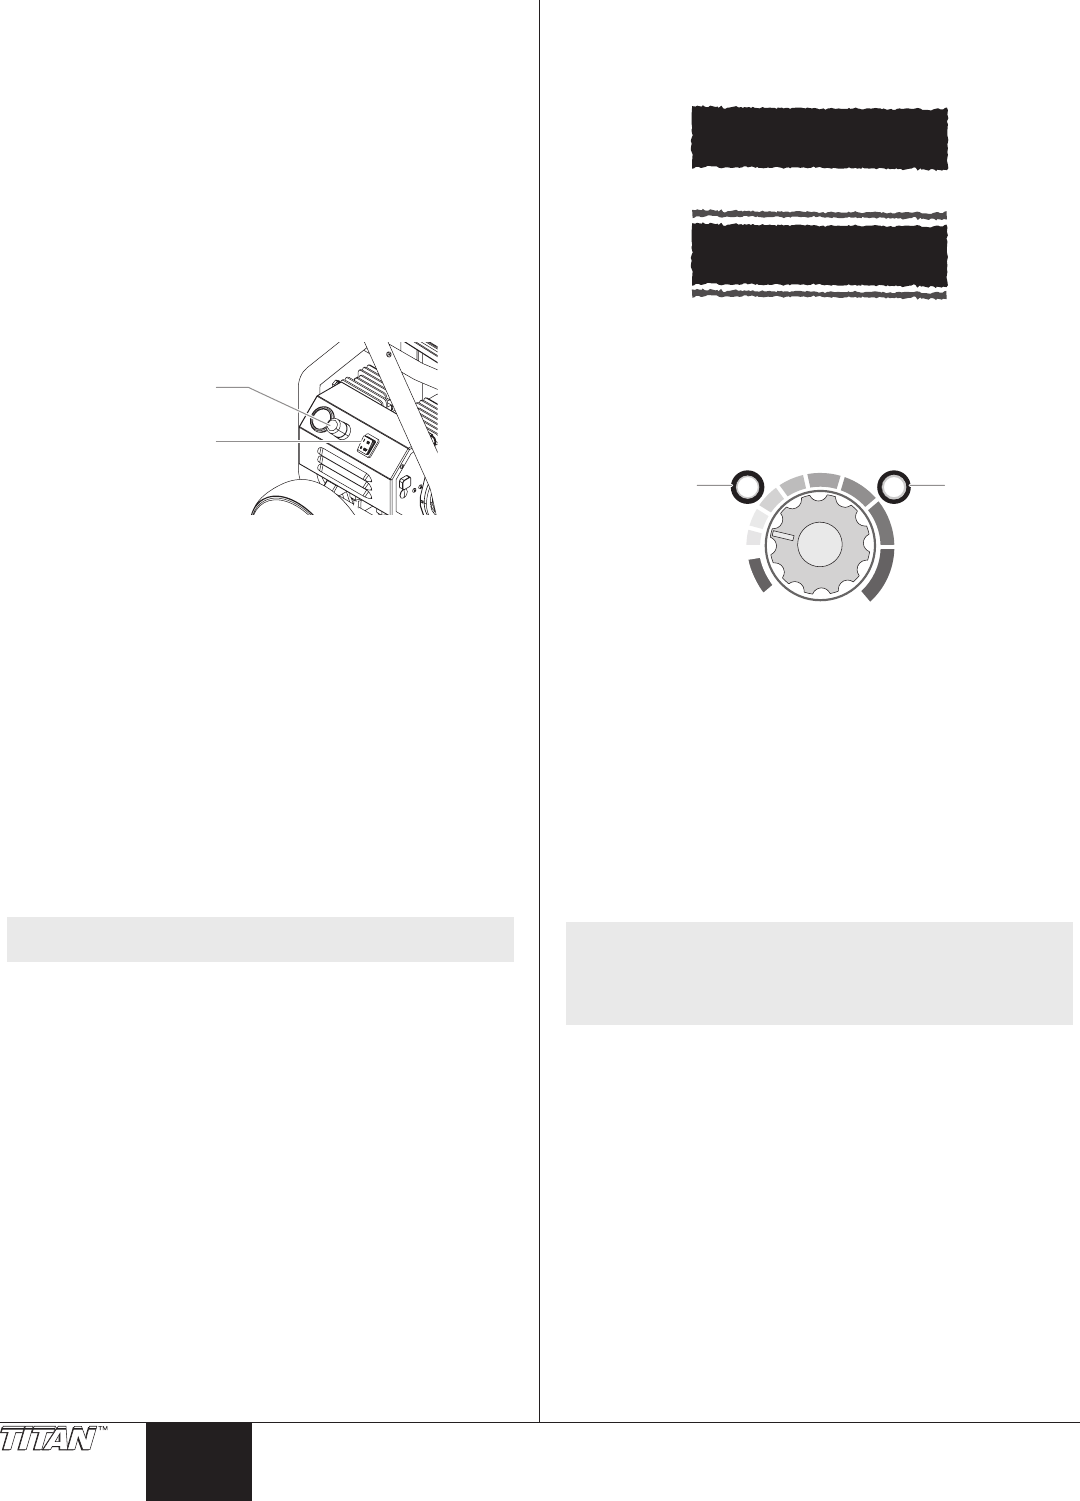
Control Panel Indicators
The following is a description of the control panel indicators.
Motor
Running
ISP 002-0 —Blinking Yellow
ETSISSA RIA D—Solid Yellow
AIRLESS— Solid Green
MIN
PSI (Bar)
MAX
PSI (Bar)
RAPID
Pressure
Indicato
Motor
Running
r
Pressure Indicator
The pressure indicator shows the current operating pressure of the
sprayer. It has three dierent indications: blinking yellow, solid
yellow, and solid green.
Blinking Yellow
When the pressure indicator is blinking yellow, the sprayer is
operating between 0 and 200 PSI. A blinking yellow pressure
indicator means:
• The sprayer is plugged in and turned “ON”
• The sprayer is at priming pressure (little or no pressure)
• It is safe to move the PRIME/SPRAY valve between positions
• It is safe to change or replace the spray tip
NOTE: If the pressure indicator begins blinking yellow when
the pressure control knob is set at a higher pressure
and the PRIME/SPRAY valve is in the SPRAY position,
either the spray tip is worn or the sprayer is in need
of service/repair.
Solid Yellow
When the pressure indicator is solid yellow, the sprayer is operating
between 201 and 1900 PSI. A solid yellow pressure indicator means:
• The sprayer is at the proper pressure setting for spraying stain,
lacquer, varnish, multi-colors, and air-assisted
• If the pressure indicator goes to solid yellow when the
pressure is set so that it starts at solid green, it indicates one of
the following:
a. Tip Wear Indicator — when spraying with latex or at high
pressure the solid yellow appears. This means the tip is worn
and needs to be replaced.
b. Tip Too Large — when a tip that is too large for the sprayer is
put in the gun, the pressure indicator will turn from solid green
to solid yellow.
c. Fluid Section Wear — if a solid yellow pressure indicator
appears when using a new tip and the pressure is set at
maximum, service may be required (worn packings, worn
piston, stuck valve, etc...).


