8
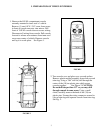
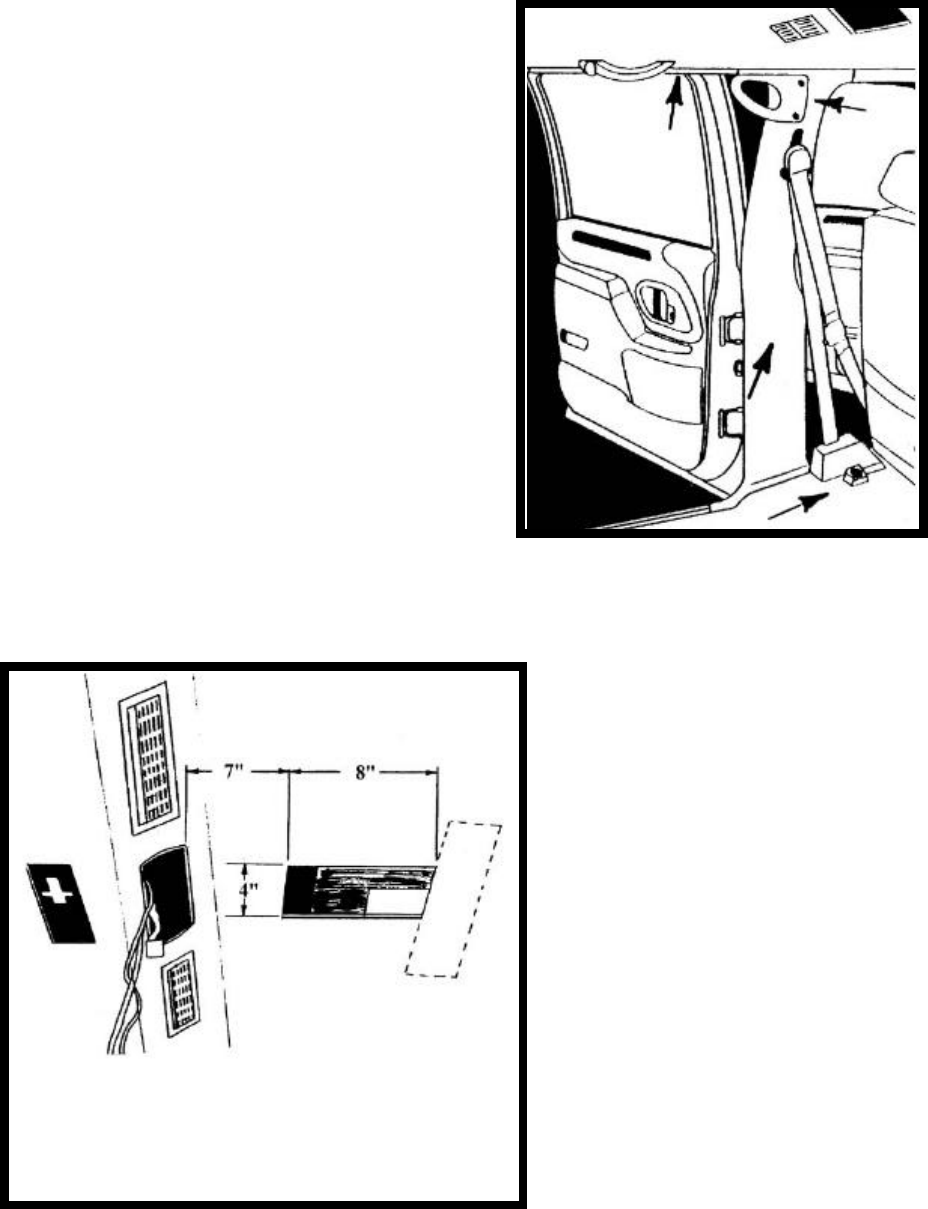
10. Remove and retain the handle which mounts to
top of the “B” pillar.
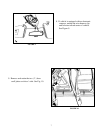
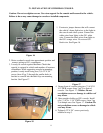
11. Unsnap the cover from upper and lower mounting
bracket for seat belt. Remove and retain TORX
head bolt and bracket. Carefully pull panel away
from side of vehicle. Unsnap upper door trim from
headliner and lay aside. See Figure 11.
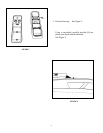
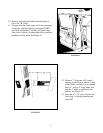
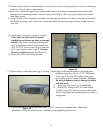
12. Measure 7” from rear A/C control
opening toward rear of vehicle. Using
a razor knife, carefully cut an opening
that is 4” wide x 8” long. Make sure
that the 4” width is centered in the
vehicle. See Figure 12.
13. Insert the 6” x 14” piece of plywood
(item 8 pg 2 ) through opening and
rotate 90°.
FIGURE 11
FIGURE 12


