30
System setup
1. Press the SETUP button on the RC to display the setup screen.
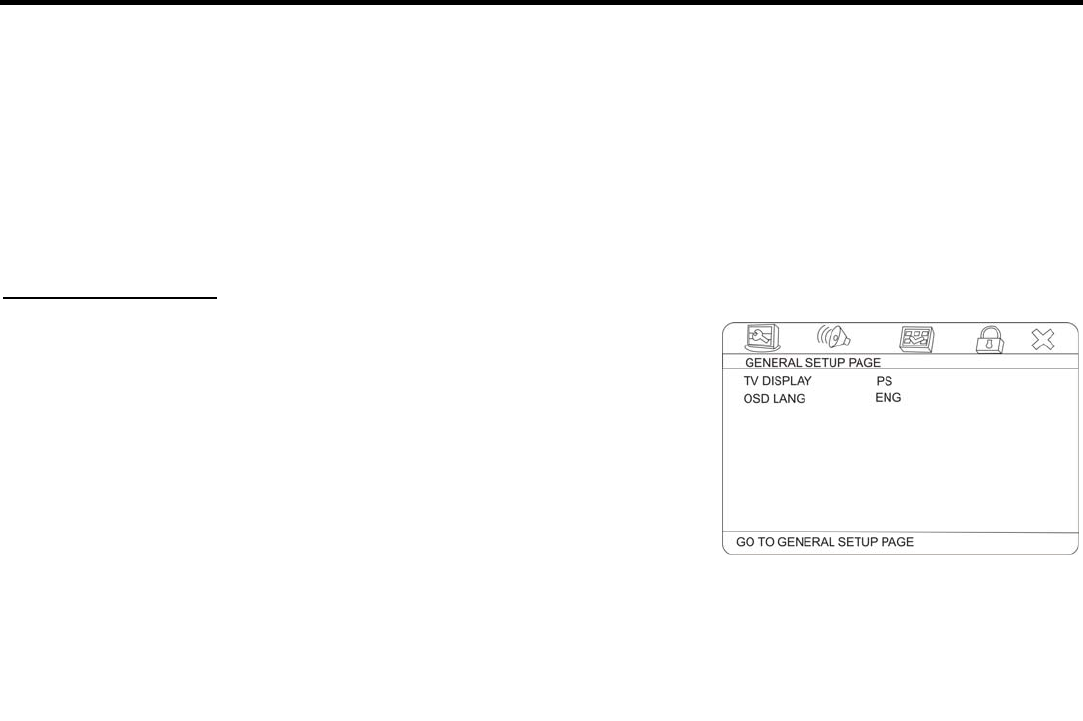
2. Use the ◄/►cursor buttons to select the desired menu: General setup, Audio setup, Video setup,
Preference setup, Password setup, Exit the menu.
3. Press ▼ to enter it.
4. Use the ▲/▼cursor buttons to select the desired setting.
5. Press ► to enter the setting adjustment window.
6. Press the ▲/▼cursor buttons to select the option of the setting and press ENTER to confirm it.
7. Press the ◄ cursor button to return to horizontal menu list.
8. To exit Setup menu select the Exit setup menu.
General setup page
• TV DISPLAY
4:3/PS: When the unit connects to the normal TV set, the wide-
screen image shows on the full screen, but some part is cut off.
4:3/LB: When the unit connects to the normal TV set, the wide-
screen image shows and black bars appear on the top and bottom of
screen.
Wide: Use this item when the unit is connected with the wide screen
TV set.
Wide squeeze: Use this item to widen the image to TV screen width.
Note: No matter which display format is selected a picture recorded in standard 4:3 format always displays
in the 4:3 aspect ratio. The display format of DVD titles may vary; refer to the information that
accompanies your specific DVD title. If the DVD title is recorded in 16:9 wide display format while the
TV is a standard 4:3 screen, horizontal compression of the image will result.
