ENGLISH
Start: 1-bit
Data: 8-bit
Parity: 0 (no Parity)
Stop: 1-bit
Commandn
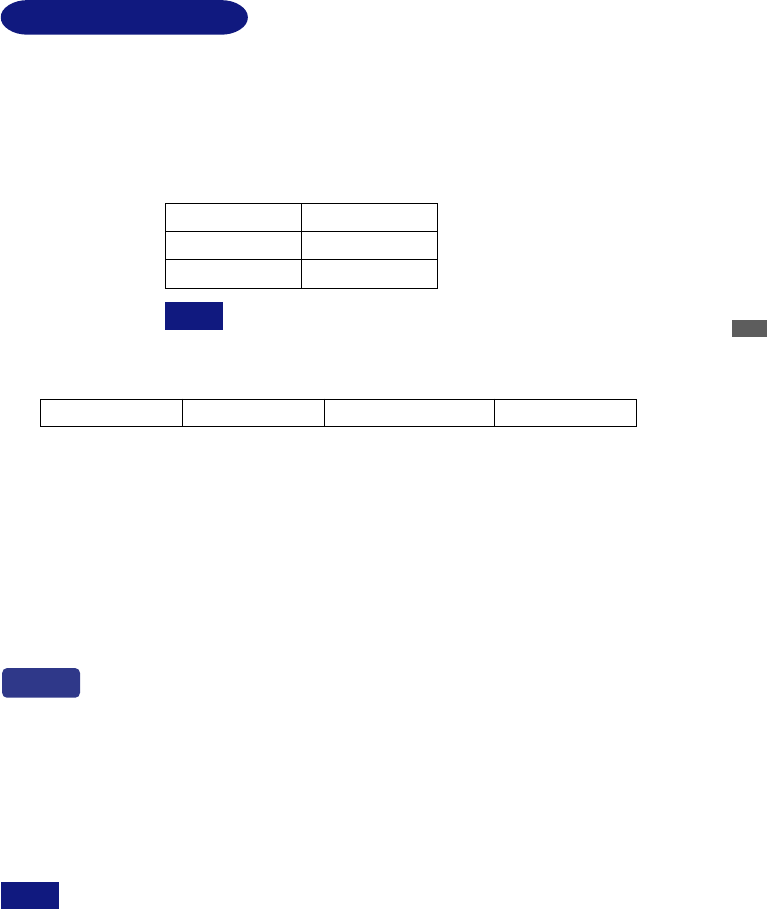
Command Name Function
POF
PON
Turn off power
Turn on power
NOTE
Transmit POF and PON commands one by one. Allow an
interval of 20 or more seconds between commands.
Protocoln
STX(02hex) ID(2Byte) ETX(03hex)
COMMAND(3Byte)
COMMAND 3Byte(ASCII)
APPENDIX B
Optional Video Input
This OSD Menu is available only when the optional video adapter is installed in the
monitor.
Video input is not selected automatically from Analog or Digital input. Switch to video input by “Signal
Select” on OSD Menu or the Input Button. Under the power management mode, “Signal Select” page
is displayed directly by pressing the Menu Button when the Menu is not displayed.
You can skip the Menu pages and display an adjustment scale directly by using the following button operations.
l Brightness: Press the Brightness Button on the monitor or the Remote Control when the Menu is not
displayed.
l Contrast: Press the Contrast Button on the monitor or the Remote Control when the Menu is not displayed.
l Signal Select: Press the Input Button on the monitor or the Remote Control.
l Zoom: Press the Zoom Button on the Remote Control when the menu is not displayed.
l Picture Lock: Press the Auto Button on the monitor or the Remote Control when the Menu is not displayed.
SWITCHING BRIGHTNESS / CONTRAST ADJUSTMENT
To switch between Brightness and Contrast adjustments, press the Menu Button within 5 seconds after pressing the
Brightness Button or the Contrast Button during the direct adjustments above.
PICTURE LOCK
“Now, Frame was Locked.” is displayed and picture on the screen can be locked when pressing the Auto Button
while the Menu is not displayed.
Press the Auto Button again to release it.
NOTE
Direct
RS-232C INTERFACE
Baud Raten 9600bps
Data Format
n
APPENDIX A, APPENDIX B 28


