


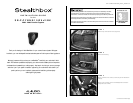

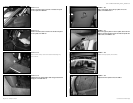
VEHICLE SHEET METAL
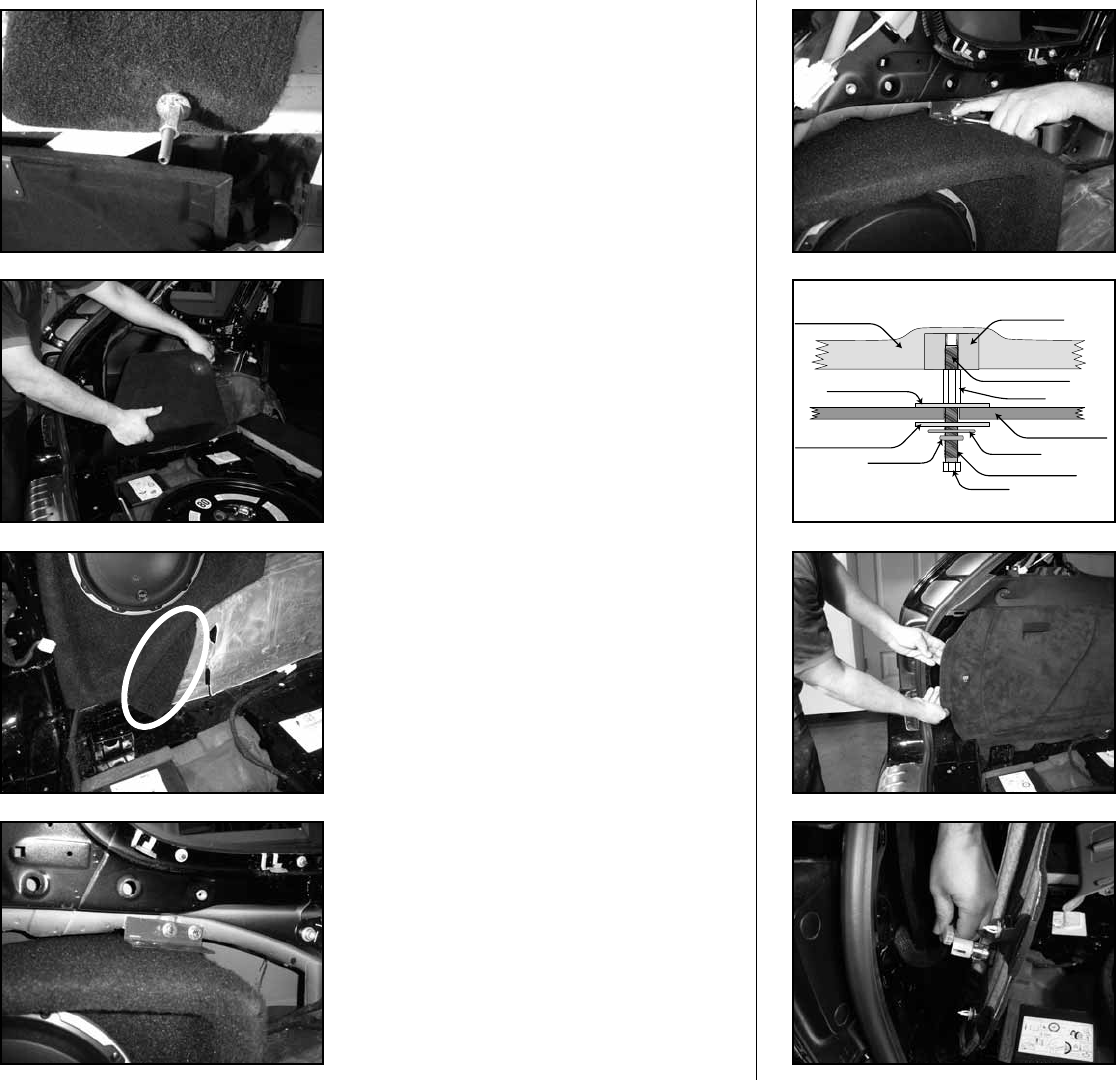
SOCKET CUP SET SCREW
HEX BOLT
BOTTOM MOUNTING PLATE
LOCK WASHER
FLAT WASHER
STEALTHBOX WALL
THREADED INSERT
SOCKET CUP SET SCREW
TOP MOUNTING PLATE
COUPLER
Continued on Next Page
SB-P-CYNNE/10W6v2/BK_INSTR_SKU#011231
SB-P-CYNNE/10W6v2/BK_INSTR_SKU#011231
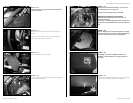
STEP 31
Place a supplied 3/8-inch lock washer and then a supplied
flat washer onto the supplied 3/8-inch bolts.
Place two of these mounting bolt assemblies through the
supplied L-bracket. The L-bracket can only be posistioned
one way. Line up the mounting holes of the L-bracket to the
threaded inserts of the Stealthbox®.
Place the L-bracket into the mounting position and guide the
bolt assemblies through the two holes in the metal lip, as
seen in the picture to the left.
Place a supplied flat washer and supplied hex nut onto each
protruding bolt, behind the metal lip.
With an 9/16-inch box end wrench holding the nuts, use a
9/16-inch socket to secure the L-bracket to the metal lip.
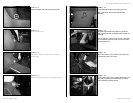
STEP 30
Once the Stealthbox® is in position, place the supplied piece
of black carpeting between the Stealthbox® and the rear side
of the wheel well. You need to cover the corner of the wheel
well just in front of the Stealthbox®.
STEP 29
Place the Stealthbox® into position by guiding the socket
cup set screw assembly through the hole in the top
mounting plate installed in STEP 25.
The bottom of the Stealthbox® will not touch the mounting
plate. The coupler will be touching the mounting plate.
STEP 28
Fully thread the supplied coupler to the first socket cup set
screw from STEP 27.
Thread the second supplied socket cup set screw into the
coupler.
Page 5 • JL Audio, Inc 2007
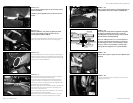
STEP 33
From under the vehicle, place the supplied mounting plate,
flat washers, lock washers and then hex nut onto the
protruding socket cup set screw. Using an 9/16-inch socket,
secure this bottom mounting assembly.
Note: For added protection, it is recommended that
you apply a bead of silicone between the vehicle and
the mounting plate. After the bolt assembly is tightly
secured, it is also recommended that vehicle under-
coating material is applied to the exposed assembly.
STEP 35
Reconnect the power outlet 12V plug to the wire harness,
unplugged in STEP 22.
STEP 34
Place the factory side trim panel, removed in STEP 22, back
into place.
STEP 32
With a 9/16-inch socket and the remaining supplied pair of
bolt assemblies, secure the L-bracket to the Stealthbox®.