


6
CHAPTER 2
The Display Controls
Your New Planar LCD Monitor’s Display Controls
This chapter covers your New Planar LCD Monitor’s On Screen Display (OSD). Using the OSD, you can adjust the
contrast, brightness, display position, display clarity, and color temperature. You can also adjust the stereo speaker
volume and set OSD parameters. Please read this chapter carefully to get the most out of your New Planar LCD
Monitor.
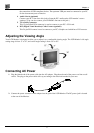
Adjusting the Monitor’s Display
The LCD monitor features an intuitive, menu-driven, On-Screen Display (OSD). You can access the OSD any time
that the PC is powered up. If the PC is in a power saving mode, or is powered down, the OSD is inaccessible.
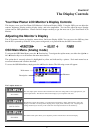
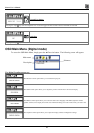
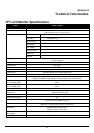
OSD Main Menu (Analog mode)
To activate the OSD Main Menu, press the ◄ Function key. To navigate the topline menu, use either the right ► or
left ◄ Function keys to scroll between the main menu choices.
The option that is currently selected is highlighted in yellow and indicated by a pointer. Each main menu has an
associated submenu and is further described.
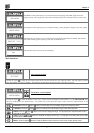
To access the OSD Main Menu, simply press the ◄ Function button. The following screen will appear.
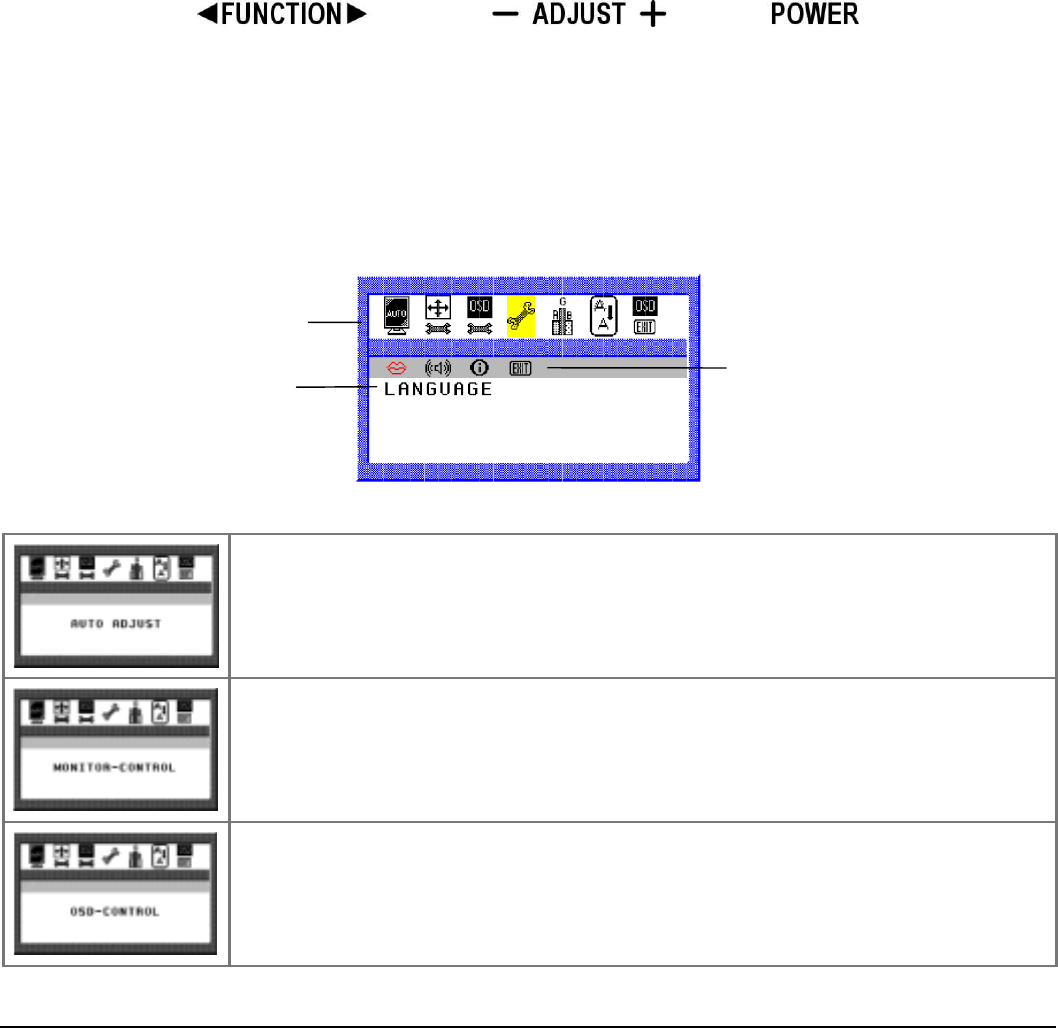
The 7-topline menus are:
The Auto Adjust option lets the monitor determine and select the settings that are most appropriate for your
system requirements. This function will tune the display to your computers video card.
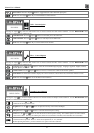
The Monitor-Control option allows you to adjust the LCD monitor’s display characteristics such as the
display’s horizontal or vertical position, display phase, display clock, and factory reset. Adjusting these
settings should only be necessary if the results from Auto-Adjust function are not satisfactory.
The OSD-Control option allows you to adjust the position of the monitor’s On Screen Display.
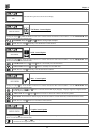
Main menu
Submenu
Description