


GENERAL OPERATION
• ON/OFF
Switch on the unit by pressing PWR
button (1). When system is on, press
it again to turn it off.
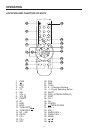
• SELECTING SOUND MODE
Press SEL button (6) to move display
through volume, bass, treble, balance
and fader functions. Use VOL (7)
and VOL (8) buttons to adjust the
selected mode. When mode has not
been adjusted for several seconds,
display returns to previous display status
(e.g. radio display or CDC display).
Volume
Adjust volume level using VOL (7)
and VOL (8) buttons.
Bass
Press SEL button (6) for one time.
Adjust bass level using VOL (7) and
VOL (8) buttons.
Treble
Press SEL button (6) for two times.
Adjust treble level using VOL (7) and
VOL (8) buttons.
Balance
Press SEL button (6) for three times.
Adjust sound balance between left and
right speakers using VOL (7) and
VOL (8) buttons.
Fader
Press SEL button (6) for four times.
Adjust sound balance between front
and rear speakers using VOL (7) and
VOL (8) buttons.
• SELECTING PLAYING MODE
When the screen display is drawn in,
press MOD button (12) to select
desired playing mode between radio
and CDC. When the screen display is
drawn out, the unit will automatically
switch into TV mode.
10
OPERATION
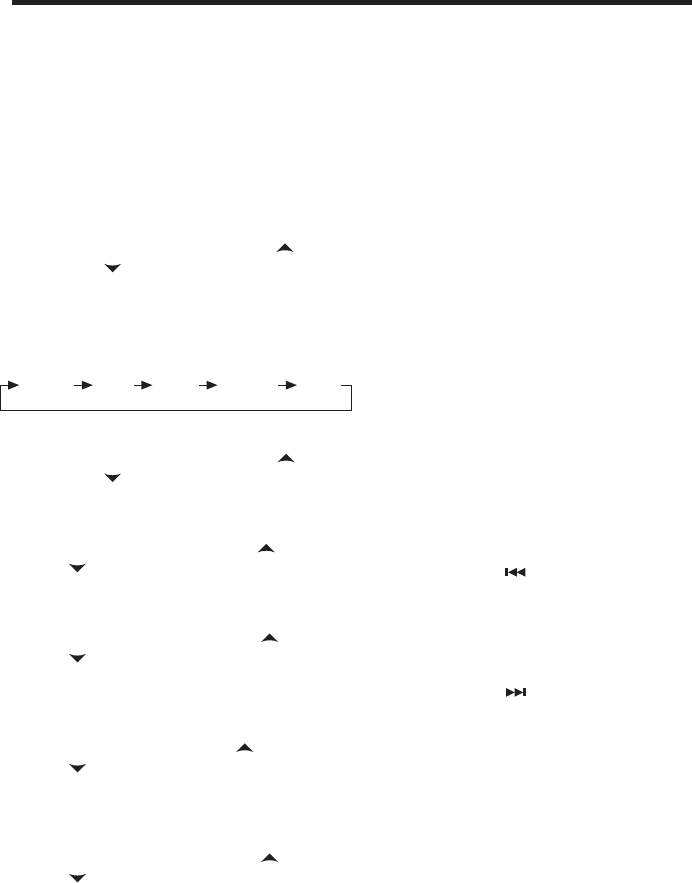
VOL BAS TRE BAL FAD
(Volume) (Bass) (Treble) (Balance) (Fader)
By pressing MOD button (12), you can
select desired playing mode among
TV, radio and CDC.
CAUTION: The unit cannot be
switched into TV mode, when the car
is running. So at this time, you just
select playing mode between radio and
CDC.
• MUTE
Press MUT button (3) to cut down
sound output, “MUTE” will appear on
the display. Press it again to resume
the previous volume mode.
• SETTING THE CLOCK
Press T/F button (5) to change the
display into clock display. While the
current time is appeared on the display,
press it again to return to frequency
showing.
Time Setting
- Set hours:
Holding down T/F button (5) for
several seconds, and the clock is
blinking on the display, press
TUNE/SKIP button (14) to adjust
the hour.
- Set minutes:
Holding down T/F button (5) for
several seconds, and the clock is
blinking on the display, press
TUNE/SKIP button (13) to adjust
the minutes.
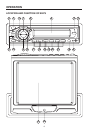
• LIQUID CRYSTAL DISPLAY
The LCD (4) can show the current state
of the unit.
• RESET
Reset button (9) must be activated with
either a ball point pen or thin metal
object. The reset button is to be
activated for the following reasons:
- Initial installation of the unit when all
wiring is completed.
- All the function buttons do not
operate.
- Error symbol on the display.