


P1005089 Rev. C pg. 9 of 13
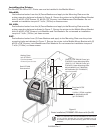
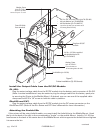
Installing the Printer
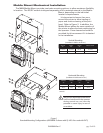
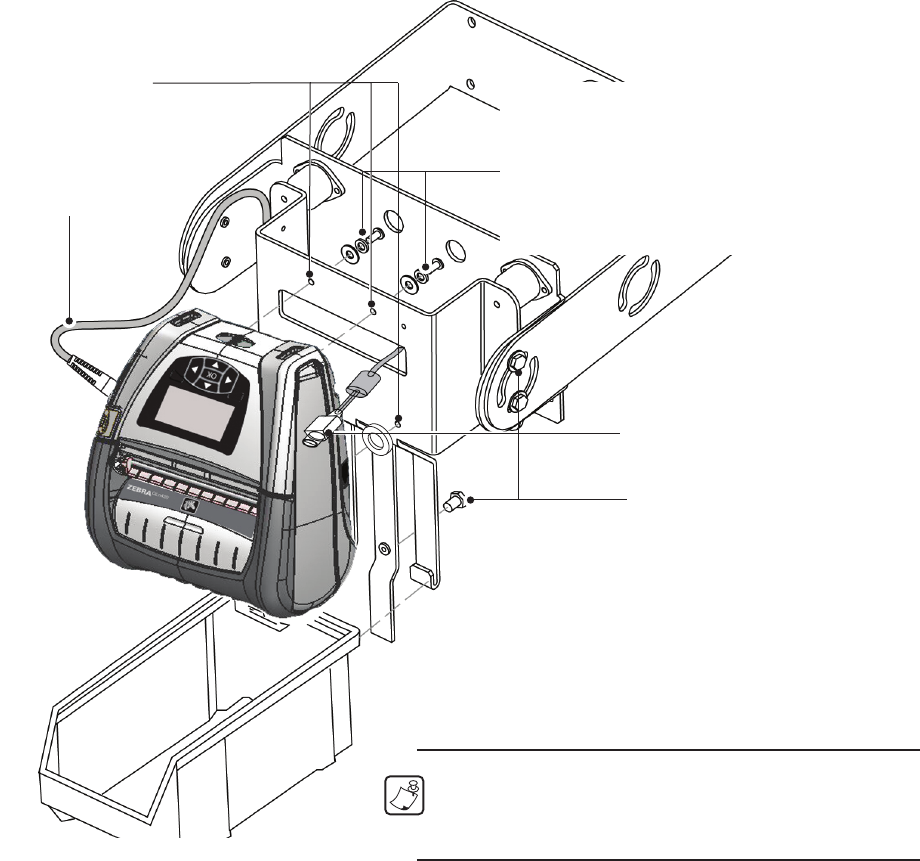
The QLn420, QL 420 or P4T Printer can now be installed in the Mobile Mount.
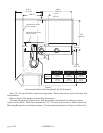
QLn420:
Peel adhesive backer from the (4) Foam Washers and apply to the Mounting Plate over the
printer mounting holes as indicated in Figure 6. Secure the printer to the Mobile Mount Bracket
with (2) #6-32 x 3/8”Screws, (2) #6-32 x1/2” Screws, Lock Washers and Flat Washer. Do not
exceed an installation torque of 7 in/lb. [.79 Nm] on these screws.
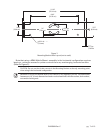
QL 420:
Peel adhesive backer from the (4) Foam Washers and apply to the Mounting Plate over the
printer mounting holes as indicated in Figure 7. Secure the printer to the Mobile Mount Bracket
with (4) #8-32 x 3/8” Screws, Lock Washers and Flat Washers. Do not exceed an installation
torque of 7 in/lb. [.79 Nm ] on these screws.
P4T:
Peel adhesive backer from (2) Foam Washers and apply to the Mounting Plate over the printer
mounting holes as indicated in Figure 7. Secure the printer to the Mobile Mount Bracket with (2)
#8-32 x 3/8” Screws, Lock Washers and Flat Washers. Do not exceed an installation torque of
7 in/lb. [.79 Nm ] on these screws.
Plug from DC/DC
module
Figure 6:
Printer Installation (P1050667-035 shown with QLn420)
Note: For customers who have the AK18296-3 kit and want to
re-use it for the QLn420, they can order P1050667-037. This
kit includes only the QLn420 mounting plate and associated
hardware.
• (2) #6-32 x 3/8” PAN Hd. Screw (p/n
P1055997): Lower Mounting Holes
• (2) #6-32 x 1/2” PAN Hd. Screw (p/n
P1054427): Upper Mounting Holes
• #8 Lock Washer (p/n 738002-06)
• #8 Flat Washer (p/n TH-WA0612)
(4 p/u for QLn420)
Washer, Foam
(p/n AT17342-1
4 p/u for QLn420*)
*4th Mounting Hole not visible
Data I/O Cable
from terminal
1/4-20 x 1/2” Bolt, supplied
with Mobile Mount Kit
(p/n TH-SK2007)