use printing features
26
hp digital copier 610 printing and software guide
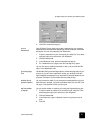
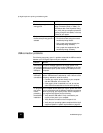
print a test page This tool allows you to confirm that the connection between your copier/
printer and your computer are working properly. This test page is different
than the Self-Test Report that you can print from the front panel.
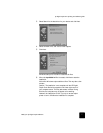
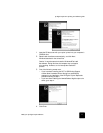
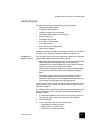
1 In the Services tab, click the Open the Toolbox icon.
2 Click Print a Test Page.
The report is generated as long as your connection is working properly.
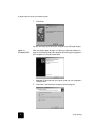
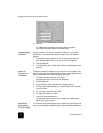
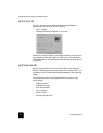
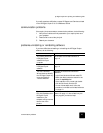
check ink levels You can easily check the ink supply level to determine how soon you may
need to replace an ink cartridge. This tab is not available to users of
Windows 98 and Me.
The Estimated Ink Level tab displays the following:
• Approximate ink level for each ink cartridge
• Ordering information
For more precise ink level information, print a Self-Test Report from the front
panel.
use the
configuration
tab
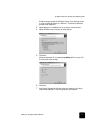
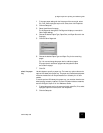
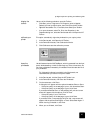
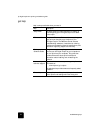
Use the Configuration tab to activate the following optional functions. This
tab in not always available to users of Windows 98 and Me since some
configurations run these features automatically, without user activation.
• Automatic Two-Sided Print Module: Use to activate or deactivate the
two-sided printing accessory that allows you to print two-sided copies.
• Display Print Settings Confirmation: Use to activate or set system
messages.
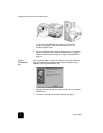
perform special print jobs
In addition to supporting standard print jobs, your HP Digital Copier
supports the following special printing jobs:
• print a banner
• print a presentation on transparency film
• print a group of addresses on labels or envelopes
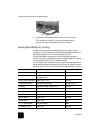
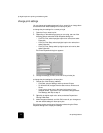
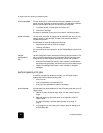
print a banner For best results, we recommend that you use HP banner paper with your HP
Digital Copier.
1 Remove all paper from both paper trays, and then load the banner
paper.
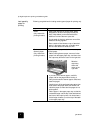
2 Raise the output tray above the catch on the right side of the HP
Digital Copier.
For more information, see load specialty paper for printing on
page 2.
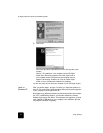
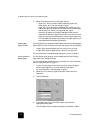
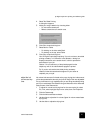
3 In the program you are printing from, display the print settings, and
click the Setup tab.