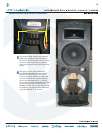
12
High Frequency Driver replacement continued:
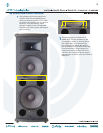
8
Keep the four nuts, four locking washers,
and four fl at washers in a safe place.
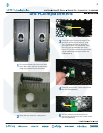
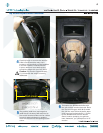
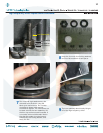
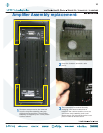
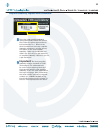
7
Four nuts and eight washers may be
removed from the driver using the
8mm open end wrench. Turn counter-
clockwise to loosen and remove,
clockwise to tighten. The other three are
located around the horn assembly. Lift
the horn up as the nuts are loosened. It
cannot be removed otherwise. Notice
that the fl at washer is on the bottom,
followed by the locking washer, and
fi nally the nut.
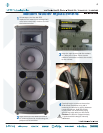
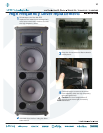
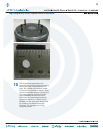
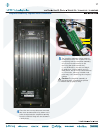
9
The horn assembly should easily lift right
off of the high frequency driver.
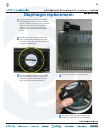
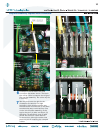
nut
fl at washer
headless screw
locking washer