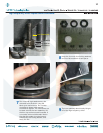
14
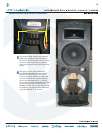
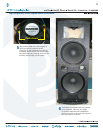
3
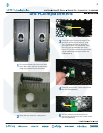
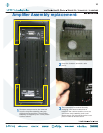
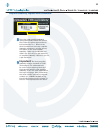
The horn assembly is shown above with
the high frequency driver circled. Four
screws need to be removed from the
driver using the 3mm allen wrench.
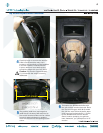
4
Keep the four screws in a safe place.
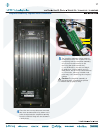
5
The diaphragm and plate adapter are
easily removed from the horn assembly.
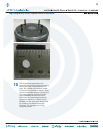
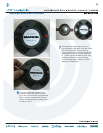
Diaphragm replacement:
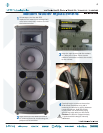
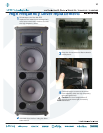
2
Follow steps 1-5 of the high frequency
driver replacement instructions, as the
horn will need to be removed in order to
access the diaphragm.
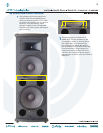
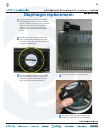
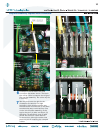
1
At the present time (December 2006),
diaphragms are not currently available,
so you will have to replace the complete
driver following the previous section
(pages 10-13). If you have received
a diaphragm, please follow the steps
below.
1
2
3
4