© Titan Tool Inc. All rights reserved. 7
NOTE: For the PowrTex 600DD only, uid volume
also can be adjusted using the uid pressure
regulator on the sprayer.
Please note that the double diaphragm pump
operates using air from the air compressor.
Any increase to the setting of the uid pressure
regulator to increase uid volume to the spray gun
will also decrease the air ow to the spray gun.
Spraying Technique
Hold the gun 18 to 30 inches from the surface. Squeeze the
trigger slowly and move the gun in a circular pattern. Consistent,
steady movement will prevent material buildup, runs, and sags.
NOTE: Pressure builds up in the system when the spray
gun is not triggered. Aim the gun away from the
spray surface when initially triggering the gun and
work toward the spray surface. This will prevent
material surge onto the spray surface. Keep the
gun moving and avoid repeated triggering of the
gun once spraying has begun.
Proper lapping (overlap of spray pattern) is essential to an even
nish. Lap each stroke. If you are spraying horizontally, aim
at the bottom edge of the preceding stroke, so as to lap the
previous pattern.
Maintain uniform spray stroke action. Spray alternately from left
to right and right to left. Begin movement of the gun before the
trigger is pulled.
Holding the gun closer to the surface deposits more material on
the surface and produces a narrower spray pattern. Holding the
gun farther from the surface produces a thinner coat and wider
spray pattern.
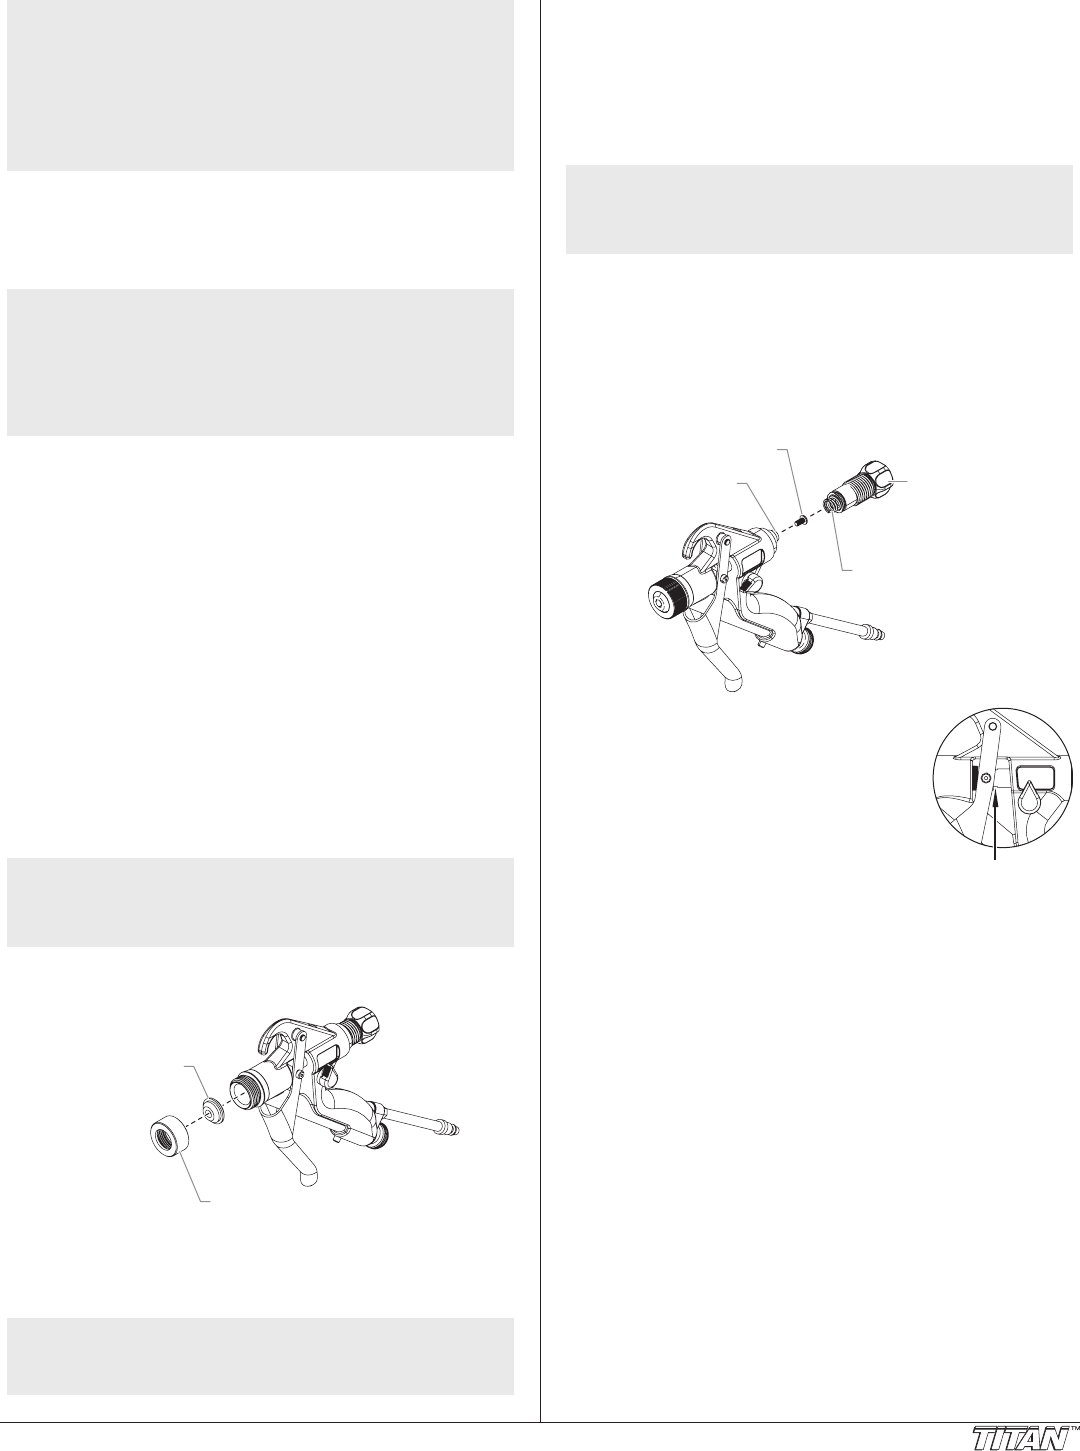
Installing a Texture Nozzle
Use the following procedure to install a different size texture
nozzle onto the spray gun.
1. Perform the “Pressure Relief Procedure” outlined in the
Operation section of this manual.
2. While triggering the gun, remove the nozzle nut from the
front of the spray gun by turning it counterclockwise.
NOTE: Always pull the spray gun trigger when tightening
the nozzle nut. Failure to pull the trigger can
result in damage to the texture nozzle and texture
shaft assembly.
3. Remove the existing texture nozzle from the inside of the
nozzle nut.
4. Place the new texture nozzle inside the nozzle nut.
5. While triggering the gun, thread the nozzle nut onto the
front of the spray gun by turning it clockwise. Tighten
securely.
NOTE: For information on texture nozzle sizes and their
recommended uses, refer to the “Texture Nozzle
Chart” in the Parts List section of this manual.
Converting the Spray Gun from Non-
Bleeder to Bleeder
If preferred, the spray gun can be converted from a non-bleeder
to a bleeder setup. Non-bleeder setup means that when the
trigger is released, the air ow from the air nozzle stops. Bleeder
setup means that air ow is continuous from the air nozzle
whether the trigger is pulled or released.
NOTE: In bleeder setup, the removal of the bleed screw
from the air valve seal causes the air supply to
be on at all times when the air hose is attached
to the gun.
To convert a spray gun to bleeder setup:
1. Perform the “Pressure Relief Procedure” outlined in the
Operation section of this manual.
2. Remove the uid hose and air hose from the spray gun.
3. Turn the uid adjustment knob counterclockwise until it
threads off of the gun body. The adjustment spring inside
the uid adjustment knob will release once the knob is off
off the threads.
Air Shut-Off
Valve
Bleed Screw
Adjustment
Spring
Fluid
Adjustment
Knob
Wrench flats
on air trip rod
4. Using a pliers, hold the air trip rod
rmly at the wrench ats between the
back of the trigger and the gun body.
This will prevent the air trip rod from
turning during the removal of the bleed
screw.
5. Using a Phillips screwdriver, remove
the bleed screw from the back of the
air shut-off valve inside the gun body.
Store the screw in a safe place.
6. Make sure the adjustment spring is in
position inside the uid adjustment knob.
7. Pushing rmly, thread the uid adjustment knob clockwise
onto the gun body.
8. To position the uid adjustment knob:
a. Trigger the gun while turning the uid adjustment knob.
b. When the trigger pull starts to shorten, back off the uid
adjustment just until full trigger pull is allowed.
