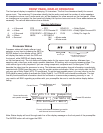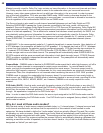
Step 3
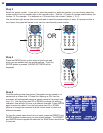
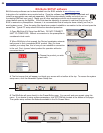
Select the preset number. If you wish to save the preset to a particular number, you can directly select the
preset number from the number pad on the remote control. Use the +10 button to choose presets above the
number 10. For example: 12 is selected as +10 button then the number 2 button (+10, 2).
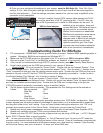
Use the left and right arrows from the thumb pad to select the preset number to save. If a preset number is
not chosen, the preset will saved to the next un-used favorite preset number.
Step 4
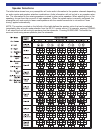
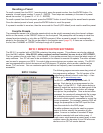
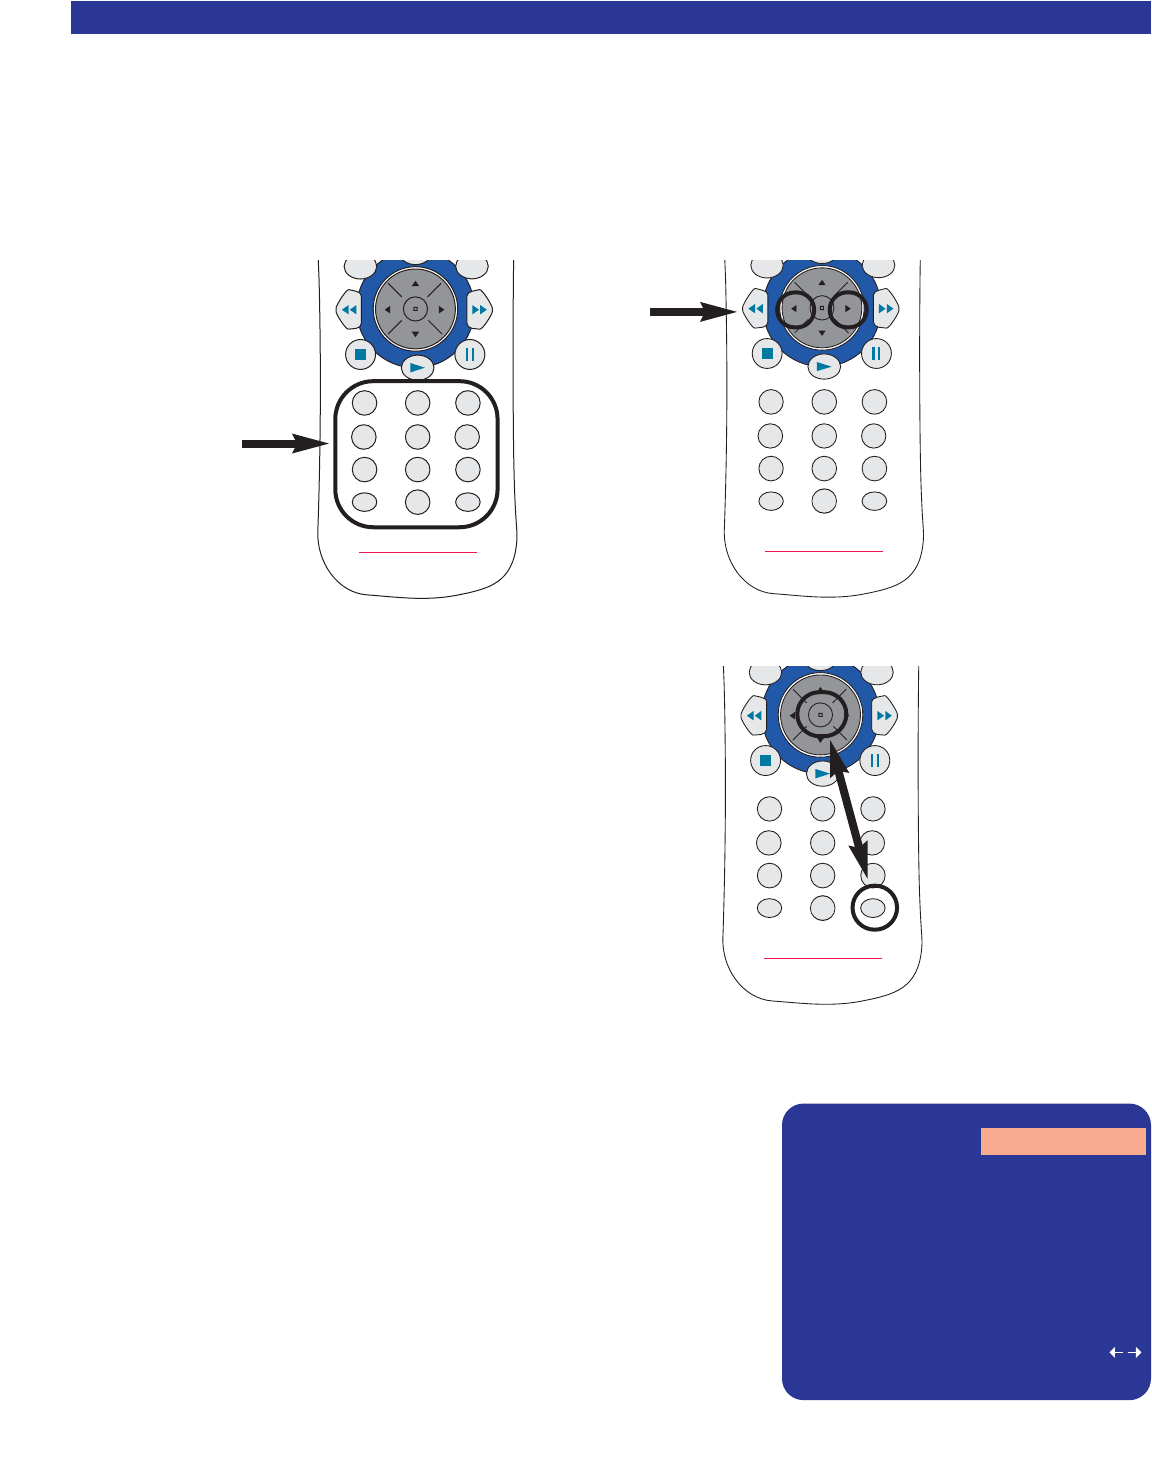
Press the ENTER button or the center of the thumb pad
when you are satisfied with the preset settings. Once the
ENTER button is pressed, SAVING SETTINGS will be
displayed.
Step 5
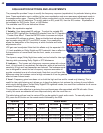
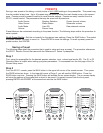
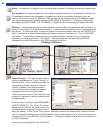
Once the settings have been saved, the preset can be named or re-
named with a custom title. If Preset Auto Naming is ON, then the
processor will automatically assign a generic name to the preset (see
page 30). Use the thump pad UP or DOWN to change the blinking
character. Use left/right to move to a different character. Press ENTER
again to save the name. From the front panel use UP or DOWN
buttons to change the character and the volume knob to mode to a
different character.
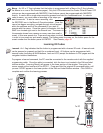
To save the preset name from the front panel, press the PRESET and
ENTER buttons simultaneously to save preset settings. The PRESET
and ENTER buttons operate the same as the SAVE button would from
the remote.
50
12
5
8
0
+10
ENT
3
6
9
4
7
MENU
EXIT
B&K SYSTEM REMOTE
SR10.1
12
5
8
0
+10
ENT
3
6
9
4
7
MENU
EXIT
B&K SYSTEM REMOTE
SR10.1
12
5
8
0
+10
ENT
3
6
9
4
7
MENU
EXIT
B&K SYSTEM REMOTE
SR10.1
OR
SSAAVVEE PPRREESSEETT 11 DDVVDD SSUURR
NNeeww NNaammee VV11 --5566
SSoouurrccee DDVVDD RReeccoorrdd DDVVDD
VViiddeeoo DDVVDD VVoolluummee --5566..00
MMooddee SSuurrrroouunndd CCeenntteerr 00..00
PPLLIIIIxx MMoovviiee RReeaarr 00..00
SSppkkrrss 77 SSuubb 00..00
EEQQ 11 VVaarriiaabbllee
00....99 ++1100 pprreesseett pprreesseett
EENNTT ssaavvee pprreesseett ccaanncceell mmeennuu
DDVVDD --5566 ddBB


