


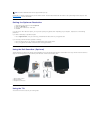


Back to Contents Page
Troubleshooting
Dell™S1709WFlatPanelMonitorUser'sGuide
Troubleshooting Your Monitor
General Problems
Product Specific Problems
Troubleshooting Your Soundbar
Troubleshooting Your Monitor
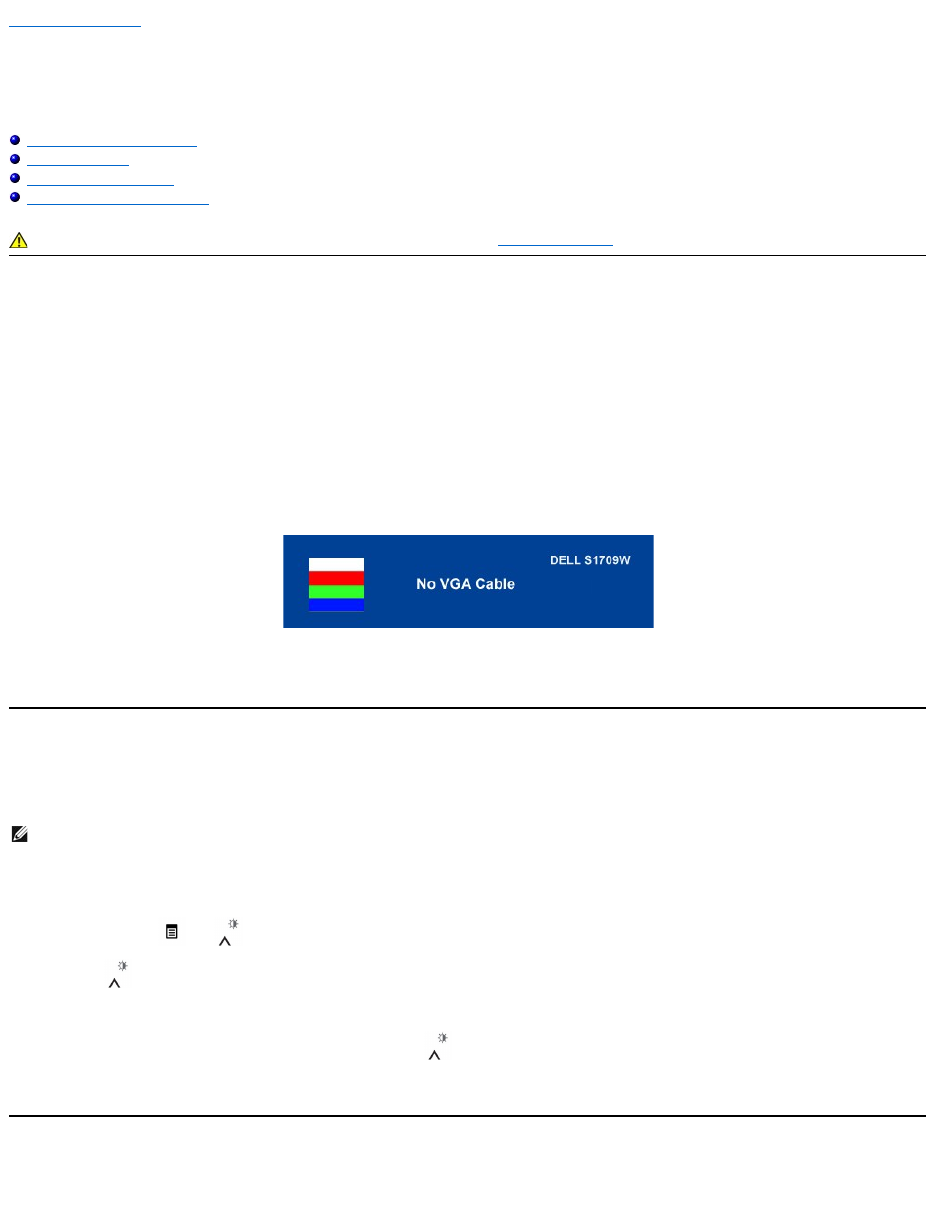
Self-Test Feature Check (STFC)
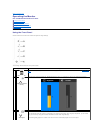
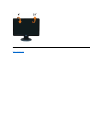
Your monitor provides a self-test feature that allows you to check whether your monitor is functioning properly. If your monitor and computer are properly
connected but the monitor screen remains dark, run the monitor self-test by performing the following steps:
1. Turn off both your computer and monitor.
2. Unplug the video cable from the back of the computer or monitor. To ensure proper Self-Test operation, remove the analog (blue connector) cable from
the back of computer or monitor.
3. Turn on the monitor.
The floating Dell Self-test Feature Check dialog box should appear on-screen on a black background if the monitor cannot sense a video signal and is
working correctly. While in self-test mode, the power LED remains white. Also, depending upon the selected input, one of the dialogs shown below will
continuously scroll through the screen.
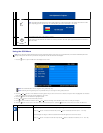
This box also appears during normal system operation if the video cable becomes disconnected or damaged. Turn off your monitor and reconnect the video
cable, then turn on both your computer and the monitor. If your monitor screen remains blank after you use the previous procedure, check your video
controller and computer system; your monitor is functioning properly.
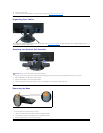
Built-in Diagnostics
Your monitor has a built-in diagnostic tool that helps you determine if the screen abnormality you are experiencing is an inherent problem with your monitor, or
with your computer system and graphic card.
To run the built-in diagnostics:
1. Ensure that the screen is clean (no dust particles on the surface of the screen).
2. Unplug the video cable(s) from the back of the computer or monitor. The monitor then goes into the self-test mode.
3. Press and hold the and buttons on the front panel, simultaneously for 2 seconds. A gray screen appears.
4. Carefully inspect the screen for abnormalities.
5. Press the button on the front panel again. The color of the screen changes to red.
6. Inspect the display for any abnormalities.
7. Repeat steps 5 and 6 to inspect the display in green, blue, and white colored screens.
The test is complete when the white screen appears. To exit, press the buttonagain.
If you do not detect any screen abnormalities upon using the built-in diagnostic tool, the monitor is functioning properly. Check the video card and computer.
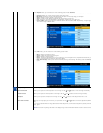
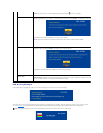
OSD Warning Messages
The following warning messages may appear on the screen indicating that the monitor is out of synchronization.
CAUTION: Before you begin any of the procedures in this section, follow the safety instructions.
NOTE: You can run the built-in diagnostics only when the video cable is unplugged and the monitor is in self-test mode.