


3
2
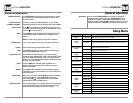
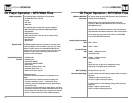
TYPICAL FRONT-LOAD DIN MOUNTING METHOD
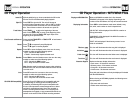
FUSE
When replacing the fuse,
make sure new fuse is the
correct type and amperage.
Using an incorrect fuse
could damage the radio.
The MXDM66 uses one
10 amp ATM fuse located
beside the wiring connector.
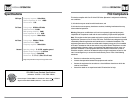
Please read entire manual before installation.
Before You Start
•Disconnectnegativebatteryterminal.Consultaqualifiedtechnicianforinstructions.
•Avoidinstallingtheunitwhereitwouldbesubjecttohightemperatures,suchasfrom
directsunlight,orwhereitwouldbesubjecttodust,dirtorexcessivevibration.
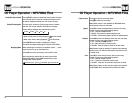
Getting Started
•Removetrimringfromunit,
•Remove2transitscrewslocated
on top of the unit.
•Insertthesuppliedkeysintothe
slots as shown, and slide the unit
outofthemountingsleeve.
•Installmountingsleeveinto
opening, bending tabs to secure.
•Connectwiringharnessand
antenna.Consultaqualified
technician if you are unsure.
•Certainvehiclesmayrequirean
installation kit and/or wiring
harness adapter (sold separately).
•Testforcorrectoperationandslide
intomountingsleevetosecure.
•Snaptrimringintoplace.
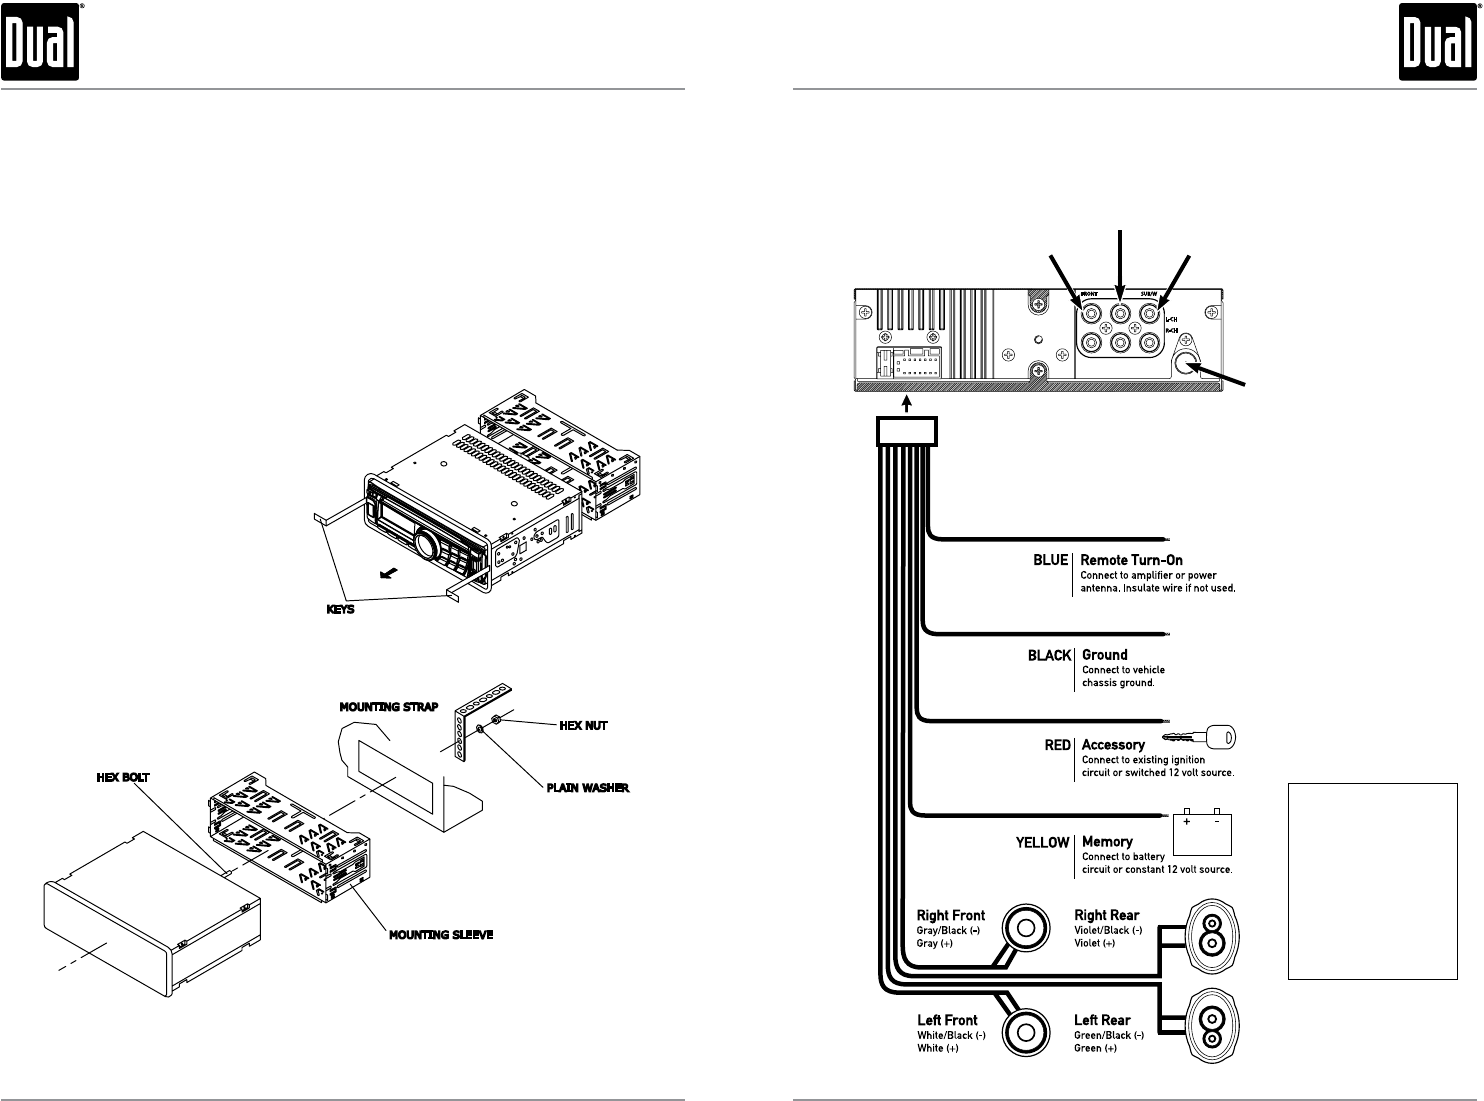
MXDM66 INSTALLATION
Preparation
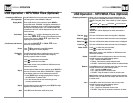
MXDM66 INSTALLATION
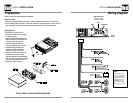
Wiring Diagram
KEYS
HEX BOLT
MOUNTING SLEEVE
PLAIN WASHER
HEX NUT
MOUNTING STRAP
TYPICAL FRONT-LOAD DIN MOUNTING METHOD
FRONT
R-CH
L-CH
SUB/W
REAR
Right Channel (Red)
Left Channel (White)
RCA Connections
FRONT
SUBWOOFER
Antenna
Connector