2
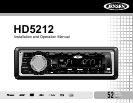
HD5212
Preparation
Tools and Supplies
The following tools and supplies are needed to install the radio.
• Torx type, flathead and Philips screwdrivers
• Wire cutters and strippers
• Tools to remove existing radio (screwdriver, socket wrench set or other
tools)
• Electrical tape
•Crimping tool
• Volt meter/test light
• Crimp connections
• 18 gauge wire for power connections
• 16-18 gauge speaker wire
SPEAKER REQUIREMENTS: Only connect speakers rated in the load
impedance of 4 ohms. Speakers with a load impedance less than 4
ohms could damage the unit.
Disconnecting the Battery
To prevent a short circuit, be sure to turn off the ignition and remove the
negative (-) battery cable prior to installation.
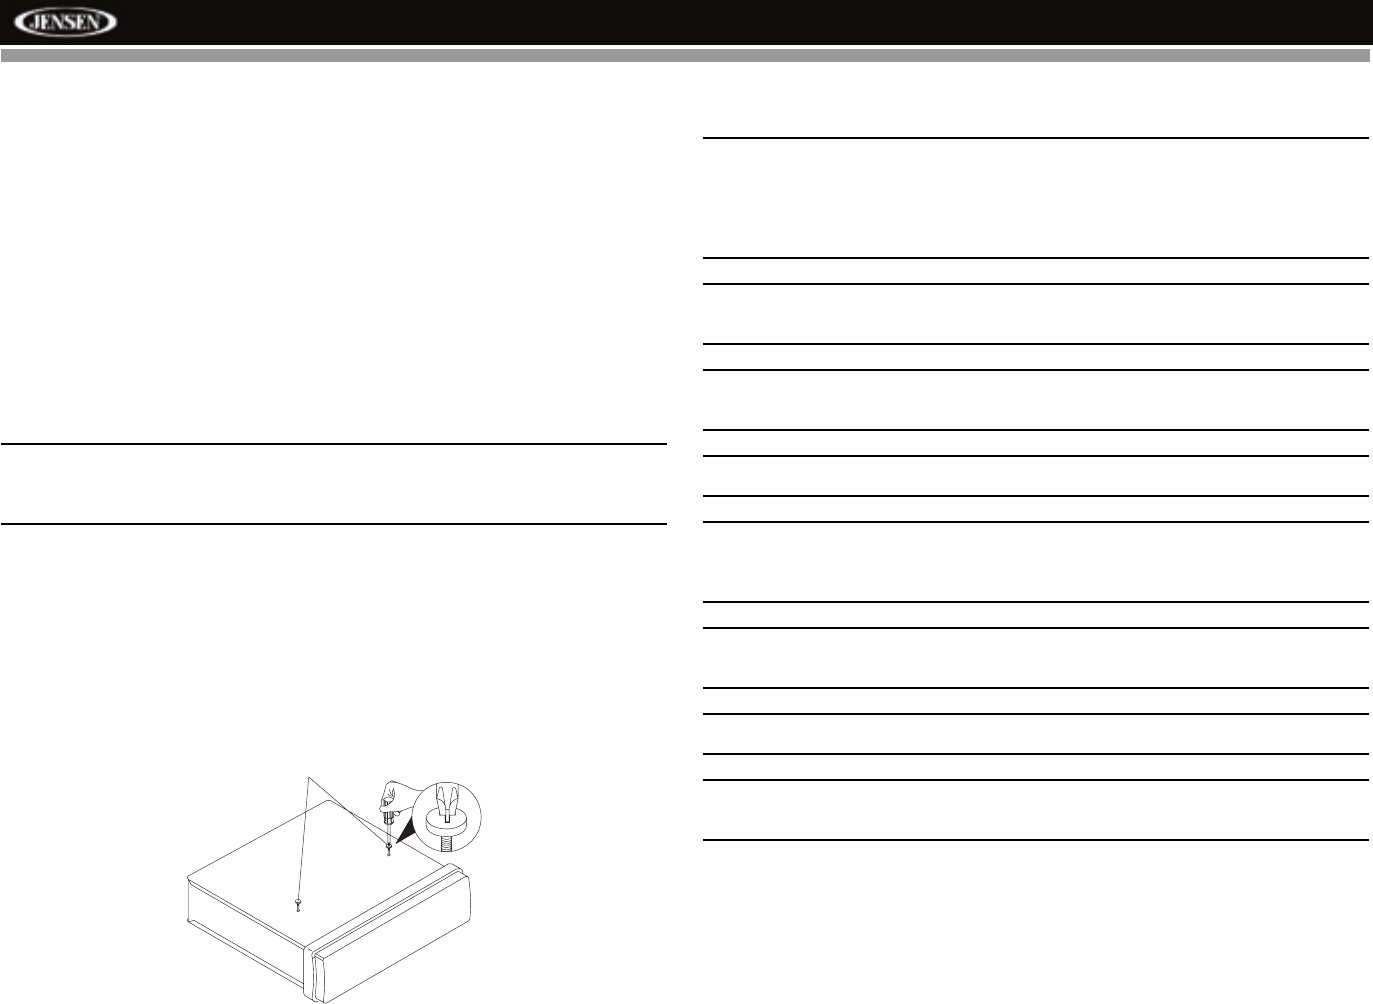
Removing the Transport Screws
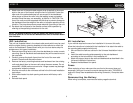
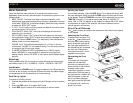
Before installing the radio, you must remove the transport screws from the
top of the radio. The transport screws are clearly marked.
NOTE: If the HD5212 is to be installed in a car equipped with an on-
board drive or navigation computer, do not disconnect the battery
cable. If the cable is disconnected, the computer memory may be lost.
Under these conditions, use extra caution during installation to avoid
causing a short circuit.
WARNING! Only connect the unit to a 12-volt power supply with
proper grounding.
WARNING! Never install this unit where operation and viewing could
interfere with safe driving conditions.
WARNING! Never disassemble or adjust the unit.
WARNING! Avoid installing the unit where it will be subject to
excessive temperature, such as from direct sunlight or hot air from the
heater, or where it will be subject to dust, dirt or excessive vibration.
WARNING! To prevent injury from shock or fire, never expose this unit
to moisture or water.
WARNING! Never use irregular discs.
WARNING! Using an improper fuse may cause damage to the unit and
result in a fire.
Remove before installation.


