


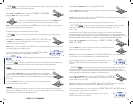
The KICKER WXRC monitors and prevents any low pass crossover point
from being set any closer than 1/3 octave from the high pass crossover
point. If you cannot set the low pass crossover where you want then
check the ISIS display and see if the LPF is lit and the HPF indicator is
flashing. If it is then you need to go to the HI-PASS menu and lower the
high pass crossover point.
This is done as a safety precaution to prevent a notch filter condition.
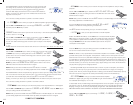
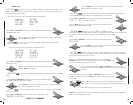
hi-pass
MMEENNUU
- Here is where you adjust the selected amplifier’s high pass crossover.
Use the and keys to scroll through frequency and slope
and then press the key to select.
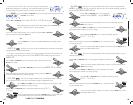
FREQUENCY selects the crossover point and can be set at any 1/12th octave spaced frequency from
15 Hz to 159 Hz in 1 Hz steps.
Use the and keys to select your frequency. Press the key
to save your setting and return to the frequency and slope options menu.
You can now select another high pass crossover option to adjust on this amplifier
if desired.
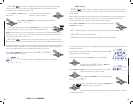
SLOPE selects the roll-off of the crossover and can be set in 6 dB steps. WX.1 Series is 6 dB to 24 dB
in 6 dB Steps.
Use the and keys to select your high pass crossover slope. Press
the key to save your setting and return to the frequency and slope
options menu. You can now select another high pass crossover option to adjust
on this amplifier if desired.
When you are done adjusting the high pass crossover on this amplifier press the
key while in the frequency and slope options menu to return to the
AMP ADJ menu and choose another function to adjust.
NOTE: While you are in the HI-PASS menu the HPF indicator on the ISIS
display is lit. This indicates you are making adjustments in the HI-PASS menu.
The KICKER WXRC monitors and prevents any high pass crossover point from being set any closer
than 1/3 octave from the low pass crossover point. If you cannot set the high pass crossover where
you want then check the ISIS display and see if the
HPF is lit and the LPF indicator is
flashing. If it is then you need to go to the
LO-PASS menu and raise the low pass crossover point.
This is done as a safety precaution to prevent a notch filter condition.
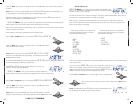
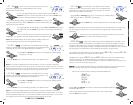
phase MENU - Here is where you can switch the polarity of the output between 0 or 180 degrees.
Use the or keys to select from 0 degree or180 degree. Press the key to
save your setting and exit the PHASE menu.
NOTE: While you are in the PHASE menu the PHASE indicator on the ISIS display is lit. This indicates
you are making adjustments in the PHASE menu. By default, all amplifiers are set to 0 Degree.
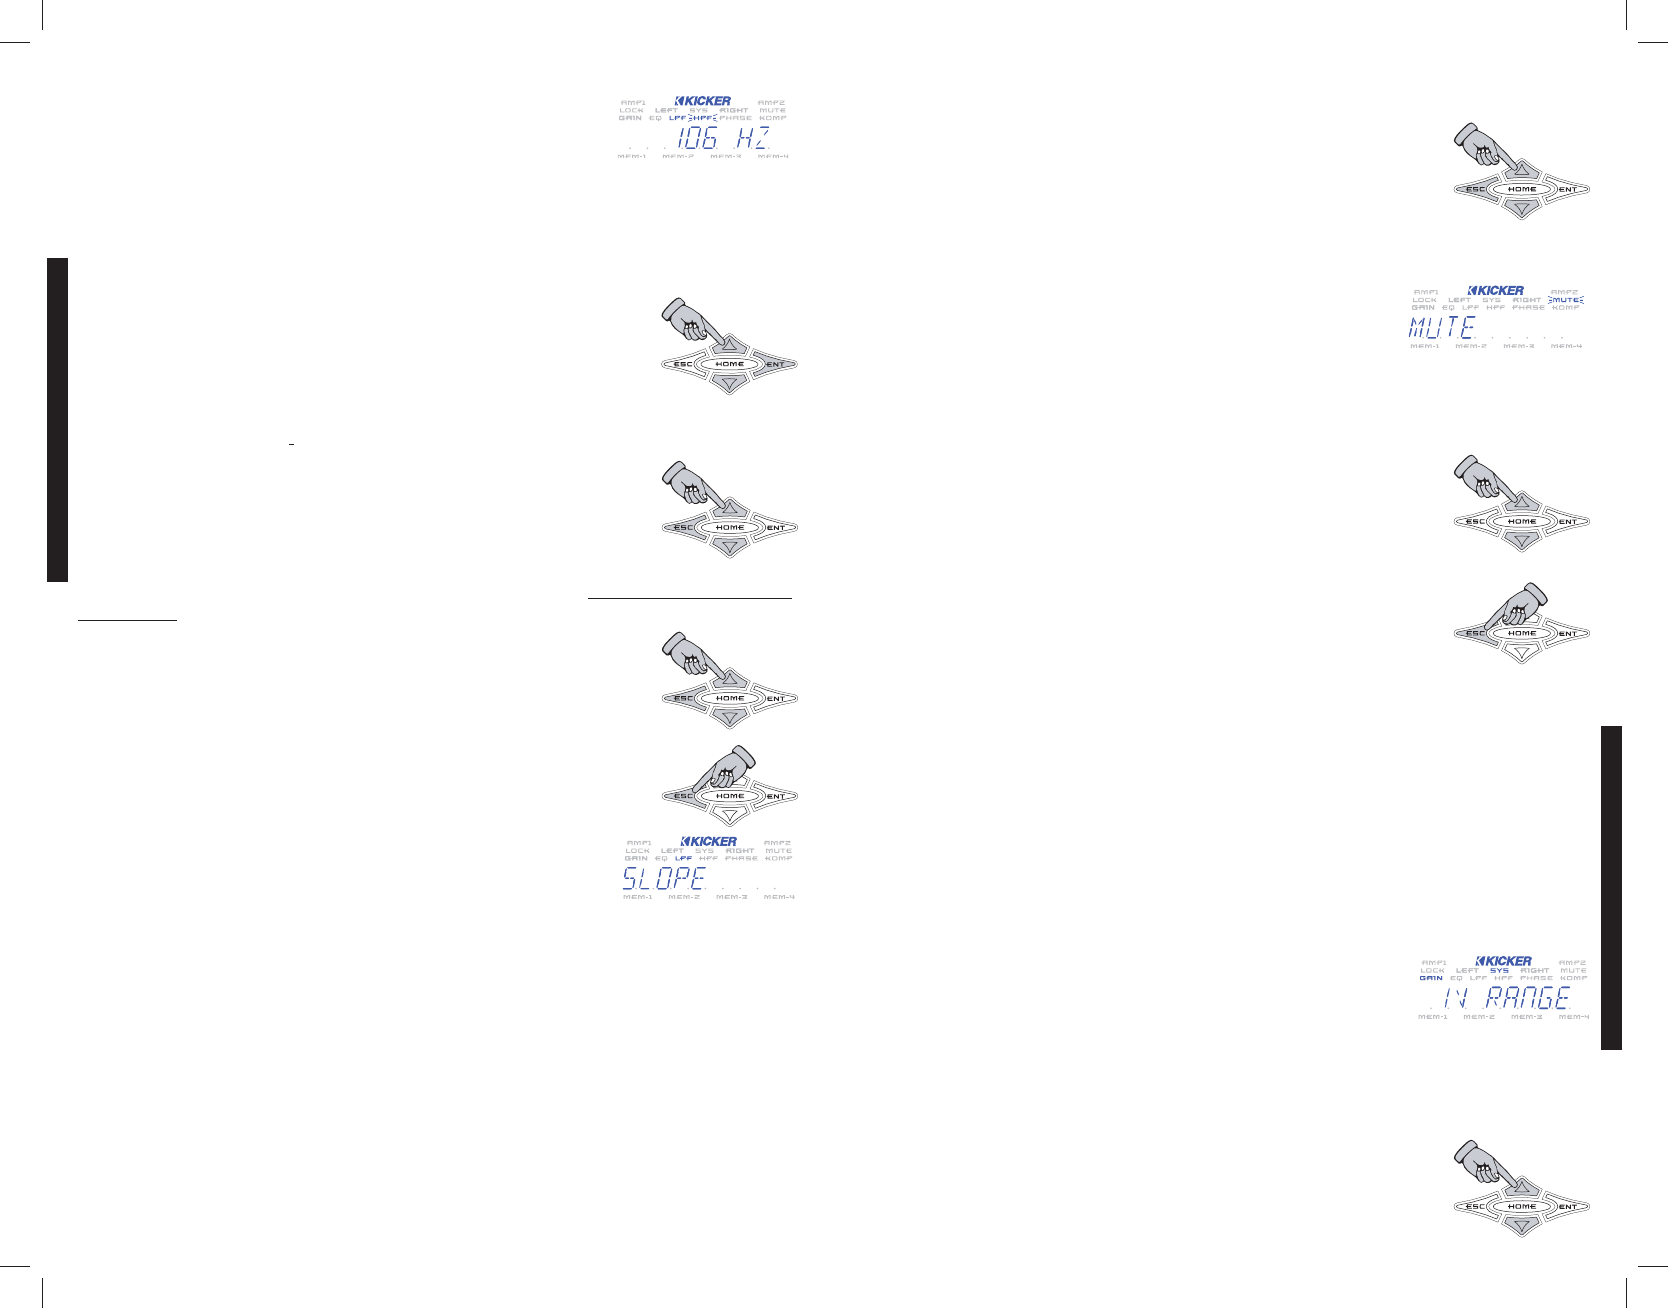
mute MENU - Here is where you can mute the the output on the amplifier for setup or testing
purposes.
Use the or keys to select from mute on or mute off. Press
the key to save your setting and return to the AMP ADJ menu and choose
another function to adjust.
NOTE: While you are in the MUTE menu the MUTE indicator on the ISIS display is lit. This indicates you
are making adjustments in the MUTE menu.
If you exit the MUTE menu the amplifier muted (Mute On), the MUTE
indicator in the ISIS VFD will begin flashing to indicate this.
The MUTE indicator will stop flashing once you un-mute the amplifier.
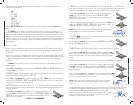
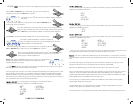
LIMITER
MMEENNUU
- Here you can adjust the limiter on the WX amplifier.
While in the LIMITER ADJ Menu, use the arrow to increase the WX amplifier’s
RMS output in a range from 0 dB to -10 dB. This controls the power consumption
of the amplifier to operate within the limitations of your vehicle’s charging system.
Using the arrow will reduce the RMS output and also the power
consumption of the amplifier.
Press the key to save your setting and return to the AMP ADJ menu.
You can now choose another function to adjust.
NOTE: The limiter is a very special feature of the Warhorse amplifier. It is included to make your high
powered stereo system more enjoyable. The expression “it takes power to make power” has never
been truer than it is with our 10,000 Watt masterpiece. If you don’t have enough output capacity from
your alternators to maintain full power from your Warhorse the battery bank will drop in voltage. If your
Warhorse doesn’t get enough power then it shuts off showing the <Volt LED. This is very frustrating. To
avoid this situation you can turn up the Limiter. Apply a higher setting to the Limiter until the Warhorse
can play without going into low voltage protection.
Decreasing the RMS output with the limiter does cut down on power consumption, but it allows
continuous use. The only way to get more power out of the Warhorse is to supply more charging
system power. This may involve a larger alternator or adding a second alternator. More battery capacity
will work for short term usage, but the actual power ultimately comes from the alternator(s).
GAIN RANGE MENU - Here you can select the WX Series amplifiers’
UltraMatch™ digital input gain range. The UltraMatch™ gain structure features
four selectable Gain Ranges (1-2-5-10 volt).
In “Gear-Head” terms, the Gain Range and Gain adjustments can be compared to the gear box and
gas pedal of a race car. The Gain Range represents what gear you’re in and the Gain represents
stepping on the gas. In this menu you are adjusting the gear box. THE GAIN RANGE OF YOUR
AMPLIFIER NEEDS TO BE CORRECTLY ADJUSTED TO PROVIDE MAXIMUM PERFORMANCE!
Use the and keys to scroll through 1v range, 2v range, 5V
Range
or 10v range.
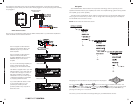
WXRCREMOTECONTROL
MENU SYSTEM
MENU SYSTEM
1514