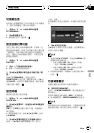
! Yellow sun Adjust the brightness for
bright ambient light (daytime)
! Red sun
Adjust the brightness for in-
termediate brightness (evening)
! Blue moon
Adjust the brightness for
dark ambient light (nighttime)
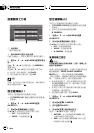
3 Press c or d to adjust the brightness.
Each press of c or d moves yellow towards
the left or the right.
The level indicates the brightness of the
screen being adjusted. The farther yellow
moves to the right, the brighter the screen.
4 Press ESC to return to the display of
each source.
Note
The icons indicating the current ambient bright-
ness used for adjusting BRIGHT and CONTRAST
may differ from DIMMER slightly.
Protecting your unit from
theft
The front panel can be detached from this unit
to discourage theft.
! If the front panel is not detached from this
unit within five seconds of turning off the
ignition, a warning tone will sound.
! You can turn off the warning tone. See
Switching the warning tone on page 13.
Important
! Never use force or grip the display and the
buttons too tightly when removing or attach-
ing.
! Avoid subjecting the front panel to excessive
shocks.
! Keep the front panel out of direct sunlight and
high temperatures.
! If removed, replace the front panel on the unit
before starting up your vehicle.
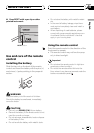
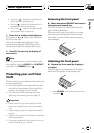
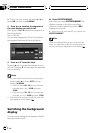
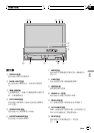
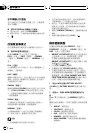
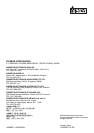
Removing the front panel
% Move downward RELEASE and remove
the front panel toward you.
The LED indicator will flash while the front
panel is being detached.
Take care not to grip it too tightly or to drop
the front panel and protect it from contact
with water or other fluids to prevent perma-
nent damage.
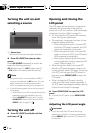
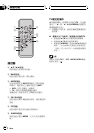
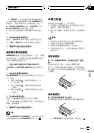
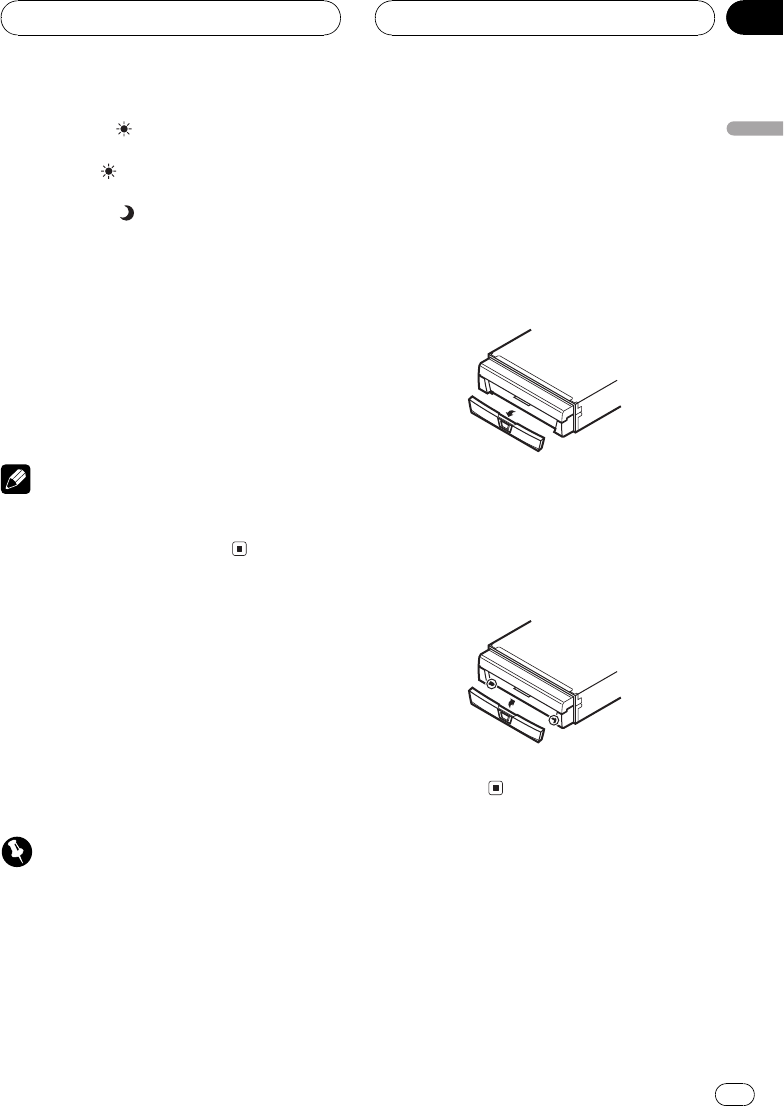
Attaching the front panel
% Replace the front panel by clipping it
into place.
Align the groove on the bottom of the front
panel with the guide on the display unit.
! Press RELEASE until the front panel clicks
into place.
Basic Operations
En
11
English
Section
04