UN7000 7” Widescreen Universal Monitor Page 4
Introduction and System Overview
Congratulations on your purchase of a Rosen Widescreen Universal
Monitor! This widescreen flat panel LCD monitor features advanced
display technology and versatile installation options.
Your Rosen Widescreen Universal Monitor includes the following
features:
• 16:9 aspect ratio. Sometimes called “widescreen,” this is the
same aspect ratio used by next generation digital
televisions.
• 7" screen (measured diagonally).
• Adjustable backlight to compensate for ambient lighting
conditions.
• Normal, Zoom, and Full screen formats.
• Front panel and remote controls. These controls allow
adjustment of the video settings, control of the backlighting,
format, and video source. (For more information, see “
Remote Control” on page 4).
• RCA video inputs.
• RCA auxiliary video output.
Important Notices
• NEVER install this monitor where it can be viewed from the
driving position; this is a violation of many state and local
vehicle codes.
• Use this monitor only after proper installation by a qualified
installer.
• Avoid mounting locations where there is a risk of impact
with a passenger in the event of an accident.
• Always mount the monitor securely using the mounting
hardware that is provided. Do not use the monitor unless it
is properly secured to the vehicle.
• Avoid touching the LCD screen except when cleaning it with a
soft dry cloth.
Introduction and System Overview
UN7000 7” Widescreen Universal Monitor Page 13
Physical Mounting
Two mounting options are available - pedestal mounting or flush
mounting.
Pedestal Mounting
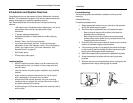
To install the pedestal mount:
1. Select appropriate locations in your vehicle for the pedestal
and for the power supply module.
2. Test fit the mounting pedestal foot in the desired location:
• Be sure that the monitor will be able to slide onto the
pedestal without interference.
• Be sure that the mounting location can accommodate
screws safely. Never screw into any surface without first
inspecting behind and below it.
3. Ensure that the interconnect cable will reach from the monitor
location to the power supply module location.
4. If the mounting surface is not perfectly flat, bend the flanges
on the mounting foot for the best fit without yet removing the
backing from the flange’s double-sided tape.
5. Remove the tape backing and press the pedestal into place.
6. Screw the pedestal into place with the mounting screws
provided.
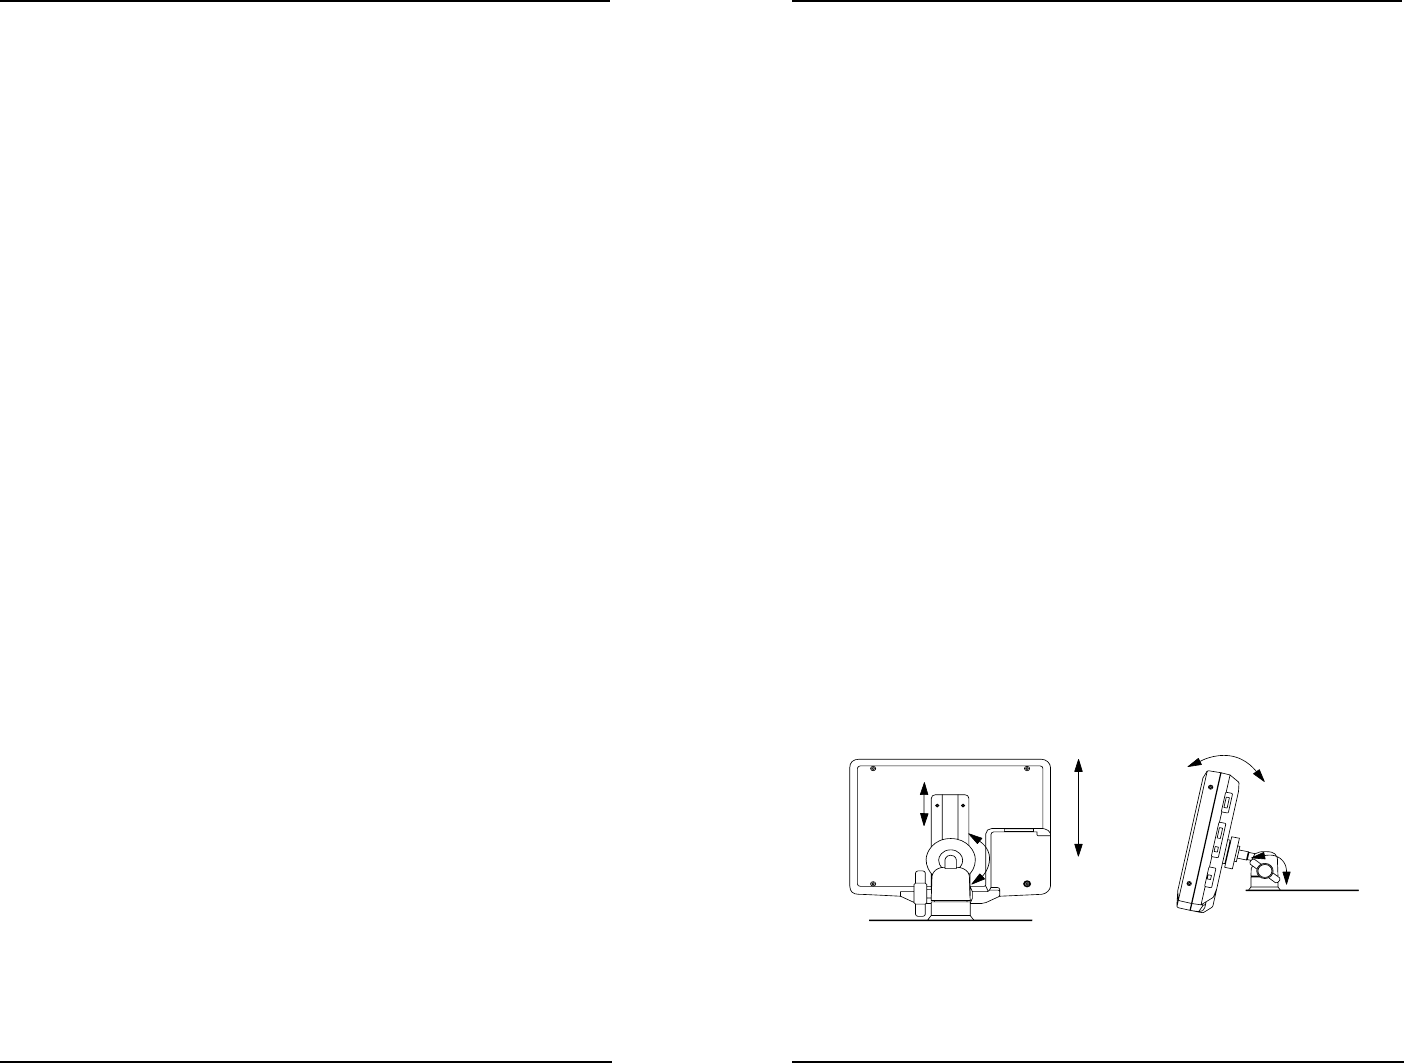
7. Slide the monitor onto the pedestal as shown, and tighten the
adjustment knob. Adjust viewing angle as needed.
Installation


