


English - 21 -
.
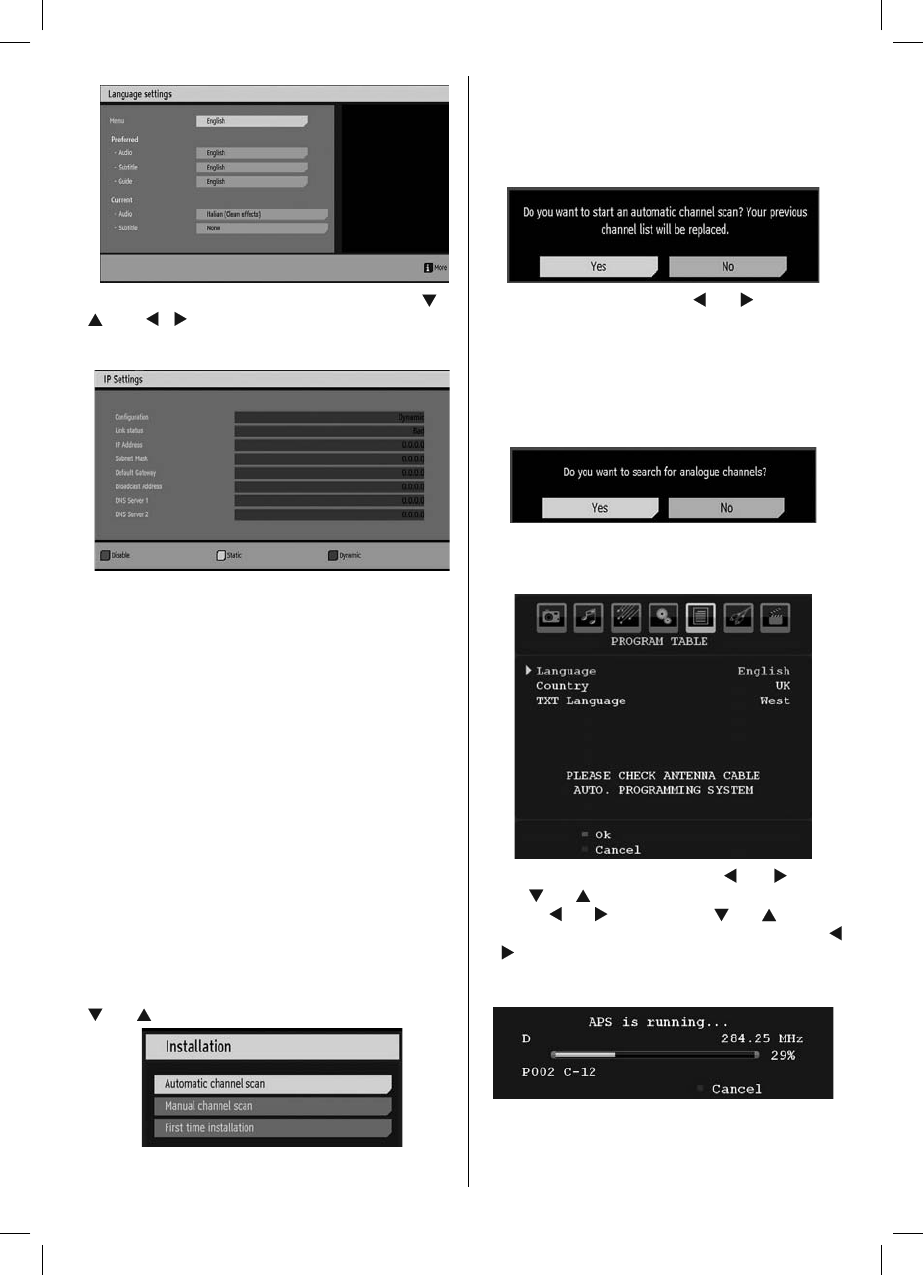
You can set the desired language options by using “ ” /“
” and “ ”/“ ” buttons.
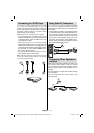
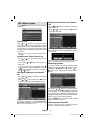
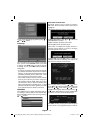
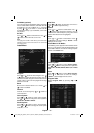
IP Settings
You can configure your TV’s IP settings by using this
menu screen. Press YELLOW button to set static
IP settings. Use BLUE button to configure dynamic
IP settings. You can press RED button to disable IP
configuration.
• In order for the Ethernet host to work correctly with
your Internet connection it needs to have a unique IP
address. In most cases all of the parameters can be
provided by the DHCP server in their router. In this
case you should use the “Dynamic” option.
• In the unlikely event that you dou not have a DHCP
server in your router or if you prefer to assign your
own IP address, then the “Static” option can be used.
You will need to enter a unique IP address along
with the default gateway and DNS server. In most
domestic networks the default gateway and DNS
server will both be the IP address of the router.
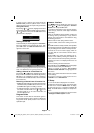
Installation
The Installation menu is mainly intended to help you
for creating a Channel Table in most effi cient way.
Select Installation from the main menu by pressing “
” or “ ” buttons.
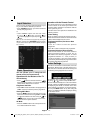
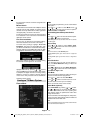
Automatic Channel Scan
Automatic channel scan is started by pressing
OK button while Automatic channel scan item is
highlighted.
The following message appears on the screen:
Highlight Yes or No by using “ ” or “ ” buttons and
press OK button to confi rm.
If Yes is selected, automatic search starts.
Selecting No cancels automatic search.
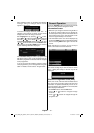
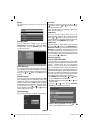
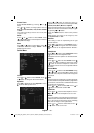
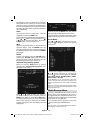
After search is completed for digital channels, a
message asking whether to search for analogue
channels appears on the screen:
Highlight Yes and press OK button to search for
analogue channels. The following menu appears on
the screen for analogue channel search:
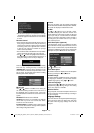
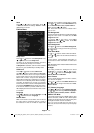
Set Language item by pressing “ ” or “ ” button.
Press “ ” or “ ” button to highlight Country item and
then use “ ” or “ ” to set. Press “ ” or “ ” button to
highlight TXT Language. Select a region by using “ ”
or “ ” button. When fi nished, press OK or RED button
to continue. To cancel, press the BLUE button.
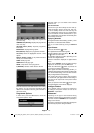
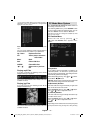
After APS is fi nalized, the programme table will appear
on the screen. In the programme table you will see
A01_MB38_[GB]_3902UK_IDTV-T2_GOLD7_42884W_10068537_50167165.indd 21A01_MB38_[GB]_3902UK_IDTV-T2_GOLD7_42884W_10068537_50167165.indd 21 17.06.2010 13:10:1017.06.2010 13:10:10