Computer Input
Select the desired screen size that conforms to the input
signal source.
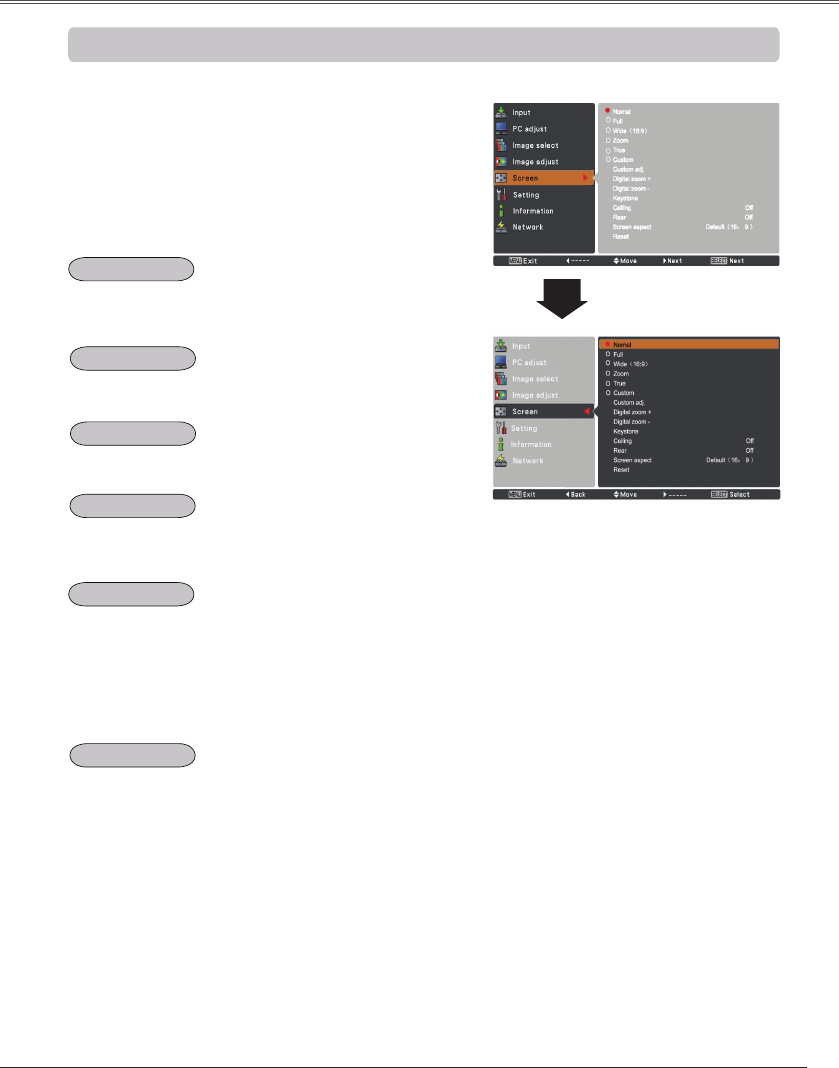
SCREEN MENU
Provide the image within a screen size keeping its original
aspect ratio.
Note:
•Theprojectorcannotdisplayany
resolutionhigherthan1920x1200.
Ifyourcomputer’sscreenresolution
ishigherthan1920x1200,lower
theresolutionbeforeconnectingthe
projector.
•Theimagedataotherthan1920x
1080ismodifiedtofitthescreensizein
initialmode.
•Full,Zoom, True, Custom adj. and
Digital zoom +/–cannotbeselected
whennosignalisdetectedinthePC
SystemMenu.(p.35)
1
2
Press the MENU button to display the On-Screen
Menu. Use the Point
▲▼
buttons to select Screen
and then press the Point
►
or the SELECT button.
Use the Point
▲▼
buttons select the desired item
and then press the SELECT button.
Screen Size Adjustment
Normal
Provide the image in its original size. When the original
image size is larger than the screen size (1920 x 1080),
the projector goes to the panning mode automatically.
Use the Point
▲▼◄►
buttons to pan the image.
When adjusted, the arrows will turn red. When reaching
to the correction limits, the arrows will disappear.
Scale the image proportionally to fit the entire screen.
Either side of image may go over the screen.
True
Zoom
Provide the image to fit full screen size.
Full
Provide the last stored aspect screen image.
Custom
Provide the image at the 16:9 wide screen ratio.
Wide (16:9)


