


51-EN
01GB06IVA100.fm
ALPINE IVA-D100 68-05946Z49-A (EN)
Tuning in to Categorized Programs
You can listen to programs categorized to the same group one after
another.
In the XM or SIRIUS mode, touch [ CAT] or [CAT ] to
select a desired category.
The first channel of the selected category is tuned.
• If the desired category program is not found, the “--------” is
displayed for 2 seconds, then the receiving program is restored.
Changing the Display
Text information, such as the channel name, artist name/feature, and
song/program title, is available with each XM or SIRIUS channel. The
unit can display this text information as explained below.
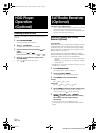
Touch [INFO.] on the XM or SIRIUS mode main screen.
Each time you touch this button, the display changes as shown
below.
*
1
Channel name, category, title name, etc., are displayed in one screen.
*
2
XM mode only: The information display appears when ON is set in
“Setting the Auxiliary Data Field Display” (page 34).
*
3
SIRIUS mode only: displayed when there is a composer name (text
information).
• Auxiliary Data Field is not displayed in the dual screen.
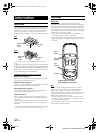
Checking the SAT Radio ID Number
A unique Radio ID number is required to subscribe to SAT Radio
programming. Each third party XM or SIRIUS radio comes with this
number.
XM Radio:
This number is an 8 character alphanumeric number. It is printed on a
label found on the SAT Receiver.
SIRIUS Radio:
This number is a 12-digit numeric number. It is printed on a label found
on the SAT Receiver.
It can also be displayed on the screen of the IVA-D100 in the following
way.
1
While receiving SAT Radio, touch [ NO.] or
[NO. ] to select channel ‘0’ for XM and channel
“255” for SIRIUS.
The unit display the ID number.
2
The unit displays the ID number.
3
To cancel the ID number display, change the
channel.
• You cannot use “O,” “S,” “ I,” or “F” for the ID Number. (XM radio
Receiver only)
• You can check the ID number printed on a label on your third party,
SAT Radio Receiver package.
Storing Channel Presets
1
Touch [PAGE1/3] after selecting a desired band.
The Function Guide is switched.
2
Touch and hold any one of the preset buttons [P-1]
through [P-6] for at least 2 seconds. The selected
channel is stored.
3
Repeat the procedure to store up to 5 other channels
onto the same band.
To use this procedure for other bands, simply select the
desired band and repeat the procedure.
A total of 18 channels can be stored in the preset memory
(6 channels for each band; XM1, XM2 and XM3 or SIRIUS1,
SIRIUS2 and SIRIUS3 ).
• If you store a channel in a preset already being used, the current
channel will be replaced with the new one.
Receiving Stored Channels
1
Touch [PAGE1/3] after selecting a desired band.
The Function Guide is switched.
2
Touch any one of the preset buttons [P-1] through
[P-6] that has your desired satellite channel in
memory.
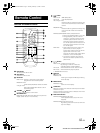
Displaying the Category/Channel Name
Title List
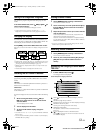
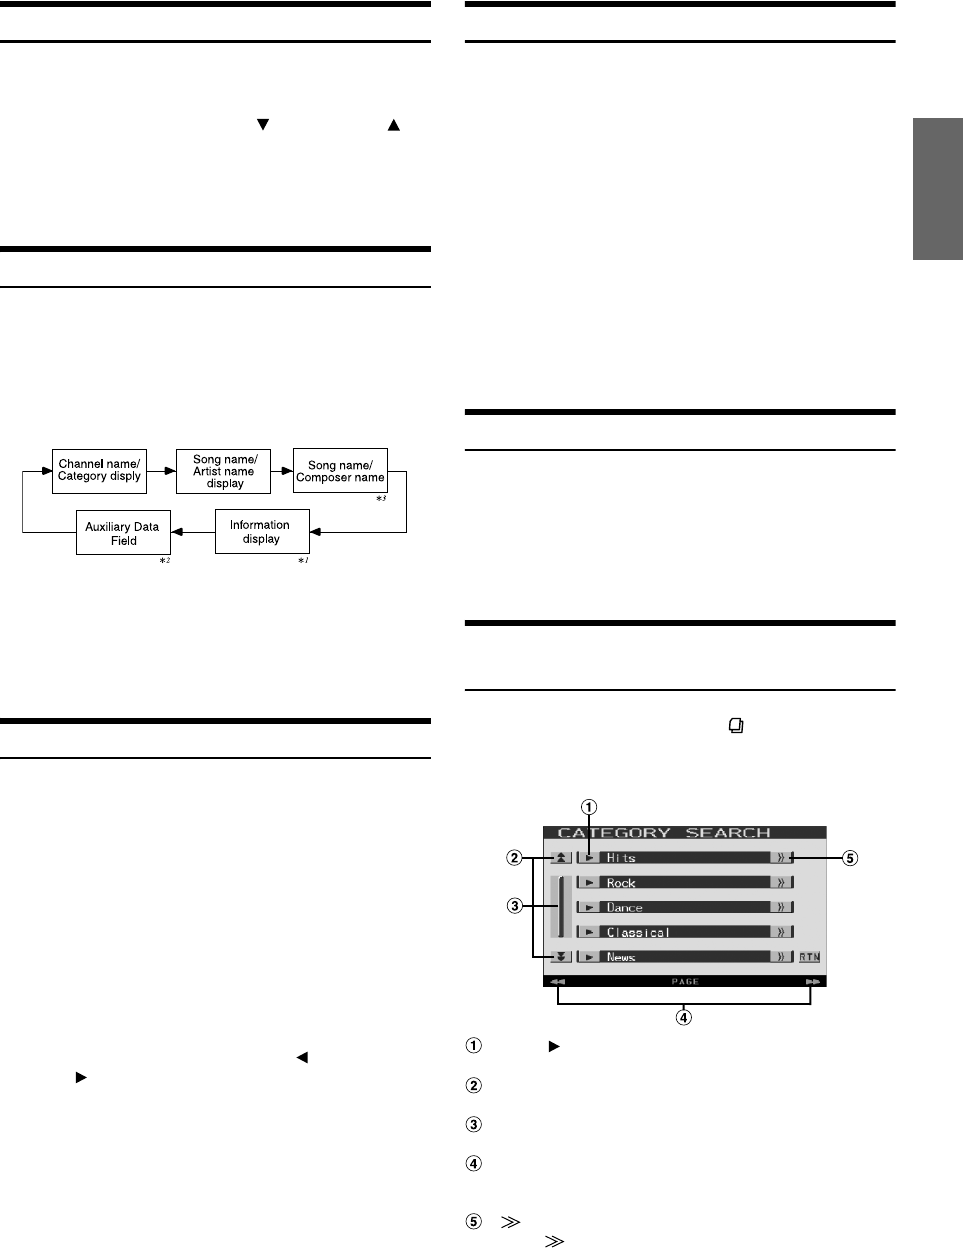
1
In XM or SIRIUS mode, touch [].
The category title list is displayed.
Screen example for category search list
Touch [] to receive the selected category channel
directly.
Scrolls the page list up or down.
(Displayed when the list items cannot be displayed entirely.)
Scrolls the list item by item.
Touching and holding will scroll continuously.
GlideTouch bar display.
For operation, refer to “About the GlideTouch bar”
(page 12).
[] is displayed if there is a hierarchical list.
Touch [] to change the channel name search screen of
the selected category.
01GB00IVAD100.book Page 51 Tuesday, February 14, 2006 4:10 PM