


Back to Contents Page
Operating the Monitor
Dell™G2210/G2410FlatPanelMonitorUser'sGuide
Using the Front Panel Controls
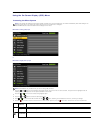
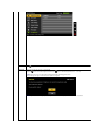
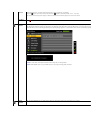
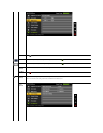
Using the On-Screen Display (OSD) Menu
PowerNap Software
Setting the Maximum Resolution
Using the Dell Soundbar (Optional)
Using the Tilt
Using the Front Panel Controls
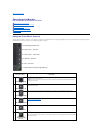
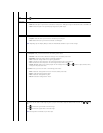
Use the control buttons on the front of the monitor to adjust the characteristics of the image being displayed. As you use these buttons to adjust the controls,
an OSD shows the numeric values of the characteristics as they change.
A
Ambient light Sensor Lens
B
Shortcut Key 1 / Up button
C
Shortcut Key 2 / Down button
D
OSD menu / OK button
E
Back / Exit button
F
Power button (with power light indicator)
Front panel Button
Description
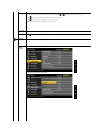
A
Ambient light Sensor
Lens
Intelligent ambient light sensor automatically adjust the screen brightness in real-time based on
brightness of the environment.
NOTE:For best result, keep any object clear from the sensor which may potentially block the light
source to the sensor.
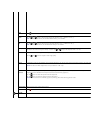
B
Shortcut Key 1 / Up
button
Use this button to directly access the "Shortcut Key 1" menu or to increase the values of the
selected menu option.
C
Shortcut Key 2 / Down
button
Use this button to directly access the "Shortcut Key 2" menu or to decrease the values of the
selected menu option.
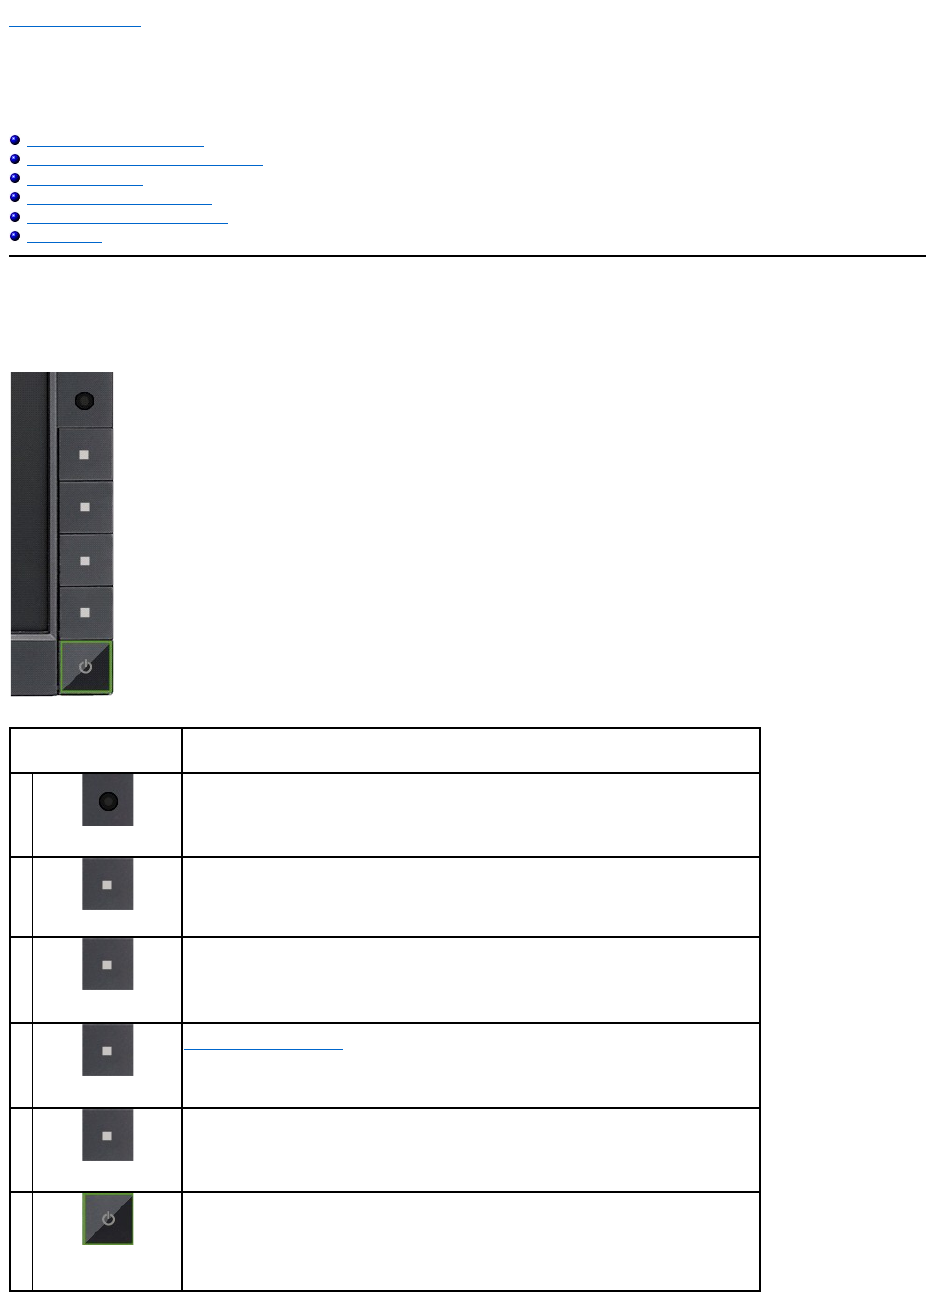
D
OSD menu / OK button
Use the MENU button to launch the on-screen display (OSD) and select the OSD Menu. See
Accessing the Menu System.
E
Back / Exit button
Go back to the main menu or exit the OSD main menu.
F
Power button
(withpowerlight
indicator)
Use the Power button to turn the monitor on and off.
The blue LED indicates the monitor is on and fully functional. A breathing amber LED indicates DPMS
power save mode.