


1
Basic connections Basic operation Troubleshooting Specifications IndexAdvanced connections Advanced operation Explanation terms
ENGLISH
Getting started
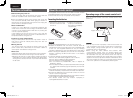
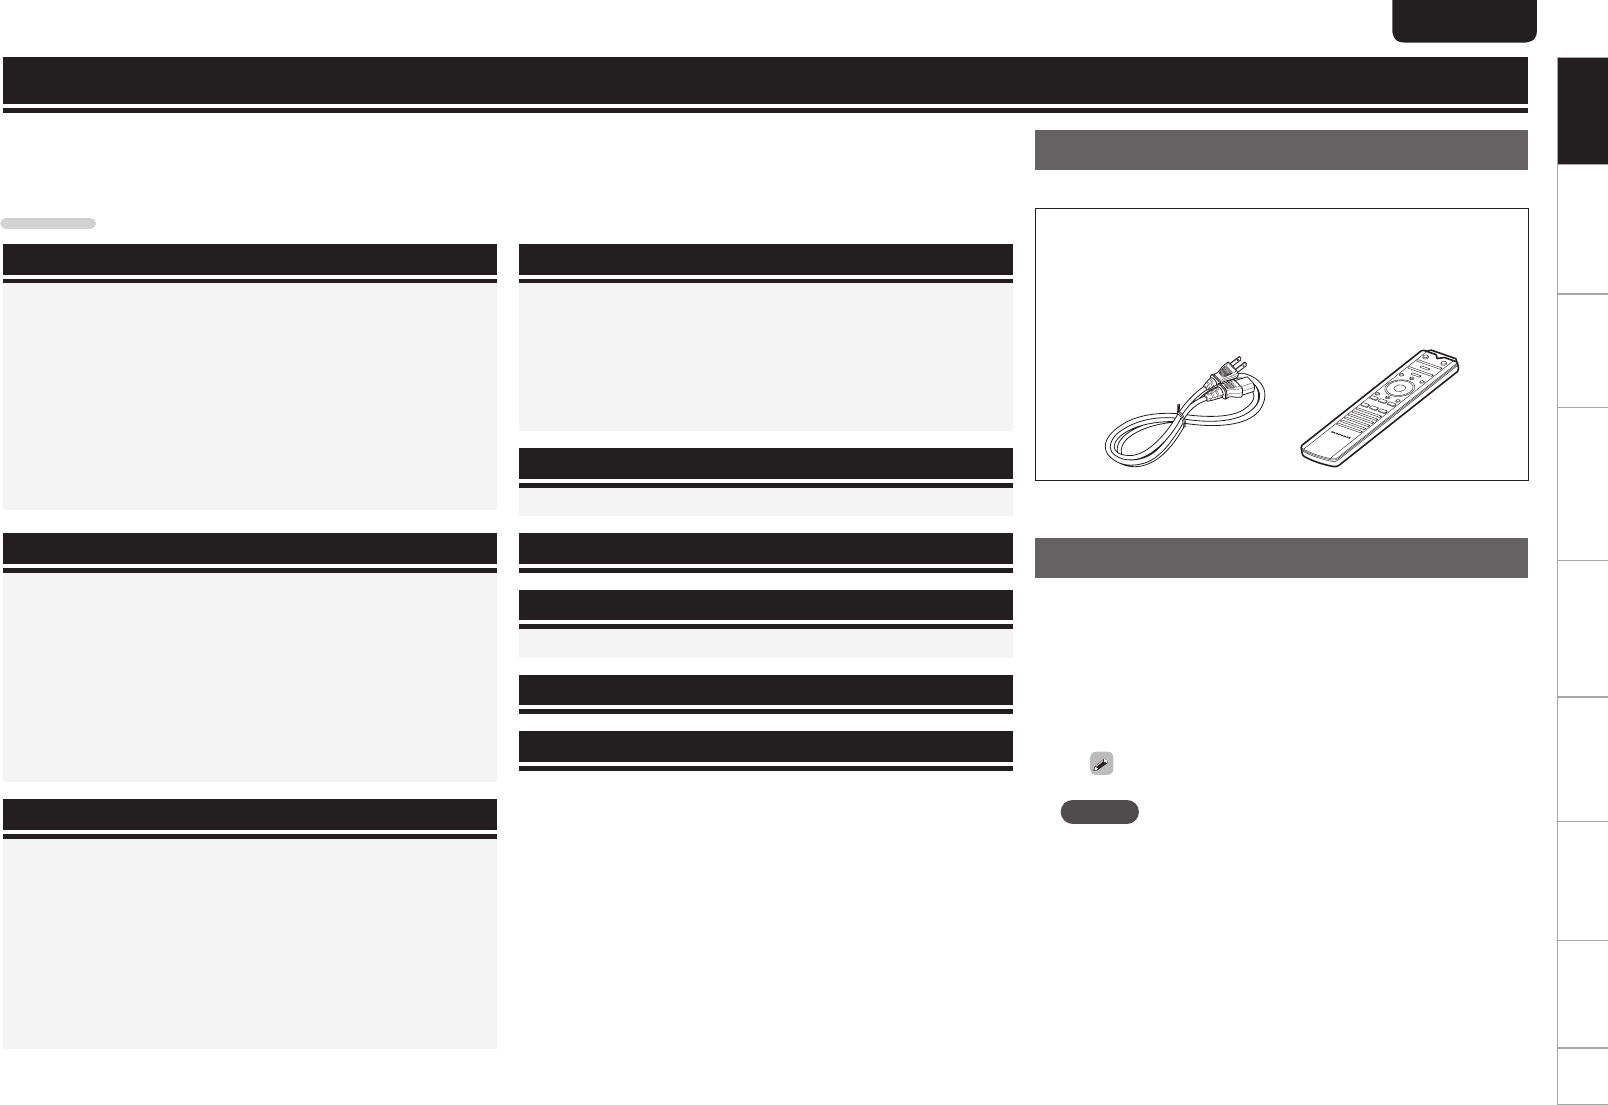
Accessories
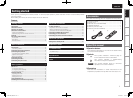
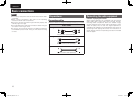
Check that the following parts are supplied with the product.
q Owner’s manual ........................................................... 1
w Power cord ................................................................... 1
e Remote control (RC001PMSA) .................................... 1
r R03/AAA batteries ....................................................... 2
t Warranty card (for USA) ............................................... 1
y Warranty card (for CANADA) ....................................... 1
we
About this manual
n Operation buttons
The operations described in this manual are based mainly
on remote control operation.
n Symbols
v
This symbol indicates a reference page on
which related information is described.
This symbol indicates a supplementary
information and tips for operations.
NOTE
This symbol indicates points to remember
operations or function limitations.
n Illustrations
Note that the illustrations in these instructions are for
explanation purposes and may differ from the actual unit.
Thank you for purchasing this marantz product. To ensure proper operation, please read this owner’s manual carefully before
using the product.
After reading the manual, be sure to keep it for future reference.
Getting started
Getting started ·······································································1
Accessories ····················································································1
About this manual ········································································1
Cautions on handling ····································································2
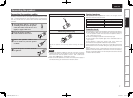
About the remote control ····························································2
Inserting the batteries···································································2
Operating range of the remote control unit ·································· 2
Features ·························································································3
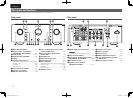
Part names and functions·····························································4
Front panel ····················································································4
Rear panel ·····················································································4
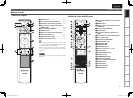
Remote control ············································································· 5
Basic connections··································································6
Preparations ··················································································6
Connecting cables ········································································6
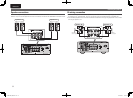
Connecting the audio equipment ················································ 6
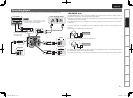
Connecting the speakers ······························································ 7
Connecting the speakers cables ···················································7
Speaker connections ····································································8
Bi-wiring connection ·····································································8
Connecting players ·······································································9
Connecting recorders ·································································10
Connecting the power cord························································10
Basic operation ·····································································11
Before use ····················································································11
Turning the power on ·································································11
Turning the power standby ·························································11
Turning the power off ································································· 11
Starting playback ········································································11
Adjusting the levels ····································································12
Adjusting the tone ······································································12
Muting the sound ·······································································13
Using headphone set ·································································· 13
Switching the illumination lamp setting ·································13
Advanced connections······················································14
F.C.B.S. connection ·····································································14
Preparation for F.C.B.S. connection ············································14
Stereo complete bi-amp connection ···········································16
Connection for 5.1 Multi-channel Playback ·································17
Connecting P.DIRECT IN connectors ········································· 19
Connecting pre out connectors ·················································19
Connecting the remote control connectors······························20
Advanced operations·························································20
Setting Auto standby mode ·······················································20
Explanation terms ·······························································21
Troubleshooting···································································21
Troubleshooting ·········································································· 21
Specifications ········································································24
Index ··························································································24
Contents
1.PM-11S3U_ENG_0521.indd 1 2012/05/21 19:03:25