


English-15
English
(a): Screws for bezel
P-2 Installing the monitor
Carry out as necessary
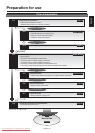
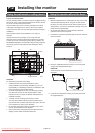
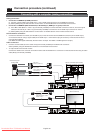
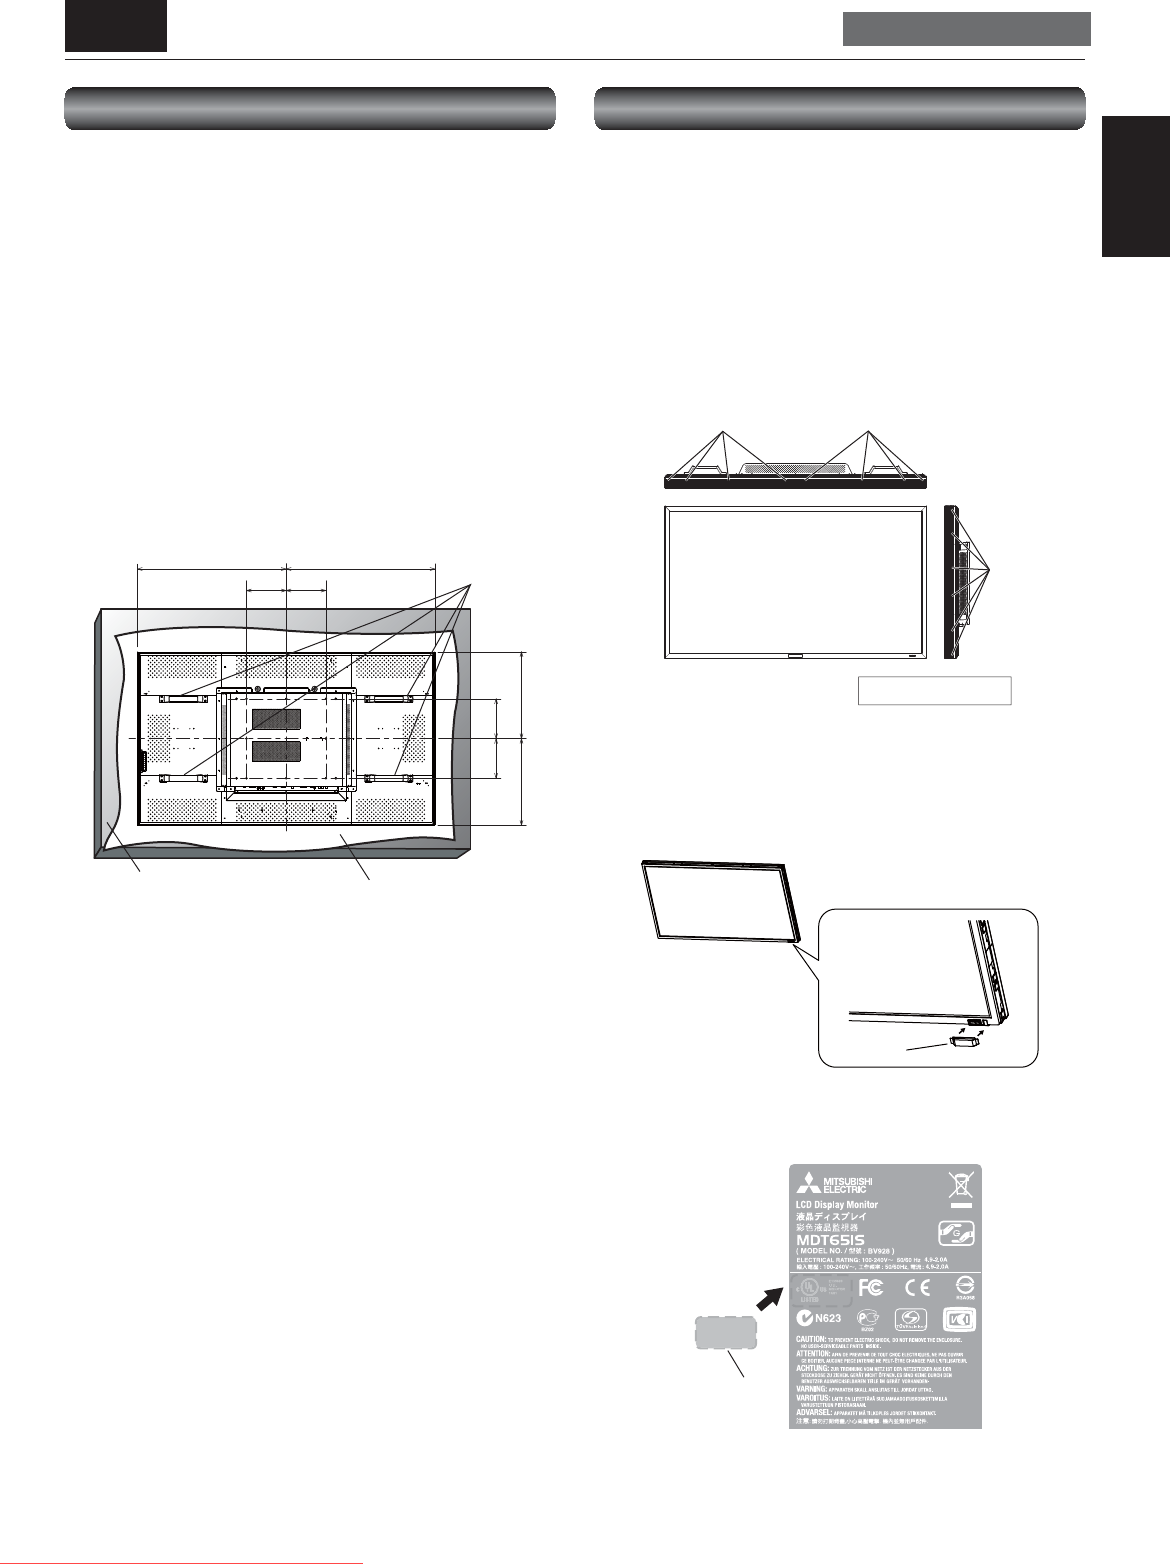
Using the wall mount or ceiling mount
Lay the screen face down
Lay the protective sheet on a table, which was wrapped around
the monitor when it was packaged, beneath the screen surface
so as not to scratch the screen surface.
Failure to follow the correct mounting procedures can result
in damage to the equipment or injury to the user or installer.
Product warranty does not cover damage caused by improper
installation.
Failure to follow these recommendations can void your
warranty.
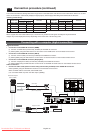
Use M8 screws (having a length 15 mm longer than the
thickness of the mounting bracket) and tighten them securely.
Prevent the screws from loosening using spring washers, etc.
MITSUBISHI ELECTRIC recommends using mounting interface
that comply with TÜV-GS and/or UL1678 standard in North
America.
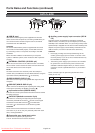
CAUTION:
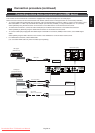
For preventing the monitor from falling.
• Install the monitor with metal brackets for wall or
ceiling installation (commercially available) on your own
responsibility. For detailed procedures of installation, refer
to the instructions of the metal brackets.
• To lessen the probability of injury and damage resulting
from fall of the monitor in case of earthquake or other
disaster, be sure to consult the bracket manufacturer for
installation location.
• To lessen the risk of falling of the monitor, thread
commercially available rope through the handles at the
right and left of the monitor and secure the rope to the wall
mount brackets or ceiling mount brackets.
• Do not sleep where the monitor may topple over or fall in
case of an earthquake or other disaster.
• Use screws having enough strength to support the LCD
display monitor (made of stainless steel etc.).
749 749
200 200
Handles
Protective Sheet
(mm)
Table
200 200
436.5436.5
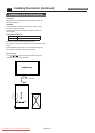
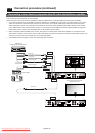
Using the monitor without the bezel
CAUTION:
• MDT651S satisfi es the UL requirements as long as it is used
with the bezel attached. When using the monitor without
the bezel, in which case the monitor doesn’t satisfy the UL
requirements, cover the UL certifi cation marking on the rear
panel with the supplied label.
• To prevent static damage to circuit boards, attach the
protective cover to the LCD panel.
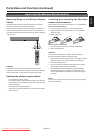
1. Unscrew the screws that hold the bezel to remove the bezel
from the monitor.
(a) (a)
(a)
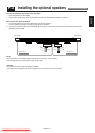
2. Place the supplied protective cover (b) on the LCD panel
using double-sided adhesive tape.
CAUTION:
Never touch the circuit boards because they may be
damaged.
(b)
3. Cover the UL certifi cation marking on the rear panel with
the supplied label (c).
(c)
Downloaded From TV-Manual.com Manuals