


33
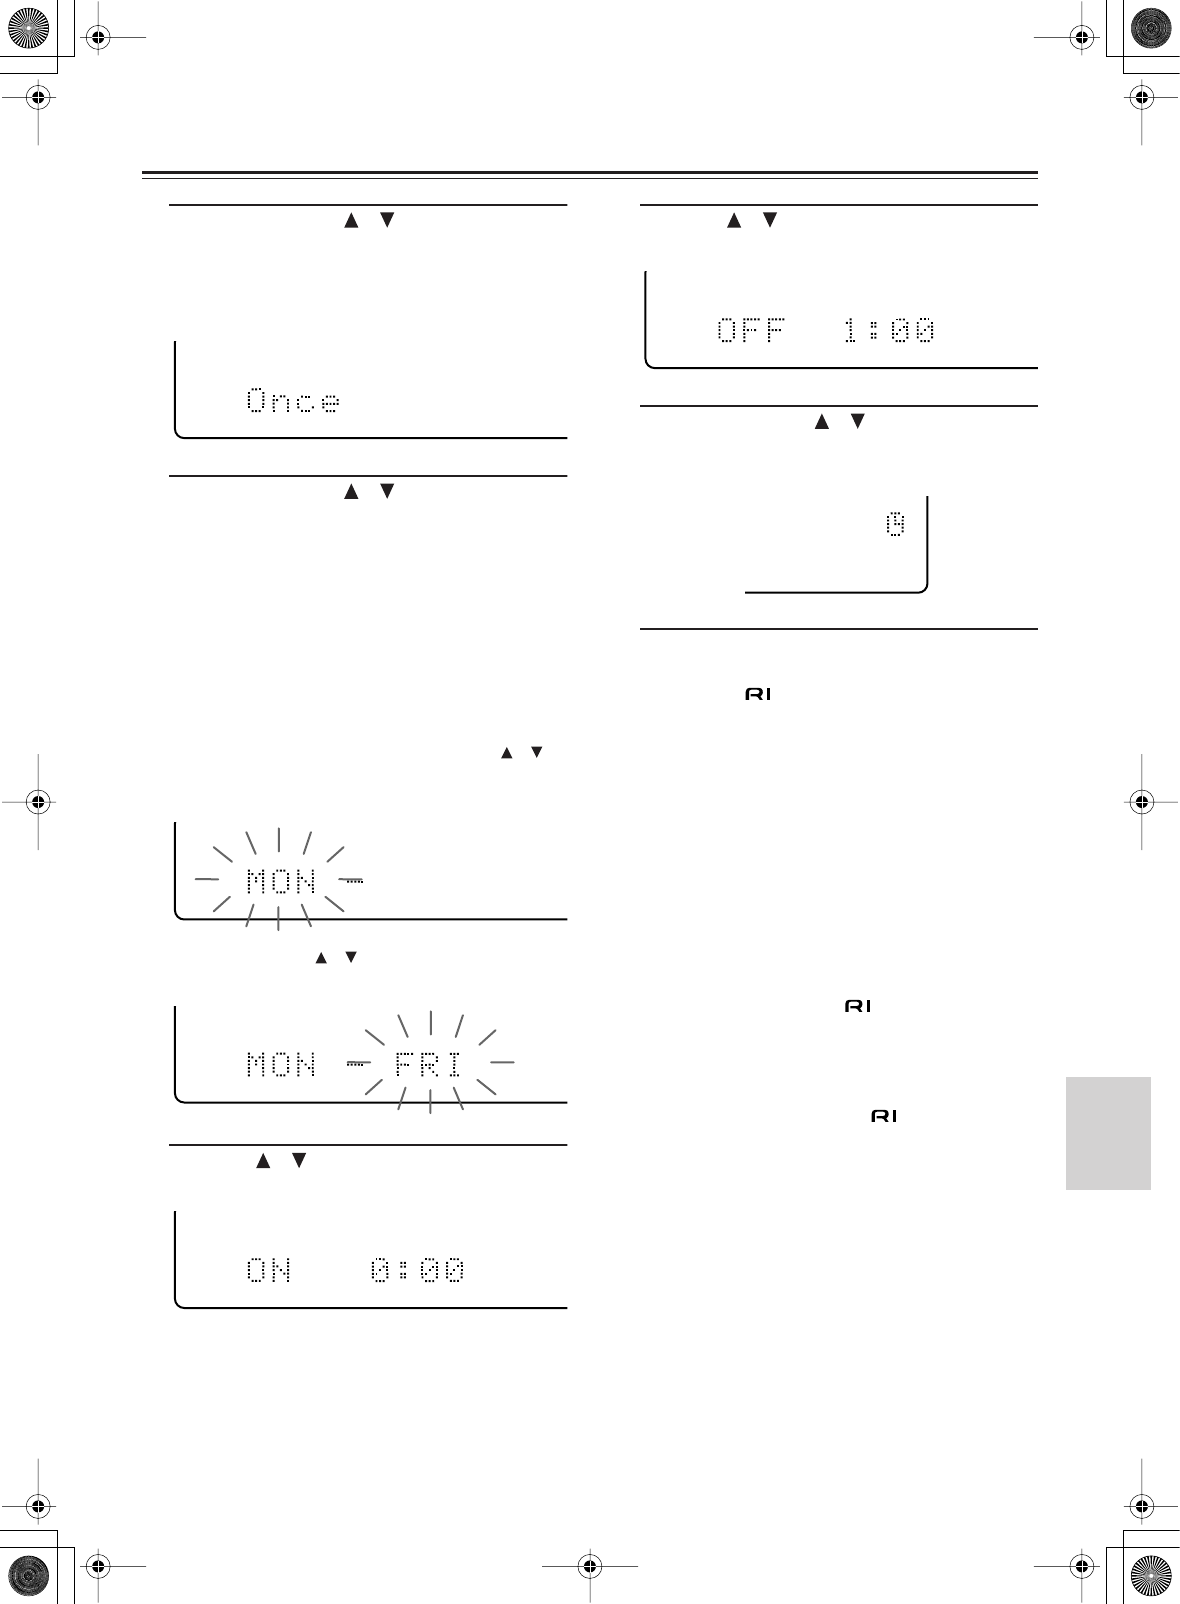
Timers—
Continued
4
Use the Up/Down [ ]/[ ] buttons to select
“Once” or “Every,” and then press
[ENTER].
Once:
For single use.
Every:
For weekly use.
5
Use the Up/Down [ ]/[ ] buttons to select
one of the following options, and then
press [ENTER].
SUN (Sunday) FRI (Friday)
MON (Monday) SAT (Saturday)
TUE (Tuesday) Every Day
WED (Wednesday) Days Set
THU (Thursday)
The “Every Day” and “Days Set” (specifies a range of
days) options only appear if you select “Every” in step
4.
If you select “Days Set,” use the Up/Down [ ]/[ ]
buttons to select the first day, and then press
[ENTER].
Use the Up/Down [ ]/[ ] buttons to select the last
day, and then press [ENTER].
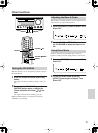
6
Use the [ ]/[ ] button to set the ON time,
and then press [ENTER].
After the ON time has been set, the OFF time is auto-
matically set to one hour later.
7
Use the [ ]/[ ] buttons to set the OFF
time, and then press [ENTER].
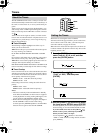
8
Use the Up/Down [ ]/[ ] buttons to select
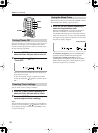
“Timer ON,” and then press [ENTER].
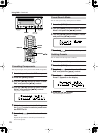
The TIMER indicator appears, as shown.
9
Press the [STANDBY/ON] button to set the
CR-505DAB to Standby mode.
If you use any -connected cassette tape deck or MD
recorder as a recording device, you must also set the
device to standby mode.
Notes:
• You can cancel the timer setting procedure at any time by
pressing the [TIMER] button.
• If you’re using a timer to start playback, be sure to set the
volume to a suitable level. If the [VOLUME] control is
set to minimum, you won’t hear anything when the timed
playback task starts.
• If you set the playback source to CD, don’t forget to load
a CD into the CR-505DAB before setting it to Standby
mode.
• If you’re using a timer to start recording on an Onkyo cas-
sette tape deck connected via , be sure to select the
correct input source on the cassette tape deck, and load a
cassette tape before switching the CR-505DAB to
Standby mode.
• If you’re using a timer to start recording on an Onkyo
Mini Disc recorder connected via , be sure to connect
the recorder’s analog inputs to the CR-505DAB’s analog
outputs. And be sure to select the correct input source on
the MD recorder.
• For timed recording, it’s a good idea to set the start time
a little before the actual start time of the program that you
intend to record.