


Black plate (4,1)
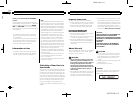
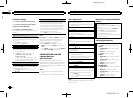
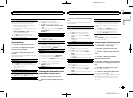
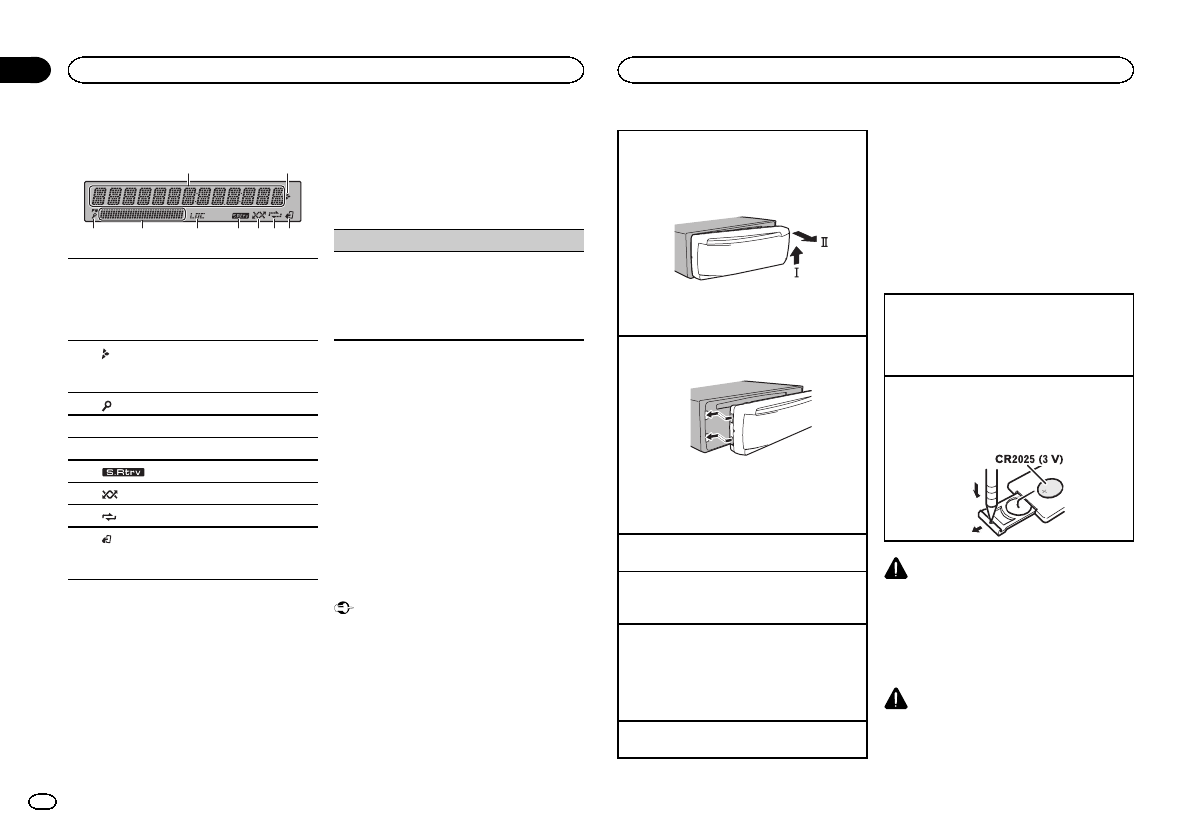
Display indication
1
9754
2
3 6 8
1
Main information section
! Tuner: band andfrequency
! CD player, USBstorage device and iPod:
elapsed playback timeand text informa-
tion
2
Appears when alower tier of folderor menu
exists.
3
(list)
4 Sub information section
5 LOC (local seektuning)
6
(sound retriever)
7
(random/shuffle)
8
(repeat)
9
(iPod control)
This unit’s iPod function isoperated from
your iPod.
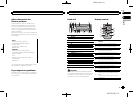
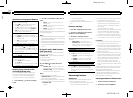
Set up menu
1 After installation of this unit, turn the
ignition switch to ON.
SET UP appears.
2 Turn M.C. to switch to YES.
# If you donot use the unit for30 seconds, the set
up menu willnot be displayed.
# If you prefernot to set up atthis time, turn M.C.
to switch toNO.
3 Press M.C. to select.
4 Complete the procedure outlined below
to set the menu.
To proceed to the next menu option,you need to
confirm your selection.
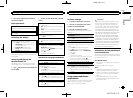
CLOCK SET (settingthe clock)
1 Turn M.C.to adjust hour.
2 Press M.C. toselect minute.
3 Turn M.C.to adjust minute.
4 Press M.C. toconfirm the selection.
QUITappears.
5 To finish your settings, turn M.C. to select
YES.
# If you preferto change your settingagain, turn
M.C. to switchto NO.
6 Press M.C. to select.
Notes
! You can set up the menu options from the
system menu. For details about the settings,
refer to System menu on page 11.
! You can cancel set up menu by pressing
SRC/OFF.
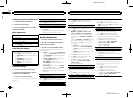
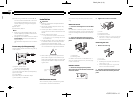
Basic operations
Important
! Handle the front panel with care when re-
moving or attaching it.
! Avoid subjecting the front panel to excessive
shock.
! Keep the front panel out of direct sunlight
and high temperatures.
! To avoid damaging the device or vehicle inte-
rior, remove any cables and devices attached
to the front panel before detaching it.
Removing thefront panel
1 Press the detachbutton to release the front
panel.
2 Push the frontpanel upward (M) and thenpull
it toward (N) you.
3 Always store the detachedfront panel in apro-
tective case orbag.
Re-attaching the frontpanel
1 Slide the front panelto the left.
2 Press the rightside of the front paneluntil it is
firmly seated.
Forcing thefront panel into placemay result in
damage to thefront panel or headunit.
Turning the uniton
1 Press SRC/OFF toturn the unit on.
Turning the unitoff
1 Press and holdSRC/OFF until theunit turns
off.
Selecting a source
1 Press SRC/OFF tocycle between:
HD RADIO—CD—USB/iPod—PANDORA—
APP (application)—AUX
! USB MTP displayswhile the MTP connection
is in use.
Adjusting the volume
1 Turn M.C.to adjust the volume.
Note
When this unit’s blue/white lead is connected to
the vehicle’s auto-antenna relay control termi-
nal, the vehicle’s antenna extends when this
unit’s source is turned on. To retractthe anten-
na, turn the source off.
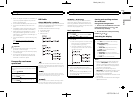
Use and care of the remote
control
Using the remotecontrol
1 Point the remotecontrol in the directionof the
front panel tooperate.
When using forthe first time, pullout the film
protruding from thetray.
Replacing thebattery
1 Slide the tray out onthe back of theremote
control.
2 Insert the battery with the plus(+) and minus
(–) poles alignedproperly.
WARNING
! Keep the battery out of the reach of children.
Should the battery be swallowed, consult a
doctor immediately.
! Batteries (battery pack or batteries installed)
must not be exposed to excessive heat such
as sunshine, fire or the like.
CAUTION
! Remove the battery if the remote control is
not used for a month or longer.
Using this unit
4
Section
Using this unit
En
02
<QRD3199-A>4