


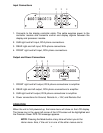
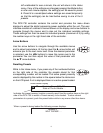
2. Arrows. Use the arrow buttons to navigate through the menus and to adjust a
menu setting.
3. LCD Display. Backlit display, soft-blue background for easy viewing at night.
4. Presets. Five preset buttons to allow you to select from 5 settings that you
have entered. Examples of these presets would be for the type of music,
different volume settings, different audio sources.
5. USB. Open this cover to plug in a mini-USB connector. This port is used to
upgrade the software in the controller and to allow the installer to load in
parameters for known vehicle acoustical environments using a pc.
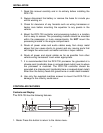
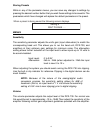
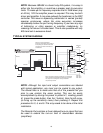
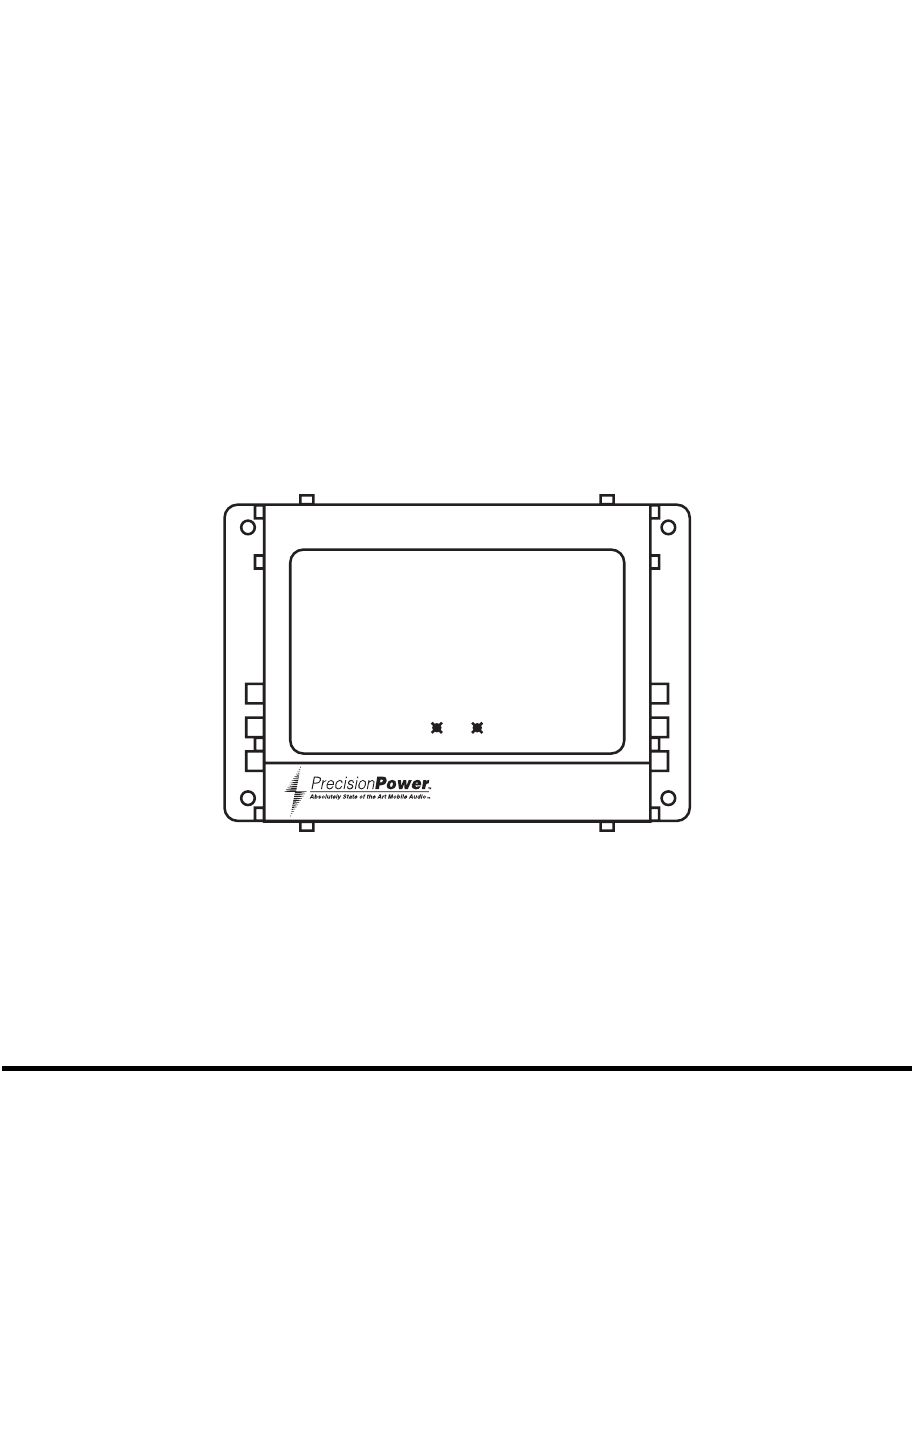
The controller connects to the processing module (shown below) by means of a
long cable at the back of the controller. This cable powers the controller from the
processing module and and gives the audio settings to the processing module.
The top panel has a green power on indicator LED and a red clipping (out)
indicator LED. If the clipping LED indicator is illuminating, the DCX-730 requires
adjustment. Damage to your speakers could result from the DCX-730 being
improperly adjusted.
PROCESSING MODULE
The processing module is designed so that it can be integrated into almost any
installation. All of the audio flows through the processing module prior to going to
the amplifier. This allows the processing module to be mounted in a remote
location where the audio signal path length can be kept to a minimum. The unit
must be mounted in a location where it will not be subject to excessive
temperature or vibration. The processing module should be installed in the
passenger compartment or the trunk of the vehicle. Do NOT install this unit in the
engine compartment, as the unit will be exposed to extreme temperatures and
weather.
Power Out
3