14 GB/IE
cinch plug jack [red / rear right] fs.
• Insert the white plug of the cinch connection
cable as far as it will go into the LINE IN L cinch
plug jack [white
/ rear left]
ft.
• Then insert the 3.5 mm stereo jack into the
headphone output of the audio device.
•
In order to play back the sound, press the
•
LD / MD
button buuntil the letters AUX
appear in the display window.
•
For operation of the external device, please see
its operating instructions.
L
Connecting to the aerial
of the motor vehicle
• Guide the connection cable of the vehicle aerial
carefully out of the front of the DIN assembly
bracket up to the car radio.
•
Insert the plug of the connection cable of the
vehicle aerial as far as it will go into the aerial
socket
goof the car radio.
If necessary, use an aerial adapter in accordance
with the technical data of the aerial.
•
If present: Connect the 12 V DC connection cable
of an electric aerial to the electric aerial
fn
plug-in.
L
Attaching to the DIN assembly
bracket
• Insert the rear of the car radio together with
the connected cables carefully into the DIN
assembly bracket.
•
Ensure that no objects are able to cover the
vents of the metal housing
dt.
• Ensure that there is no connection cable
between the metal housing
dt and the DIN
assembly bracket. Prevent the cables from
becoming caught, as any damage may result in
a short circuit and malfunctioning of the device
or the vehicle’s electronic system.
•
Push the car radio into the DIN assembly bracket
until it distinctly locks into place.
•
You should also secure your device against
theft. Fix the attachment screw
frwith the
anchoring plate and the attachment material to
the engine fire wall of the vehicle.
• Ensure that all cables are properly connected
and that the power supply is working correctly.
The LED (red)
/ power supply
dqflashes.
• Use the tip of a ballpoint pen to press the reset
button
dron the front of the device (see Fig. C).
L
Attaching the control panel
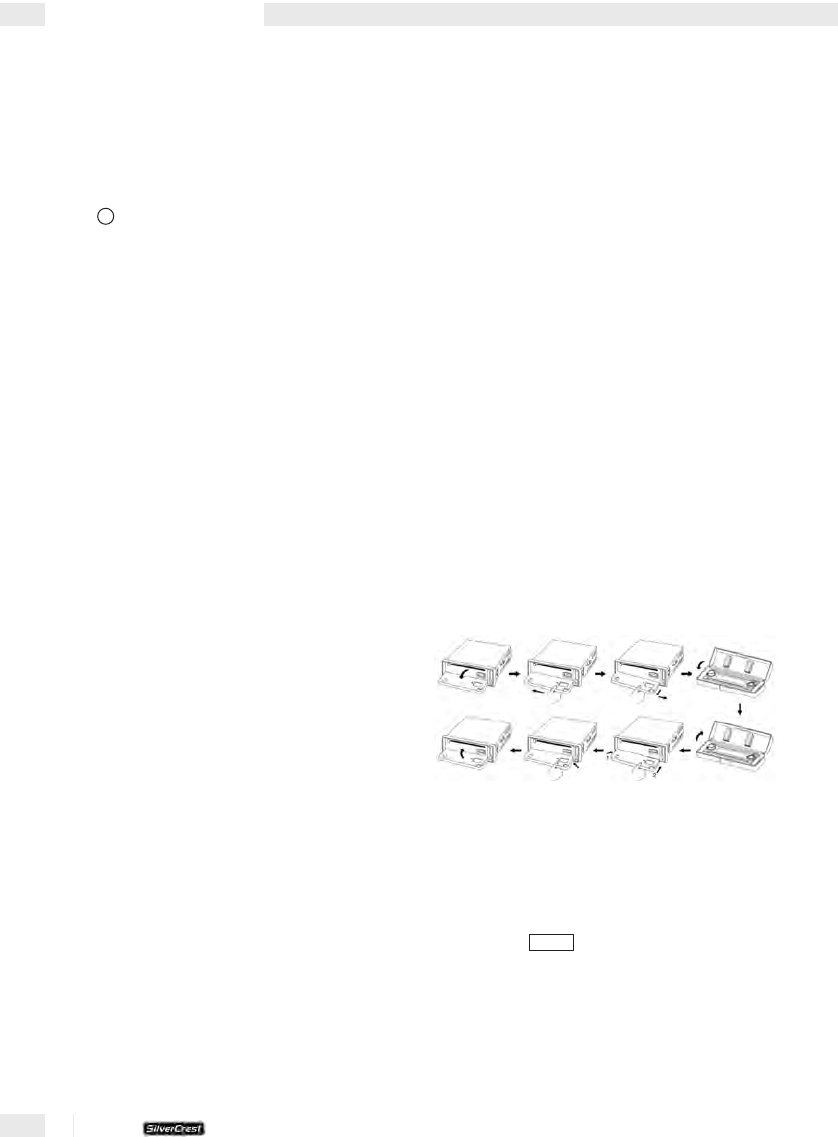
• Remove the control panel 1from the plastic
box.
•
Avoid hard contact with the display window
3.
• Place the rear left-hand edge of the control
panel
1on the control panel attachment point
dpon the front of the device.
• Ensure that the plug-in connection strip
cris
positioned in front of the connection socket
dl.
• Carefully press the rear right-hand edge of the
control panel
1against the control panel
attachment point
dpuntil it distinctly locks into
place.
•
Fold the control panel
1upwards and allow it
to lock into place.
L Operation
L Switching on
• Press the
PWR / DIM
button cn.
The factory settings of the device are as follows:
•
The word [WELCOME] appears in the display
window
3.
• The buttons are illuminated in blue (these can
be adjusted on two levels).
Installation / Operation
KH2380_Content_UK.indd 14 12.09.2006 11:57:12 Uhr


