


7 8
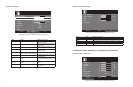
Monitor Installation
1.Desktop intstallation
Observe the following safety precautions:
(1) Read and Follow the pedestal assembly instructions.
CAUTION:
Before beginning pedestal assembly, carefully lay the front of the LCD Panel face down on a at, cushioned
surface such as a quilt or blanket. Leave the bottom of the unit protruding over the edge of the surface and assemble the
pedestal mentioned below.
(2) Place the LCD monitor on a sturdy, level surface that can support the weight of the monitor.
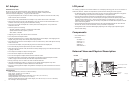
Viewing Angle:
For the user’s convenience, the LCD screen may be tilted according to their viewing requirements. The
monitor can be tilted forward up to 25 degrees or backward up to 5 degrees.
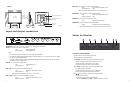
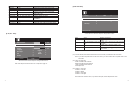
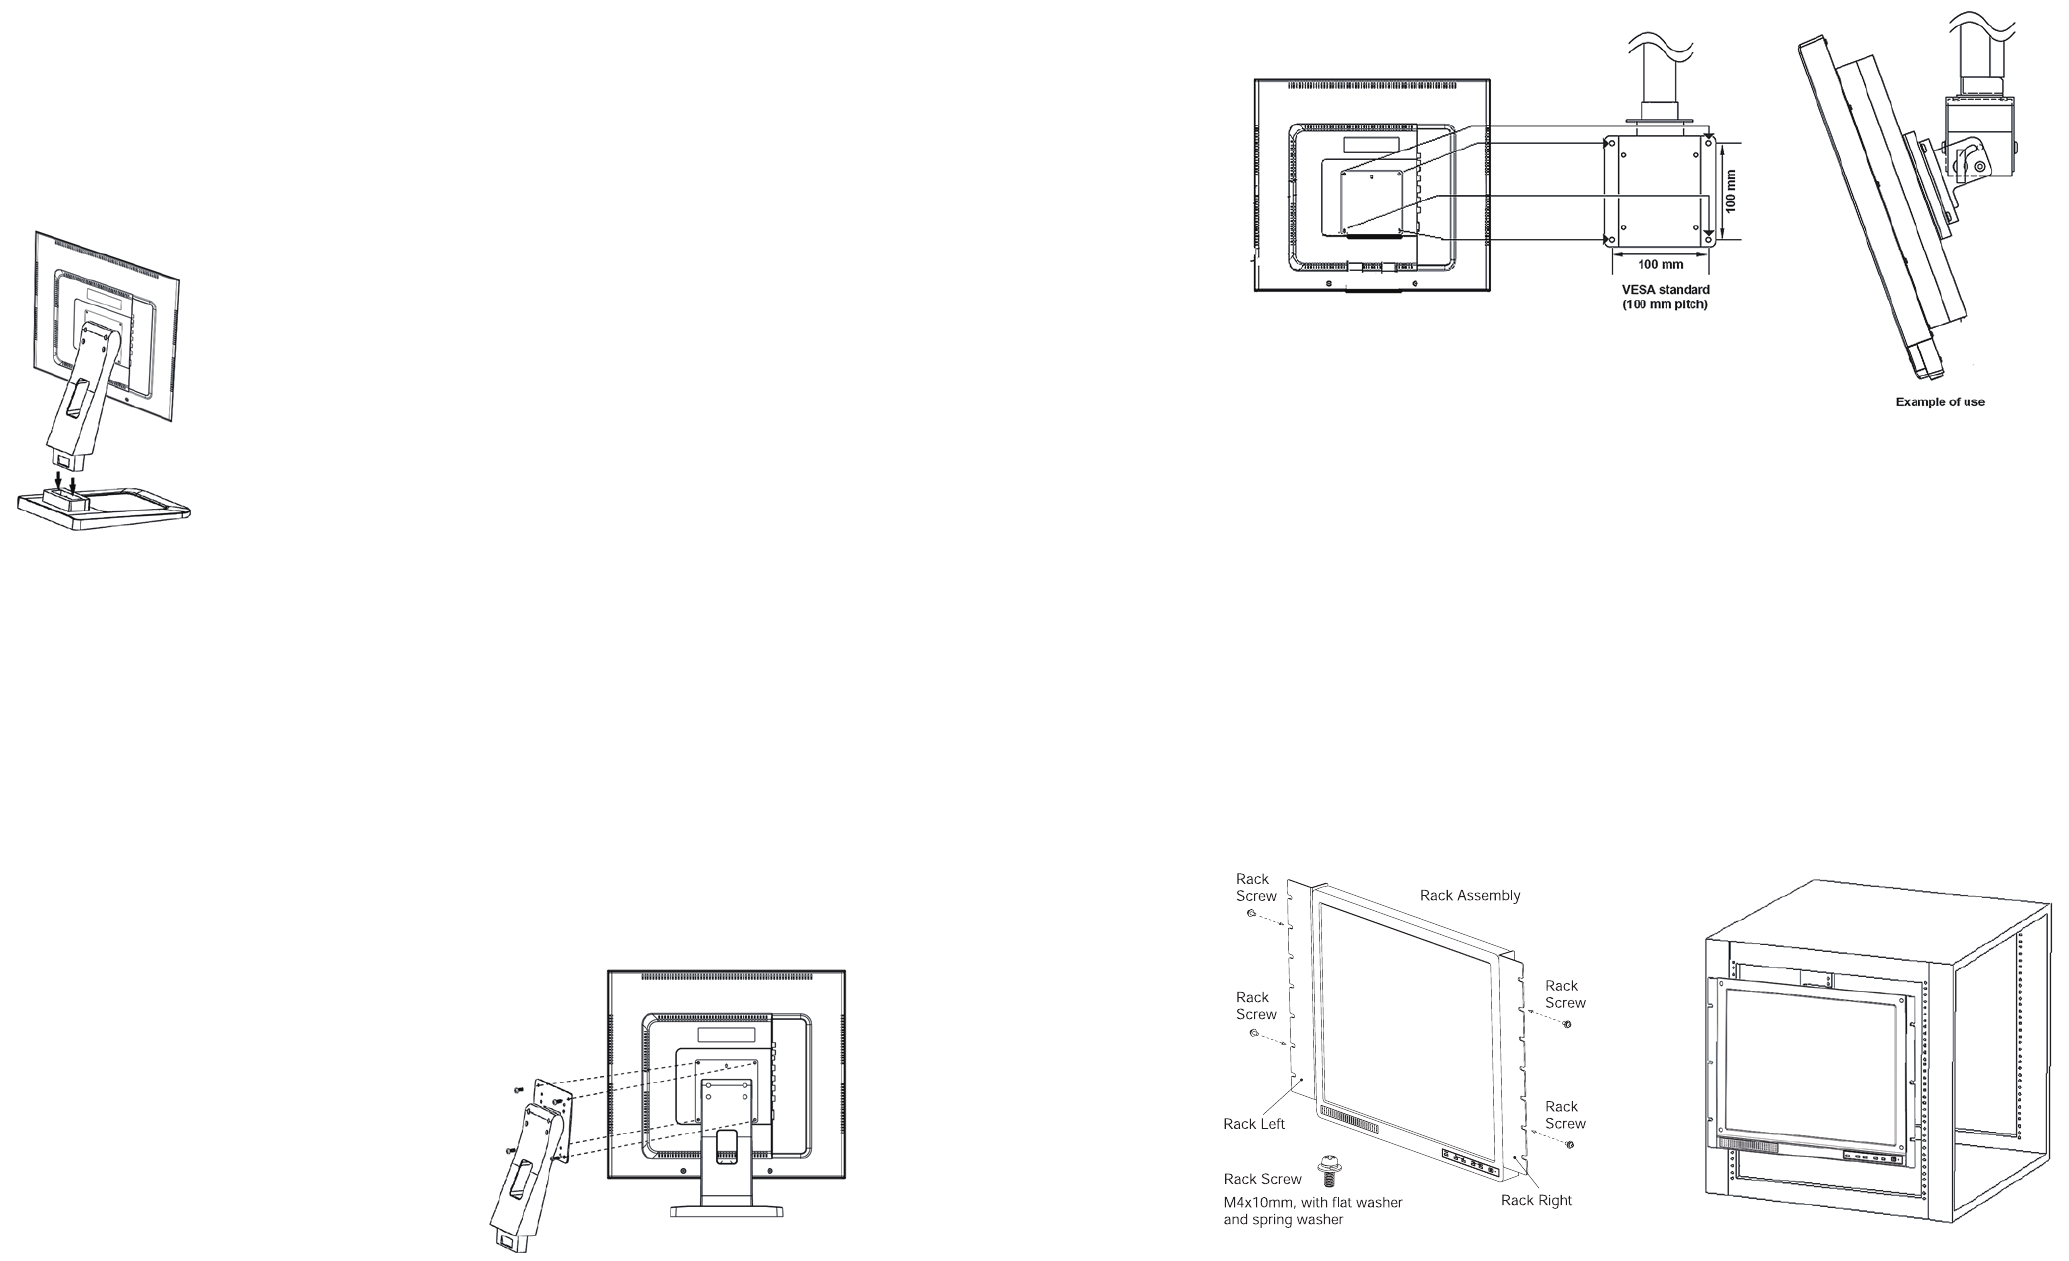
2.Wall Mount Installation
If you decide to wall mount your LCD monitor, always use VESA wall bracket appropriate for the size and
weight of the LCD monitor.
VESA Mounting Pattern:
Hole Pattern (HxV): 100x100 mm
Screw Size: M4
(5) Follow the instructions provided with your wall bracket. Before proceeding, make sure the appropriate
bracket(s) are attached to the wall and the back of the monitor.
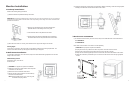
① Extreme care should always be used when attaching the
pedestal stand to avoid damage to the LCD panel.
Insert the back stand to the pedestal until it clicks.
Check that the back stand and pedestal are rmly attached
and that the back stand is rmly attached to the LCD monitor.
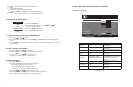
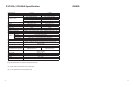
3.Rack mount installation
If you decide to the Rack mount your LCD monitor, always use a dedicated rack mount bracket below.
P1710A: ERK-17
P1910A: ERK-19
Note: Rack mount bracket is not included. It is sold separately.
1)
CAUTION:
Two people are required for installation.
2) Unplug and remove any cables and/or other component connectors from the monitor.
3) Remove the screws and back stand. Remove the rivets on the side of monitor.
4) Always use the screws supplied by the rack mount bracket, and secure the bracket to the monitor.
5) Follow the instructions provided with your rack. And secure the monitor to the rack by appropriate
screws.
(1)
CAUTION:
Two people are required for installation.
(2) Unplug and remove any cables and/or other component
connectors from the monitor.
(3) Remove the screws and back stand shown.
(4) Always use the screws supplied or recommended by
the wall mount manufacturer.
Note:
Use appropriate screws up to 12mm long with
at washer and spring washer.