Using the Area Shot function
How to operate the Area Shot function (U.S.A./CANADA only)
About the Area Shot function
Using the Area Shot function, route data retrieved from the ECLIPSE E-iSERV web site containing
maps to predetermined destinations and guidance information can be displayed on your main unit.
Importing Area Shot data
• Load the Area Shot data in the USB memory or CD-R, which is downloaded from the E-iSERV
(web site), to the unit. For details of the operation, see ‘Reading Area Shot data’ in the Owner’s
Manual.
• After loading all Area Shot data following the above instructions, press and hold the [MUTE/Area
Shot] button for more than one second to activate the Area Shot function.
• Press and hold the [MODE] button for more than one second to switch between the Town Map
and the Route Assist view.
ATTENTION
<When using a USB memory drive>
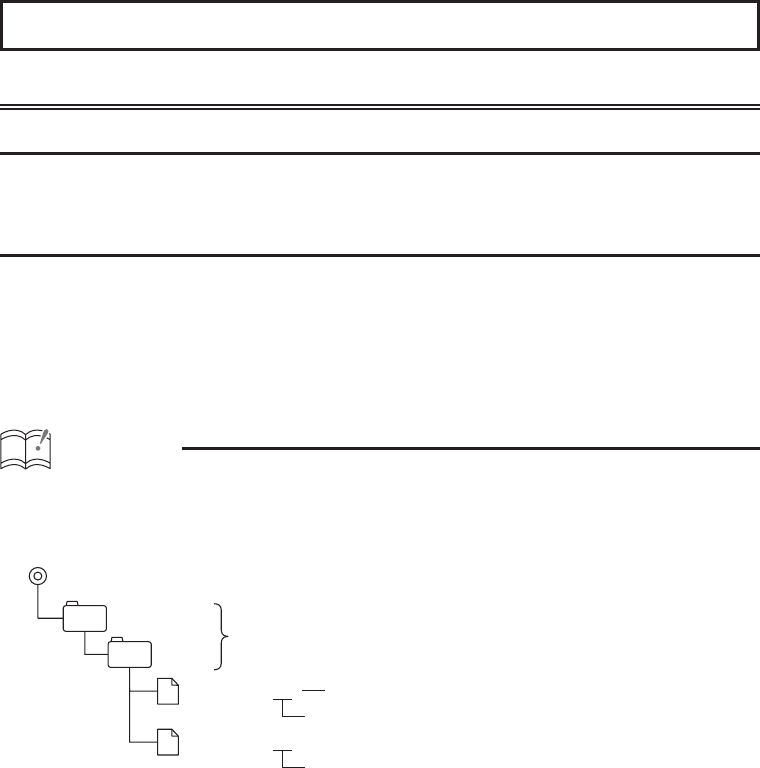
• Data downloaded from the E-iSERV (web site) should be saved to folders created in the USB
drive as shown below (NOTE: in order for the system to properly recognize and load Area Shot
data, the user must create and name their folders as shown in the diagram below).
ECLIPSE
AREA
File extension
XXXXXXXX
.twn
Automatically generated filename
Must be created by user
File extension
XXXXXXXX
.ast
• Files retrieved from the E-iSERV web site are given automatically generated fi lenames upon
download.
• All route map and guidance information etc. retrieved from the E-iSERV web site are stored in
these automatically generated fi les.
• In the USB music-playing mode, the E-iSERV data in the USB memory cannot be read.
• NOTE: The fi le names can be changed within 8 alphanumeric characters (space cannot be
used.)
<When using a CD-R>
• The main unit can only import fi les located in the root directory of the CD-R.
