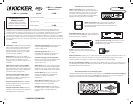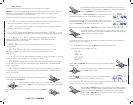
WIRING
WXRCREMOTECONTROL
6 7
MOUNTING
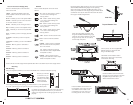
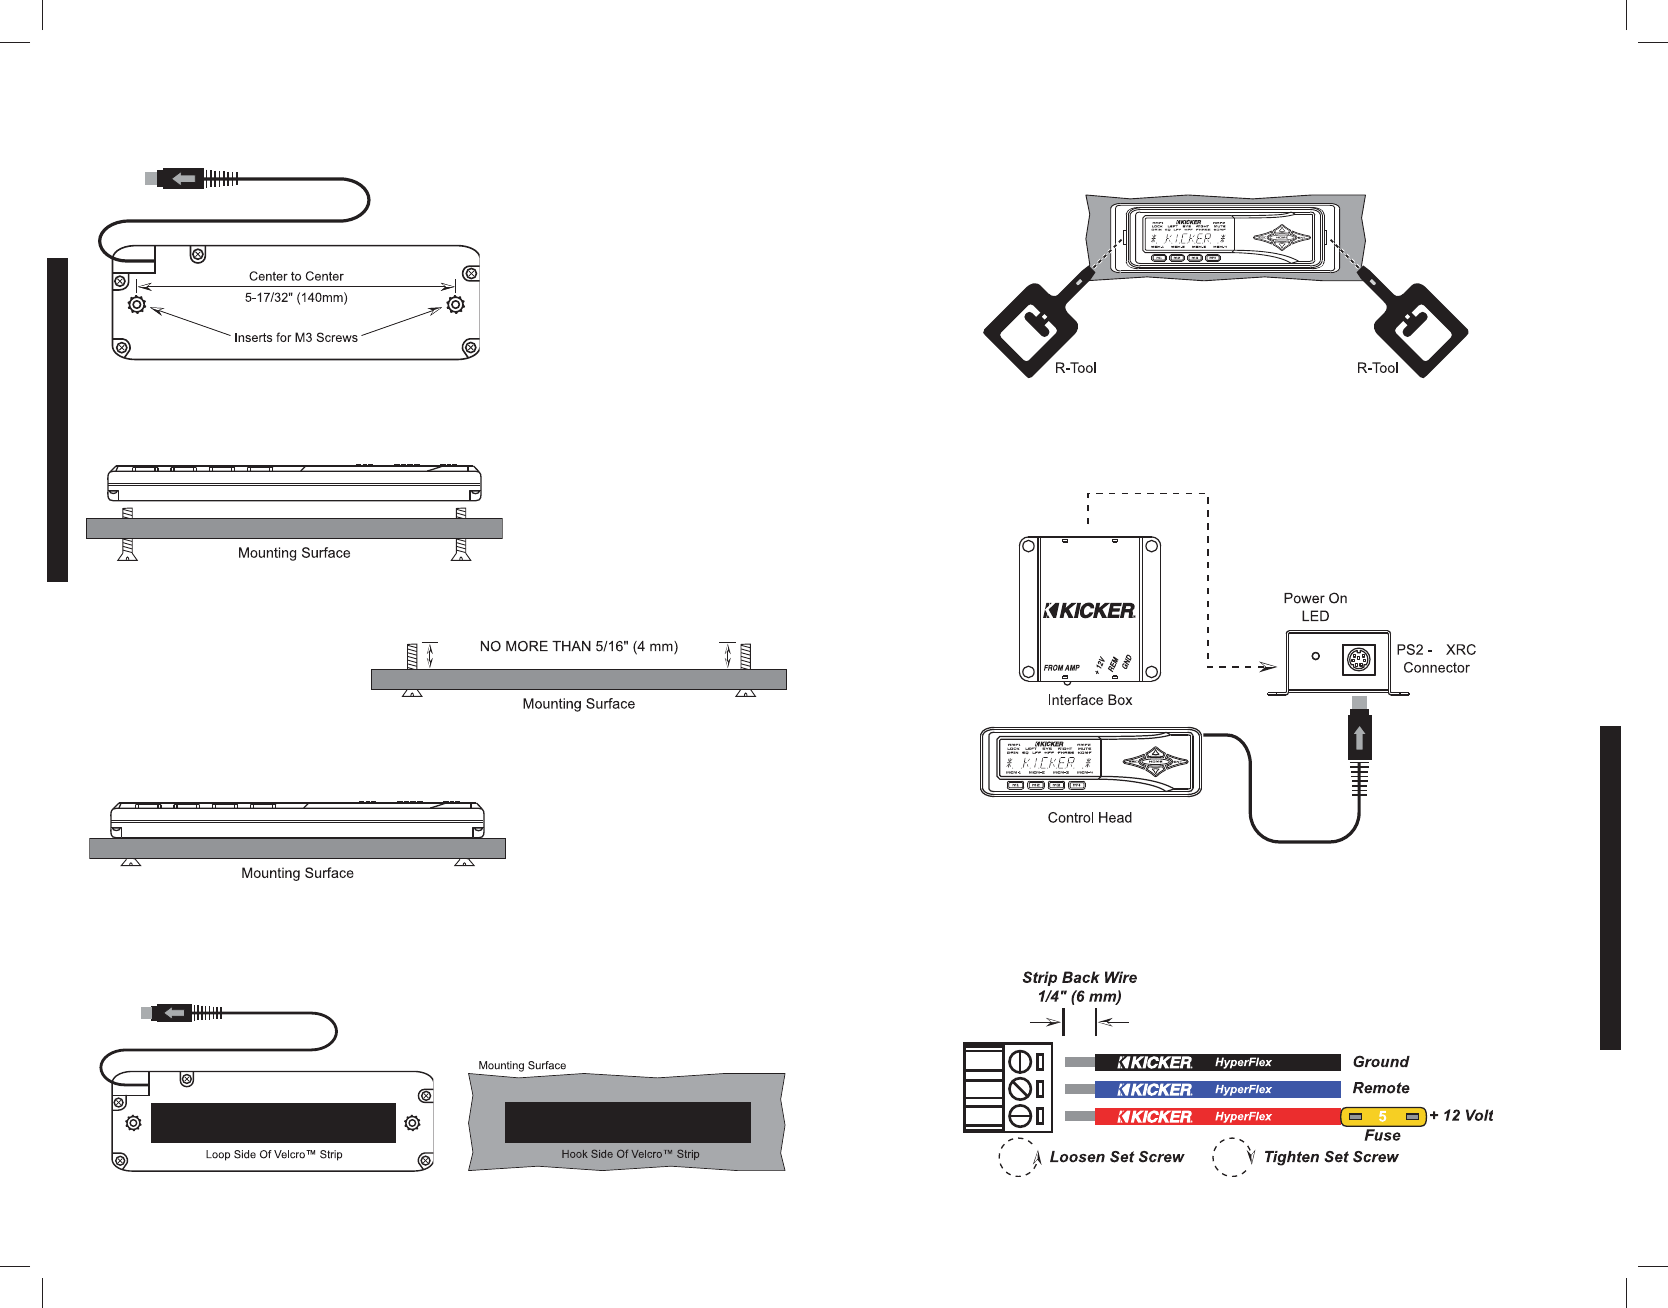
Surface Mounting With Screws
The WXRC Control Head can also be surface mounted if you do not have a spare DIN opening in your
dash or do not want to cut one into an existing panel.
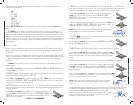
The back of the WXRC Control
Head has two metal inserts
designed to work with M3 screws.
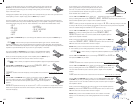
Find a suitable location and drill two
1/8 inch (3 mm) holes to secure the
WXRC Control Head.The holes
should be 5-17/32” (140 mm) apart
from center to center.
NOTE: You will need to have access to the area behind
the mounting surface to install the mounting screws.
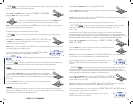
Once your holes are drilled you
can use the two supplied M3
screws to secure the WXRC
Control Head to your mounting
surface. If the supplied screws are
not long enough to reach the
WXRC Control Head you can
supply your own M3 screws of the
required length to secure the
WXRC.
NOTE!!! Whether using the supplied
M3 screws from the WXRC kit or
your own, the screws can not enter
into the WXRC more than 5/16” (4
mm). If you attempt to insert the
screw any deeper than this into the
WXRC Control Head you will run the
risk of damaging the unit.
Route the WXRC Control Head cable
to your WXRC Interface Box
location.Your WXRC Control Head is
now mounted and you can move on
to the wiring section of this manual.
Surface Mounting With Velcro
If you do not want to cut any openings or drill any holes you can use a material such as Velcro™ to
secure your WXRC Control Head to your dashboard or other mounting surface. Velcro™ is not supplied
with your WXRC but can be obtained from any local fabric or retail store.
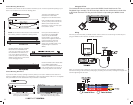
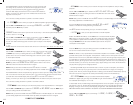
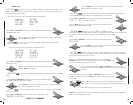
Place a 5” (127 mm) strip of
the loop half on the WXRC.
Place a 5” (127 mm) strip of the
hook half on the mounting surface.
Using the R-Tool
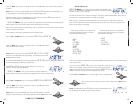
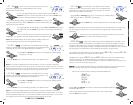
The included R-Tools are used to remove the WXRC Control Head from the Trim
Ring/Metal Cage assembly. The R-Tools simply slide into the notched area on both sides
of the Plastic Cosmetic Trim Ring and will release the clips holding the WXRC Control
Head.
Wiring
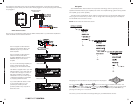
Now that you have mounted your WXRC Control Head it is time to do some wiring. The first step is to
plug your WXRC Control Head into the WXRC Interface Box.
TO WXRC
W
Next, run a fused (5 amp) constant 12 volt, ground and remote turn on to the WXRC Interface Box.
Connect the wiring to the removable power plug by loosening the set screws, inserting the stripped wire
and then tightening the set screw.


