NAMES AND
FUNCTIONS
26
BASIC
CONNECTIONS
BASIC
OPERATION
ADVANCED
CONNECTIONS
SETUP
ADVANCED
OPERATION
TROUBLESHOOTING
OTHERS
ADVANCED
OPERATION
ENGLISH
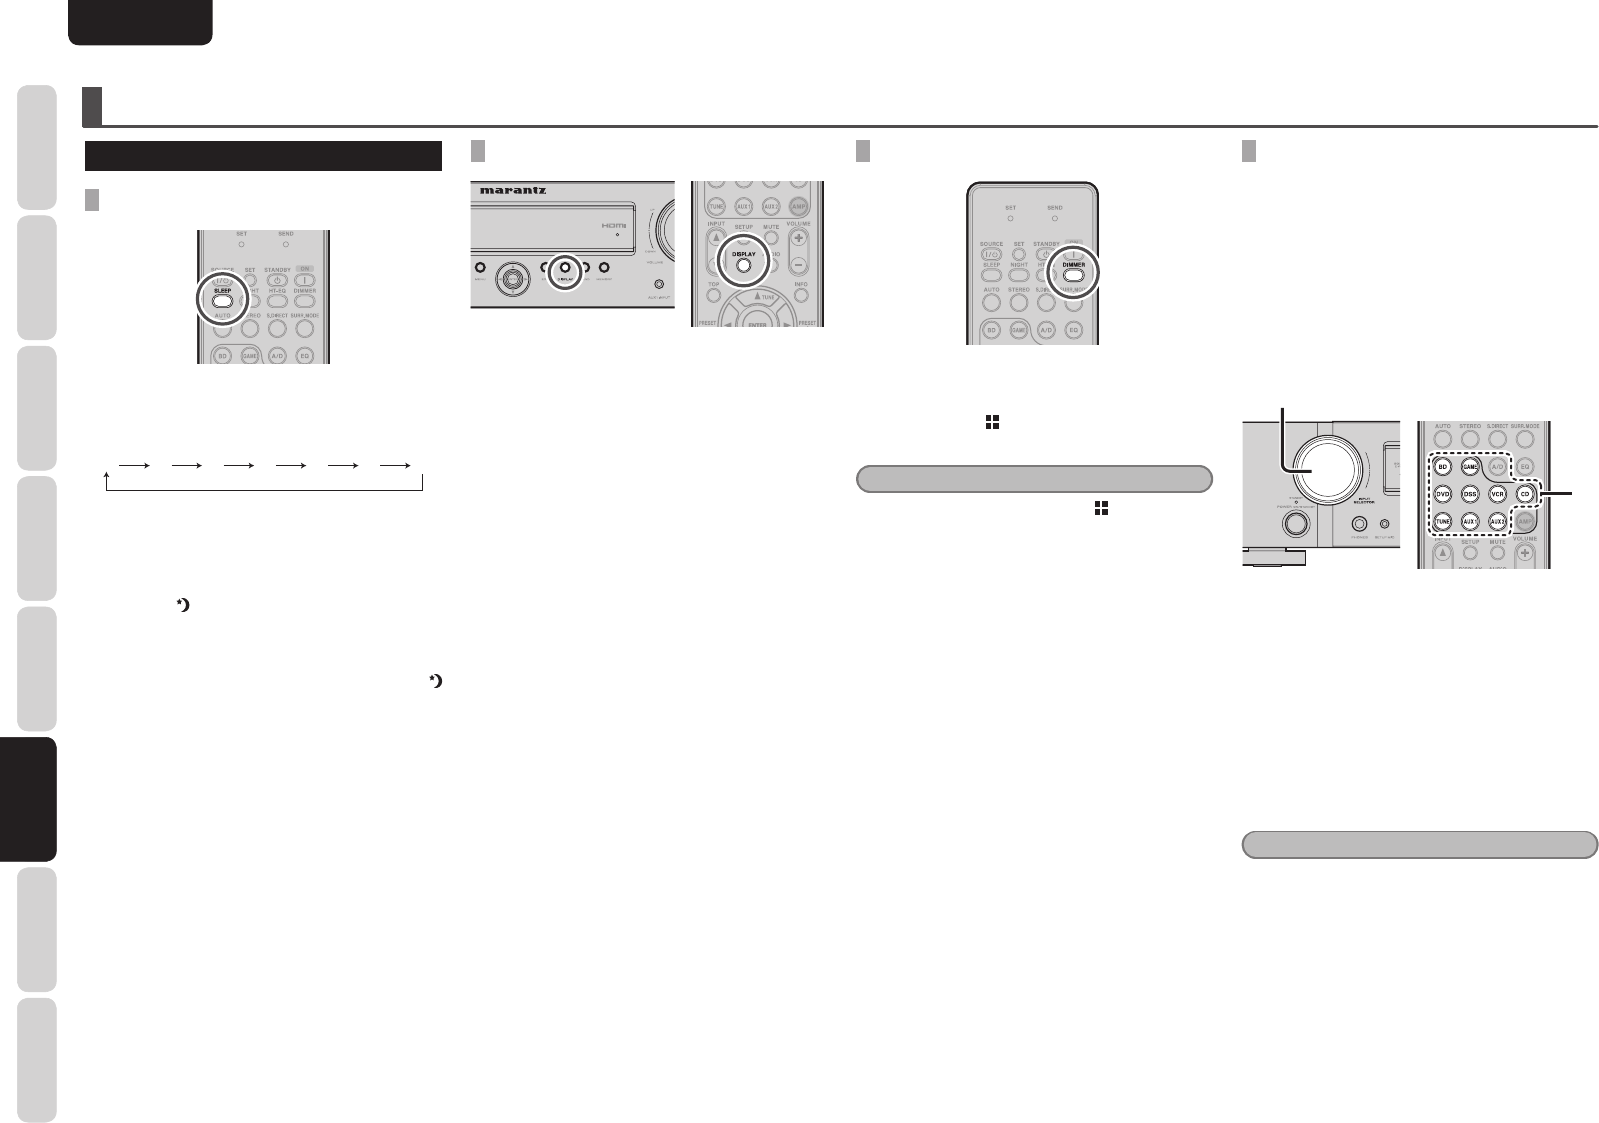
ADVANCED OPERATION
AMP OPERATION
USING THE SLEEP TIMER
To program this unit for automatic standby, press
the SLEEP button on the remote controller.
Each press of the button will increase the time
before shut down in the following sequence.
OFF 10 12090603020
The sleep time will be shown for a few seconds in
the display on the front panel, and it will count down
until the time has elapsed.
When the programmed sleep time has elapsed, the
unit will automatically turn off.
Note that the
indicator on the display will illuminate
when the Sleep function is programmed.
To cancel the sleep function, repeatedly press the
SLEEP button on the remote controller until the
timer time is cleared. When it is canceled, the
indicator on the display goes off.
DISPLAY MODE
You can select the display mode for the front display
of the unit.
To select this mode, press the DISPLAY on the
remote controller or the front panel.
When this button is pressed, the display mode is
switched in the following sequence.
Input function → Volume → Surround → Input
signals → Input function
Input function:
The status of the input function that was set
in FUNCTION INPUT SETUP (see page 20) is
displayed.
Volume:
The current volume level is displayed.
Surround:
The status of the selected surround mode is
displayed.
Input signals:
The status of the signals that have been input to the
selected function is displayed.
DIMMER
When this button is pressed once, the display is
dimmed.
When this button is pressed twice, the display is
turned off and the indicator lights up.
Press this button again to turn the display on again.
Note
• In the display off status, only the indication on
the unit's display illuminates to indicate that this
function is operational.
RECORDING AN ANALOG SOURCE
In normal operation, the audio or video source
selected for listening through this unit is sent to the
record outputs.
This means that any program you are watching
or listening to may be recorded simply by placing
machines connected to the outputs for VCR OUT
in the record mode.
To record the input source signal you are
currently watching or listening to
1.
1.
1. Select the input source to record by turning
the INPUT SELECTOR knob on the front
panel or simply press the input selector
buttons on the remote controller.
The input source is now selected and you
may watch or listen to it as desired.
2. The currently selected input source signal
is output to the VCR OUT outputs for
recording.
3. Start recording to the recording component
as desired.
Notes
• When connecting only digital signal input, output
cannot be made to the VCR OUT terminals. When
using recording functions, be sure to also make
connections for analog signal input.
• No conversion is made from component video
signal input to Video signal output. Always use the
same signal type for both input and output.
• Video or audio signals input to HDMI input
terminals cannot be recorded.


