


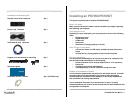

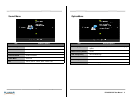
Using the Display in Portrait Mode
When looking at the rear of the display in landscape orientation, rotate the
display counter-clockwise for portrait orientation . This will allow for proper
ventilation. The directional indicator is located on the bottom of the product
rating label for reference.
Caution: Improper ventilation may shorten the life of the display.
Using the Display in Flat Orientation
The PS7050 and PS7050T are not recommended for use in flat orientation for
tabletop, floor, or ceiling installations. LCD panels of this size are at risk of
panel deflection which can cause cosmetic sagging, brightness uniformity
issues, and shortened life span.
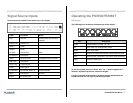
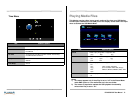
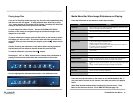
Turning the PS7050/PS7050T On
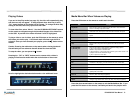
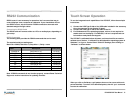
Locking the Remote
To lock and unlock the remote control, hold the F1 button down for 10
seconds.
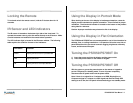
IR Sensor and LED Indicators
The IR sensor is located on the bottom right side of the front bezel. To
operate the remote control, point the remote directly at the IR sensor. Make
sure the batteries are installed in the remote before operation.
The LED indicator light is located in the IR sensor window. The following
table explains the condition for each of the indicators.
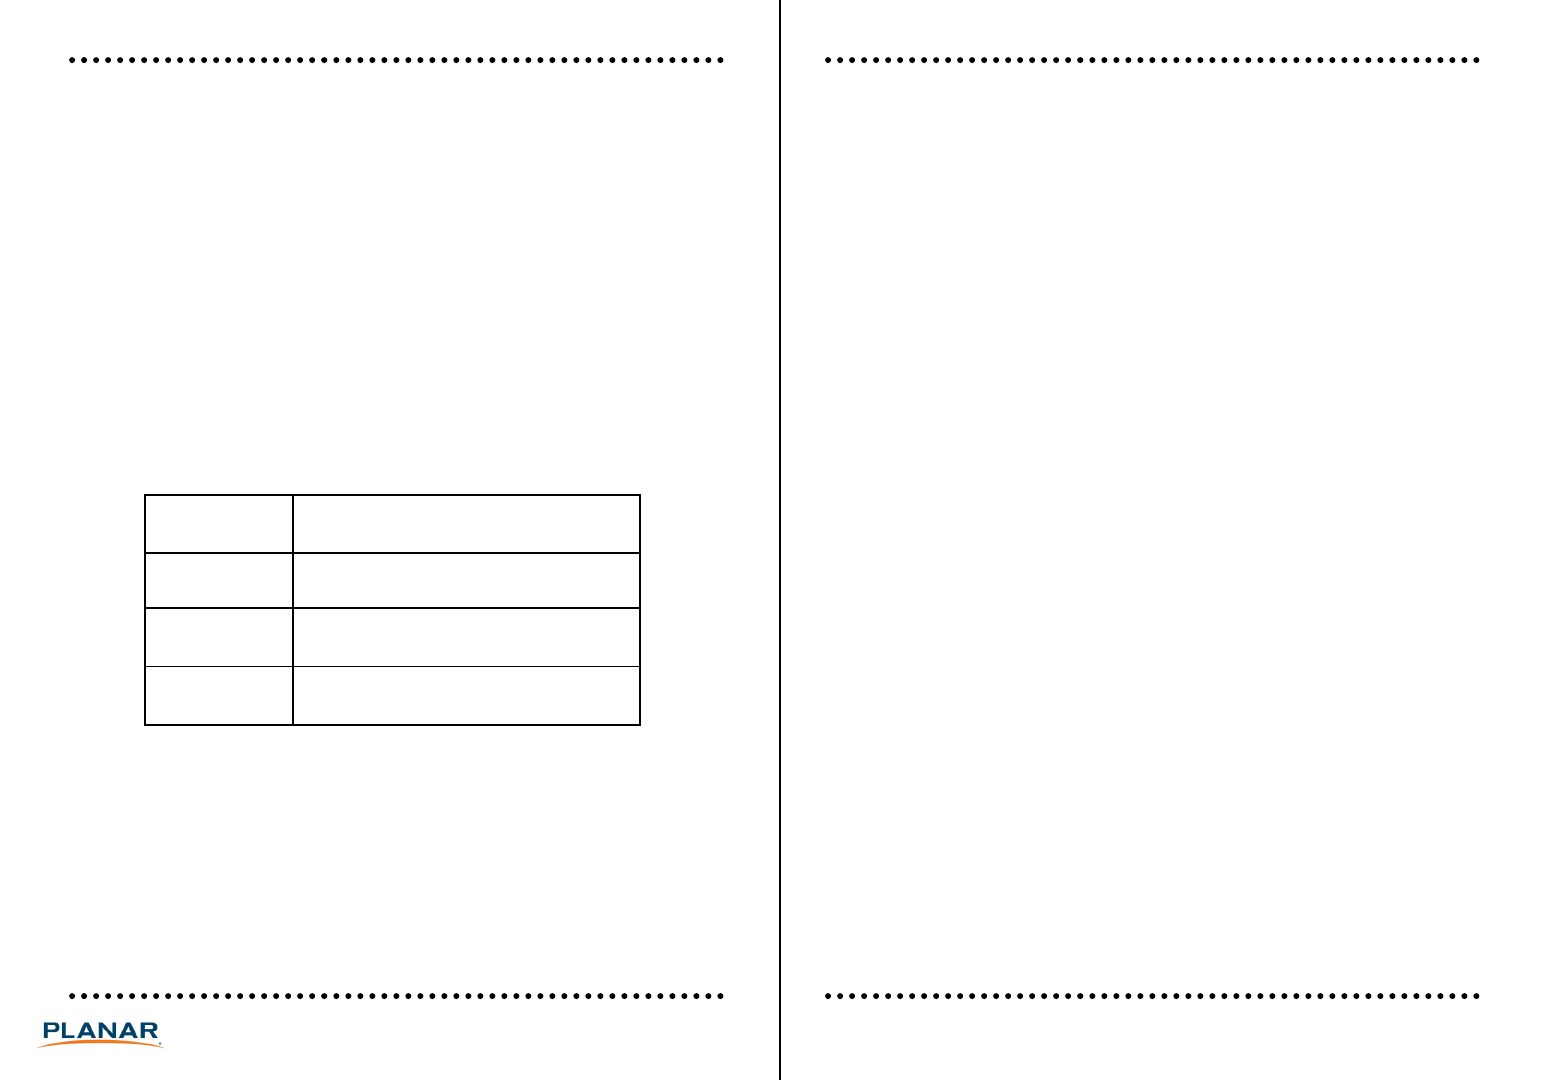
LED Status Condition
9PS7050/PS7050T User Manual
Turning the PS7050/PS7050T On
1) Insert the power cord into the display and the power outlet.
2) Press the power button on the remote or keypad.
Turning the PS7050/PS7050T Off
With the power on, press the power button on the remote or keypad to
put the LCD panel in a standby mode. To turn off power completely,
disconnect the AC power cord from the power outlet.
Note: If there is no signal for a 10 minutes on a HDMI, DisplayPort, or
Component signal or 1 minute on a VGA signal and the Auto Sleep OSD
setting is set to On, the LCD panel will automatically go into standby mode.
Green Display turned on but no input detected
Red Display turned off
Off Display turned on and input detected