Chapter 5
Configuring the Wireless-G Router
27
Wireless-G VPN Router with RangeBooster
SNMP
SNMP, Simple Network Management Protocol, is a
network protocol that provides network administrators
with the ability to monitor the status of the Router and
receive notification of any critical events as they occur on
the network.
To enable SNMP, check the Enabled box. To configure
SNMP, complete all fields on this screen. To disable the
SNMP agent, remove the checkmark.
Contact Enter the name of the network administrator for
the Router, as well as a contact number or e-mail address.
Device Name Enter the name of the Router.
Location Enter the location of the Router. For example,
you could include the name of the building, floor
number, and room location, such as Head Office - Floor 5
- Networking 3.
Get Community Enter the password that allows read-
only access to the Router’s SNMP information. The default
name is public.
Set Community Enter the password that allows read/
write access to the Router’s SNMP information. The default
name is private. A name must be entered in this field.
SNMP Trap-Community Enter the password required by
the remote host computer that will receive trap messages
or notices sent by the Router.
SNMP Trusted Host You can restrict access to the Router’s
SNMP information by IP address. Enter the IP address in
the SNMP Trusted Host field. If this field is left blank, then
access is permitted from any IP address.
SNMP Trap-Destination Enter the IP address of
the remote host computer that will receive the trap
messages.
UPnP
Universal Plug and Play (UPnP) allows Windows XP and
Windows 2000 to automatically configure the Router
for various Internet applications, such as gaming and
videoconferencing. To enable UPnP, check the Enabled
box.
Backup and Restore
Backup Configurations To back up the Router’s
configuration, click this button and follow the on-screen
instructions.
Restore Configurations To restore the Router’s
configuration, click this button and follow the on-screen
instructions. (You must have previously backed up the
Router’s configuration.)
When you have finished making changes to the screen,
click Save Settings to save the changes, or click Cancel
Changes to undo your changes. For help information,
click More.
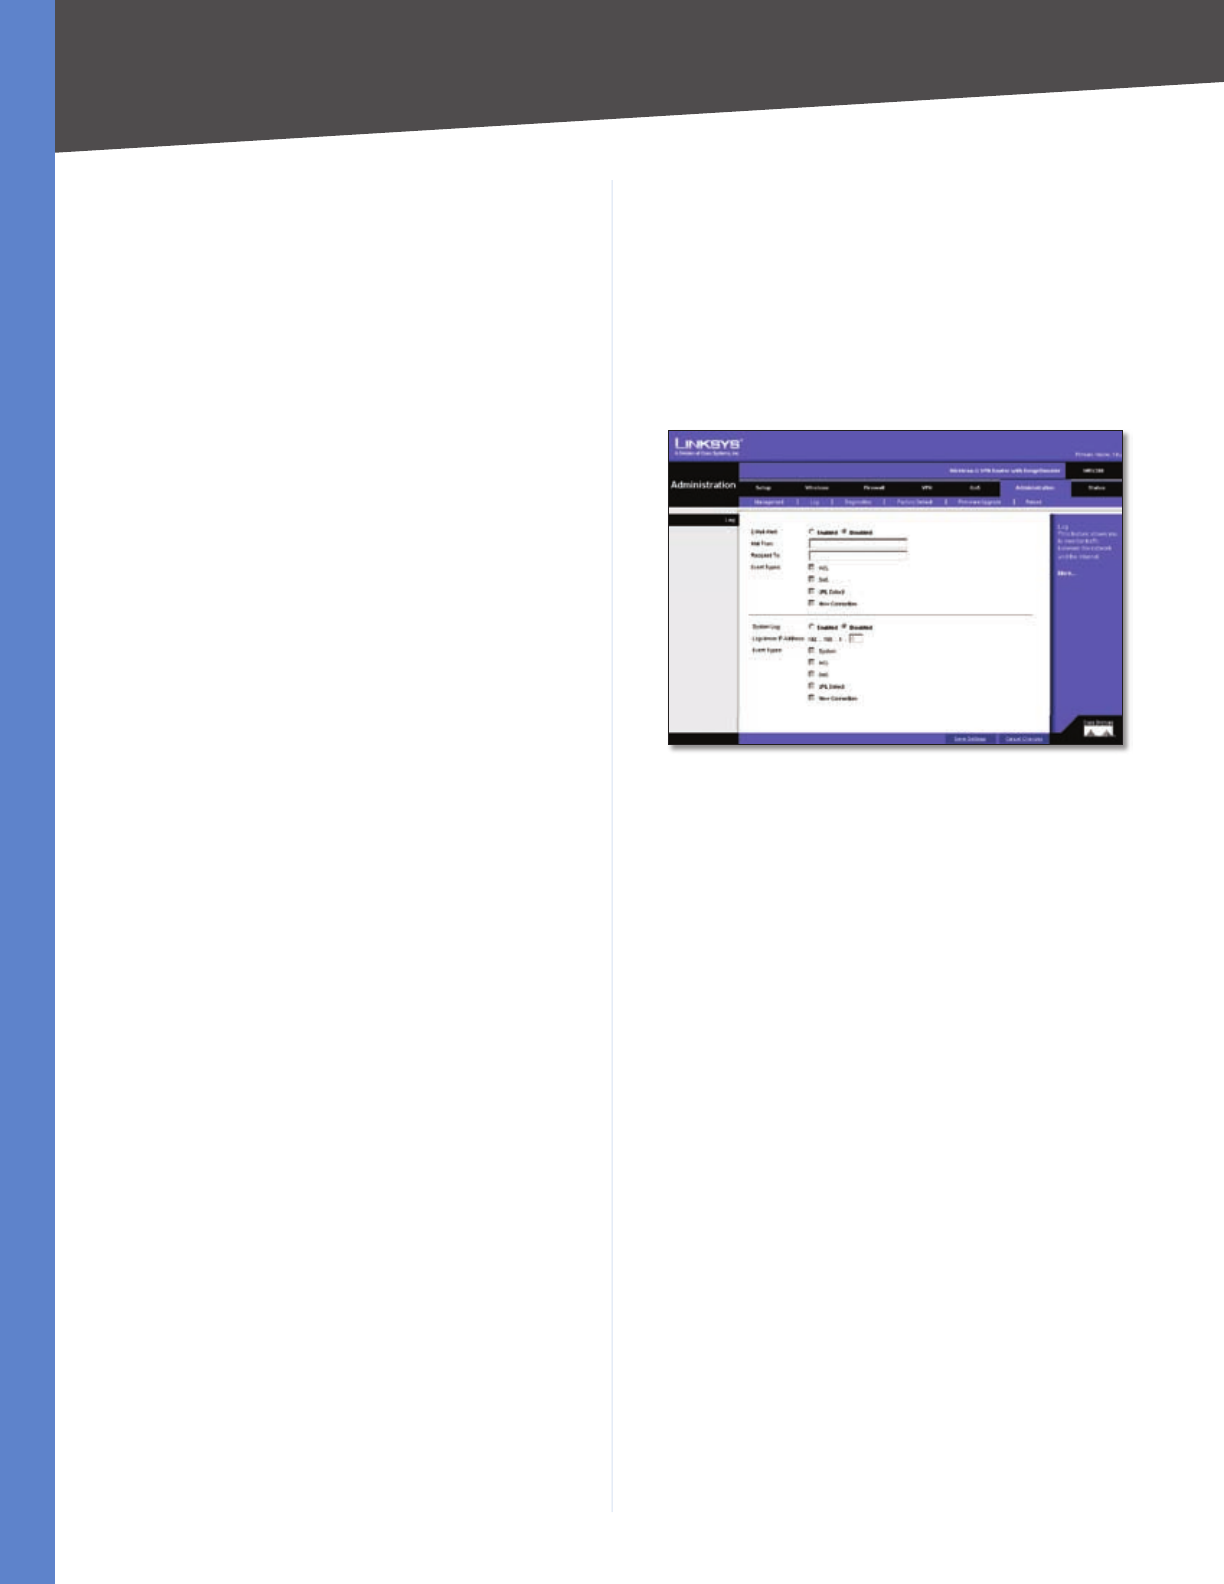
Administration > Log
The Administration > Log screen provides you with options
for email alerts and a log of all incoming and outgoing
URLs or IP addresses for your Internet connection.
Administration > Log
E-Mail Alert To enable the Router to send email alerts in
the event of Denial of Service attacks and the like, select
Enabled. If you do not wish to have email alerts, select
Disabled. The router will send out e-mail logs to a specific
e-mail address.
Mail From Enter the e-mail address so that the receiver
can know where the mail is from.
Recipient To Enter the e-mail address where you want
the alerts to be sent.
Event Types There are ACL, DoS, URL Detect and New
Connection event types for E-Mail Alert. You can select
some of them to enable those event alerts.
System Log You may keep a log of the router’s activities.
This requires the installation of an external log viewer. To
enable System Log, click Enabled.
Logviewer IP Address Enter the address where you want
the system log to be sent.
Event Types There are System, ACL, DoS, URL Detect
and New Connection event types for System Log. You can
select some of them to enable those event logs.
When you have finished making changes to the screen,
click Save Settings to save the changes, or click Cancel
Changes to undo your changes. For help information,
click More.


