Escient Vision VS & VC User’s Guide
Version: M51003-02A7
17
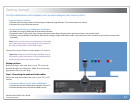
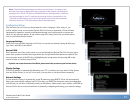
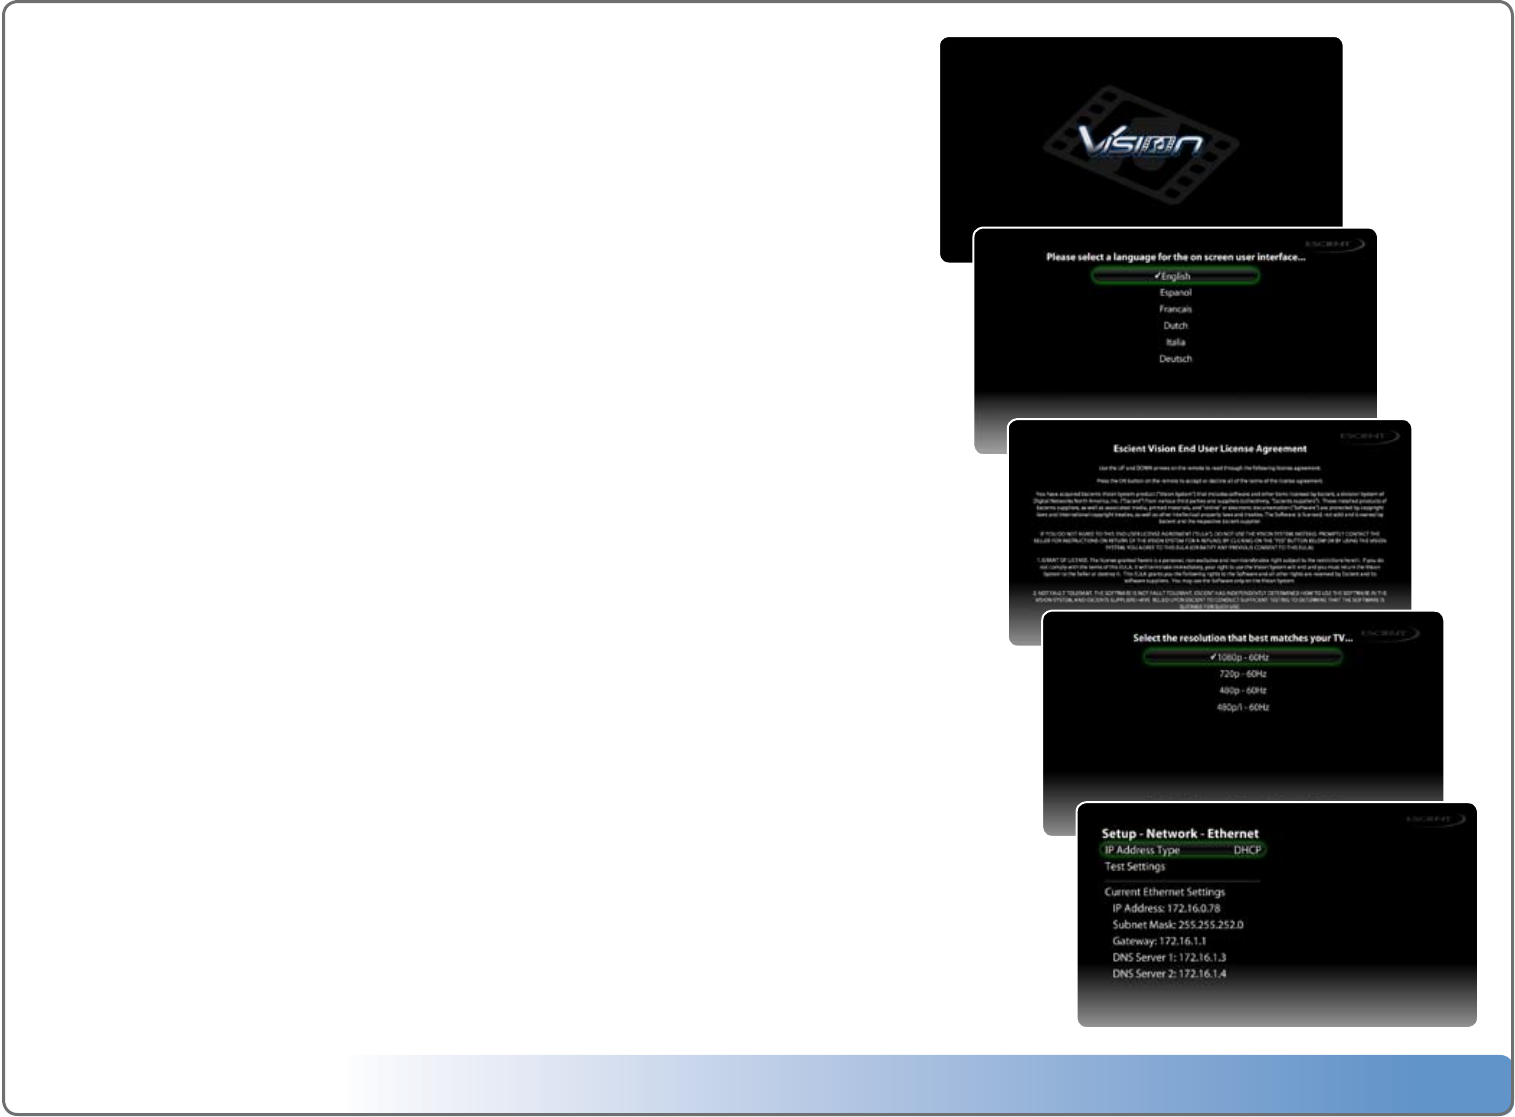
Note: The initial Vision startup process takes several minutes. A startup screen
with the Vision logo is displayed on the component video output only during the
startup process. If your TV screen is still blank after the startup process, make sure
the input selected on your TV matches the input the Vision is connected to. See
“Tips and Troubleshooting” at the end of this guide, and see the documentation
that came with your TV for information about switching inputs.
Conguring Vision
The first time you use Vision you be prompted to select a language. After doing so, you
will be asked to ready and accept the Escient End User License Agreement. Vision will then
automatically attempt to connect to the Internet through your home network to register and
check for any software updates. If any of these steps fail, simply follow the on screen instruc-
tions as you follow the next section.
Language Settings
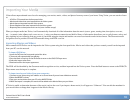
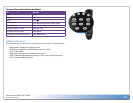
Select one of the available languages for Vision’s on-screen user interface using the blue keys
(up, down, and OK) on the remote.
Escient EULA
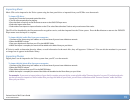
Press the down arrow key on the remote as you read through the Escient End User License Agree-
ment. Once you have read the entire agreement, the Accept and Decline buttons are enabled. You
must accept the terms of the EULA by highlighting the Accept button and pressing OK on the
remote in order to continue using Vision.
If you do not accept the terms of the EULA, please return the product to your Escient dealer.
Display Settings
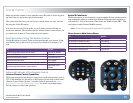
Vision will attempt to automatically determine your TV’s resolution and sync with it. If the picture
does not fill the screen, is, cut off, or too small, you may have to set the resolution manually.
Network Settings
If your network is setup to dynamically assign IP addresses using DHCP, Vision will automatically
detect your network and configure itself. If you don’t use DHCP, the automatic network configuration
will fail and you will have to manually enter your IP address, subnet mask, router address, and DNS ad-
dresses. Follow the on-screen instructions for manually configuring and testing your network settings.
6Splash screen
6Language Settings
6Escient EULA
6Display Settings
6Network Settings


