


English
English-21
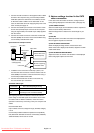
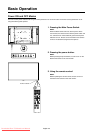
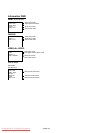
Power Indicator
Status
Power ON Green
Power OFF Red
Red On
Green Blinking
Power Standby Red, Green
Red Blinking
*
Power Standby when
“SCHEDULE” is enable
Diagnosis
(Detecting failure)
See troubleshooting on
page 38.
Using Power Management
The LCD monitor follows the VESA approved DPM Power
Management function.
The power management function is an energy saving
function that automatically reduces the power consumption
of the display when the keyboard or the mouse has not been
used for a fi xed period.
The power management feature on your new display has
been set to the “ON” mode. This allows your display to enter
a Power Saving Mode when no signal is applied. This could
potentially increase the life and decrease the power
consumption of the display.
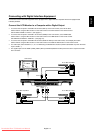
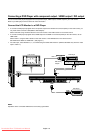
Selecting a video source
To view a video source:
Use the input button to set [VIDEO].
Use the COLOR SYSTEM menu to set [AUTO], [NTSC],
[PAL], [SECAM], [PAL60], [4.43NTSC], according to your
video format.
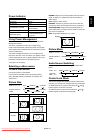
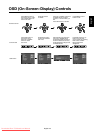
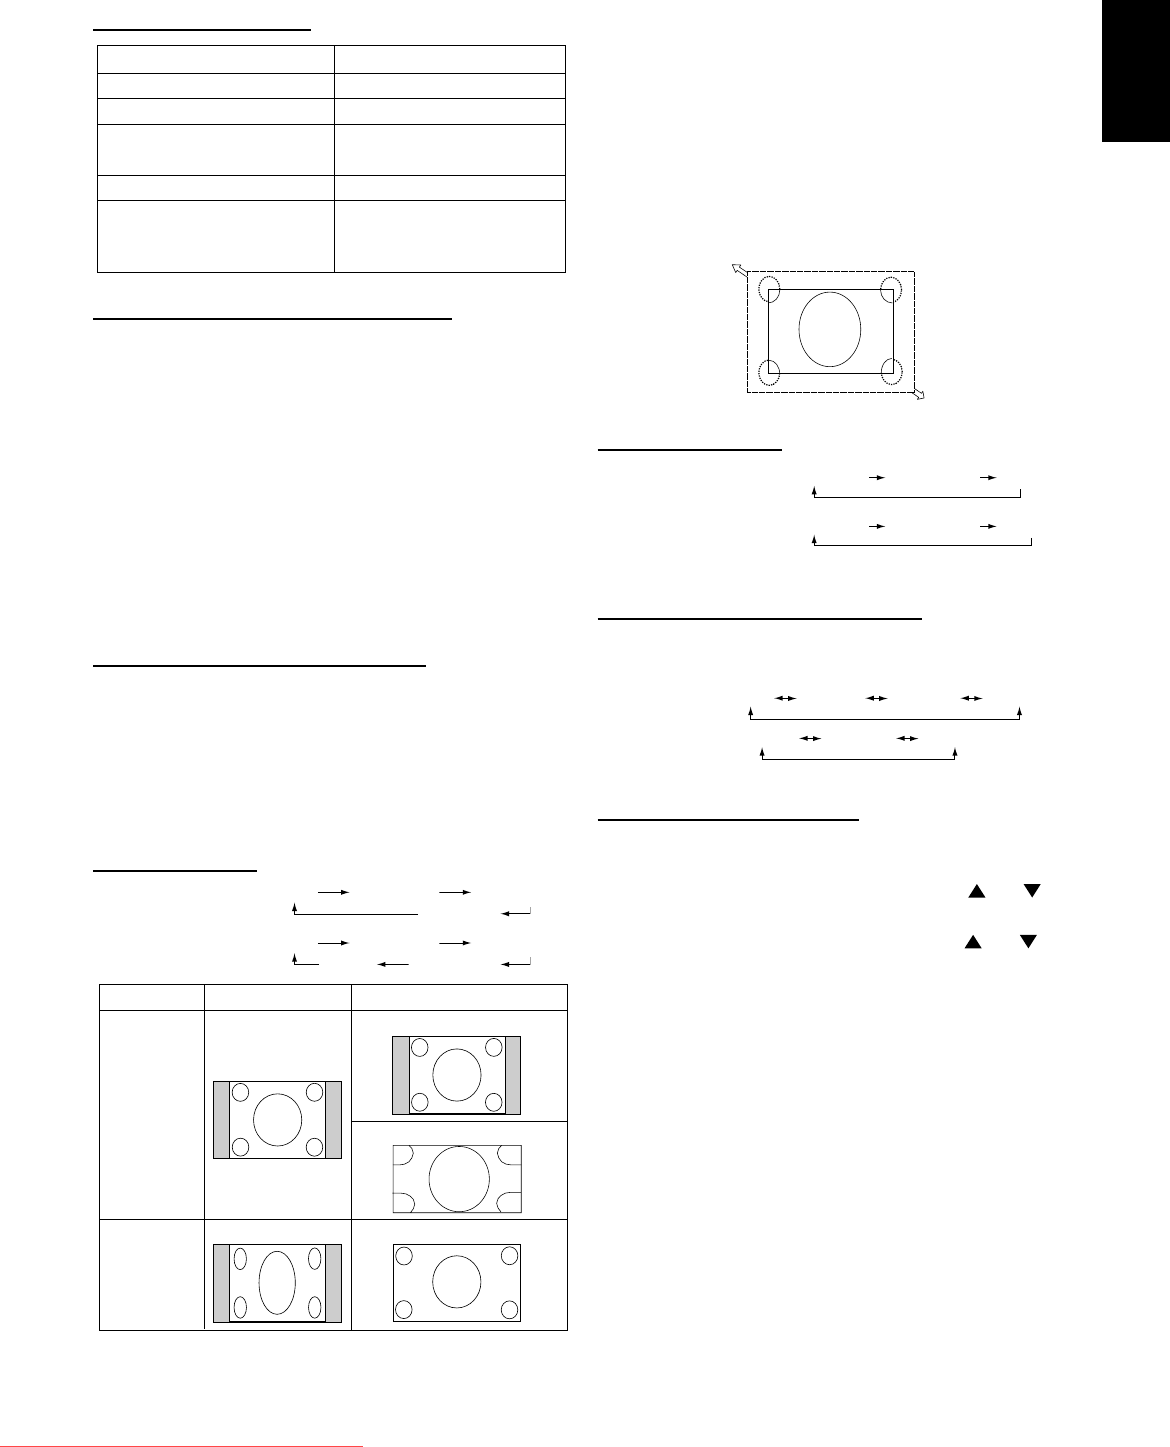
Picture Size
FULL NORMAL DYNAMIC
CUSTOMREAL
FULL NORMAL CUSTOM
REAL
Signal Type
NORMAL
DYNAMIC
FULL
4:3
Squeeze
NORMAL SIZE Recommended Size
RGB 1, 2, 3, 4, 5, 6
DVD/HD, VIDEO<S>,
VIDEO
NORMAL: Display the input signal aspect ratio from the PC
signal, or display in 4:3 aspect ratio from the DVD/HD or
VIDEO signal.
FULL: Display in entire screen.
DYNAMIC: Expand 4:3 pictures to the entire screen with
non-linearity. (Some round image will be cut by expansion.)
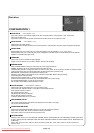
CUSTOM (ZOOM): Image can be expanded beyond the
active display area. The image which is outside of active dis-
play area is not displayed.
REAL: Image will be displayed 1 by 1 pixel.
ZOOM
ZOOM
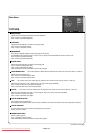
Picture Mode
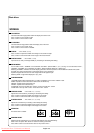
Audio Source Switching
You can switch the audio source using the AUDIO INPUT
button.
Control Lock Mode
This function disables the operation buttons so that the ad-
justments you make are not changed when they are pressed.
To disable the buttons, press and hold down the
and
buttons together for at least 3 seconds.
To enable the buttons, press and hold down the
and
buttons together for at least 3 seconds again.
HDMI
AUDIO1 AUDIO2 AUDIO3
AUDIO1
AUDIO2 AUDIO3
RGB 1, 2, 6
Other than
RGB 1, 2, 6
HIGHBRIGHT
STANDARD
sRGB
HIGHBRIGHT
STANDARD
CINEMA
RGB 1, 2, 3, 4, 5, 6
DVD/HD, VIDEO<S>,
VIDE
O
Downloaded From TV-Manual.com Manuals