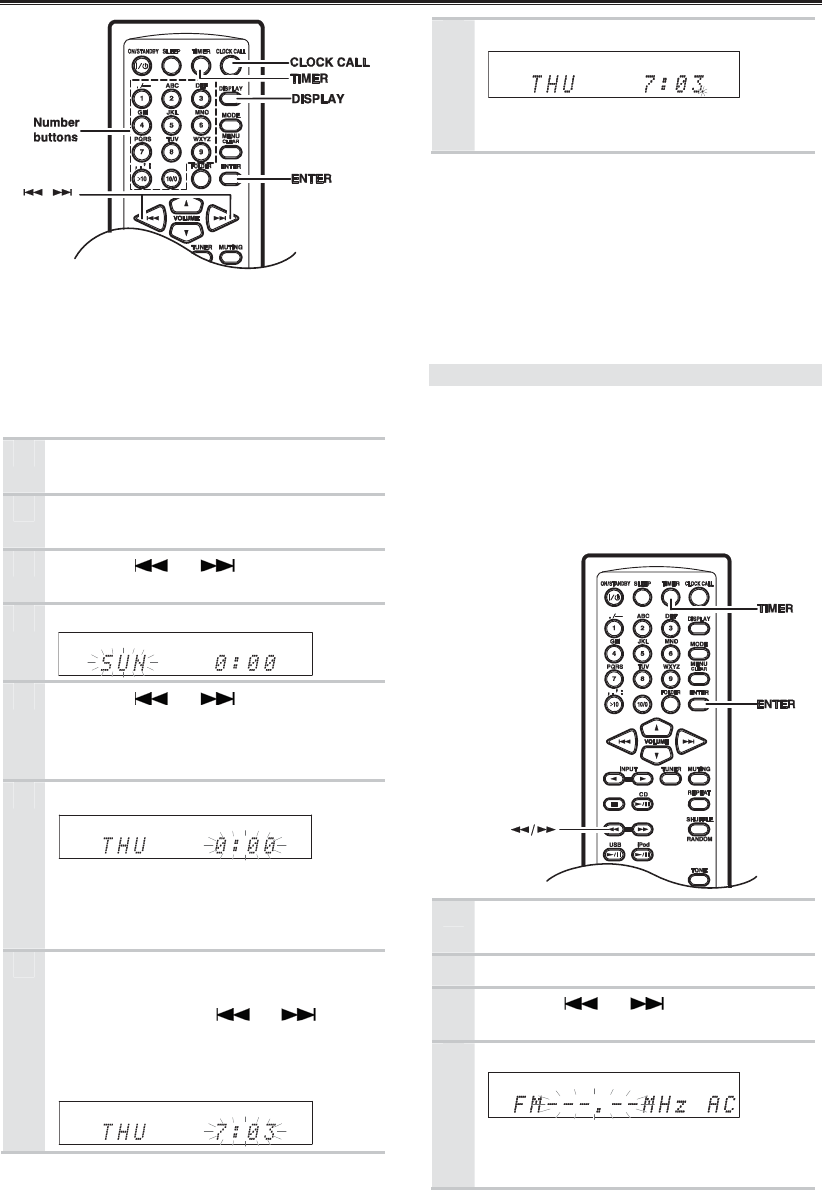
Setting the Clock
42
The AccuClock function sets the clock automatically
the very first time the CD receiver is plugged into a
wall outlet (see page 17).
If for some reason the clock cannot be set
automatically, use the following procedure to set it
manually. Note that when the clock is set manually, it
will not be updated automatically.
1
Press the [TIMER] button repeatedly
until “Clock” appears.
2
Press the [ENTER] button, then
appears “AccuClock”.
3
Use the
[ ] / [ ] buttons to
select “Manual Adjust”.
4
Press [Enter].
5
Use the
[ ] / [ ] buttons to
select the day of the week.
You can select: SUN, MON, TUE, WED
THU, FRI, or SAT.
6
Press [ENTER].
Tip:
To change the time format between 24-
hour and 12-hour, press the [DISPLAY]
button.
7
Use the remote controller’s number
buttons to enter the current time.
You can also use the [ ] / [ ]
buttons.
Use the remote controller’s [ > 10] button
to select A.M. or P.M.
8
Press [ENTER].
The clock is set and the second dot
starts flashing.
Displaying the Day and Time
To display the day and time, press the remote
controller’s [CLOCK CALL] button. Press the button
again or perform another operation to cancel the time
display.
If the CD receiver is on Standby, the day and time
will be displayed for 8 seconds.
While the CD receiver is on, the day and time are
displayed continuously.
AccuClock with a Specific Station
If for some reason the AccuClock function doesn’t
set the clock correctly, you can specify which FM
station the AccuClock function uses. This is
especially useful if you live close to a country’s
border where stations from different time zones can
be received. Note that the FM station must support
RDS CT (Clock Time) information.
1
Press the [TIMER] button repeatedly
until “Clock” appears.
2
Press [ENTER].
3
Use the [ ] / [ ] buttons to
select “AccuClock”.
4
Press [Enter].
The frequency of a station that the CD
receiver has previously searched for may
appear on the display.


