


55
Naming Preset Channels—Continued
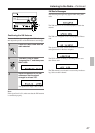
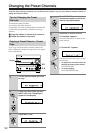
If the unit is not in “Name In” mode, execute steps 1 and
2 in “Entering a Name,” then follow the steps below.
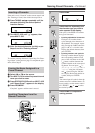
1 Press TUNING / repeatedly until the
character following the desired point of
insertion flashes.
2 Turn MULTI JOG until “” appears, then
press MULTI JOG.
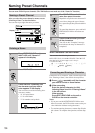
3 Enter the desired character (or title) as per
Steps 3 and 4 in “Entering a Name”.
To continue entering characters, follow Step 3 in “Enter-
ing a Name” on the previous page. To complete the oper-
ation, follow Step 5.
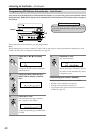
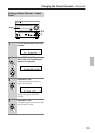
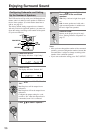
1 Select AM or FM as the source.
2 Turn MULTI JOG to select the preset channel
name you wish to erase.
3 Press EDIT/NO/CLEAR and turn MULTI JOG
until “Name Erase?” appears in the display.
4 Press YES/MODE.
“Complete” appears and the name is erased.
Inserting a Character
Erasing the Name Assigned to a
Preset Channel
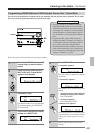
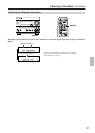
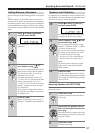
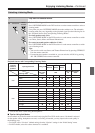
Inputting Characters from the
Remote Controller
2, 3
3
1, 4
3
1
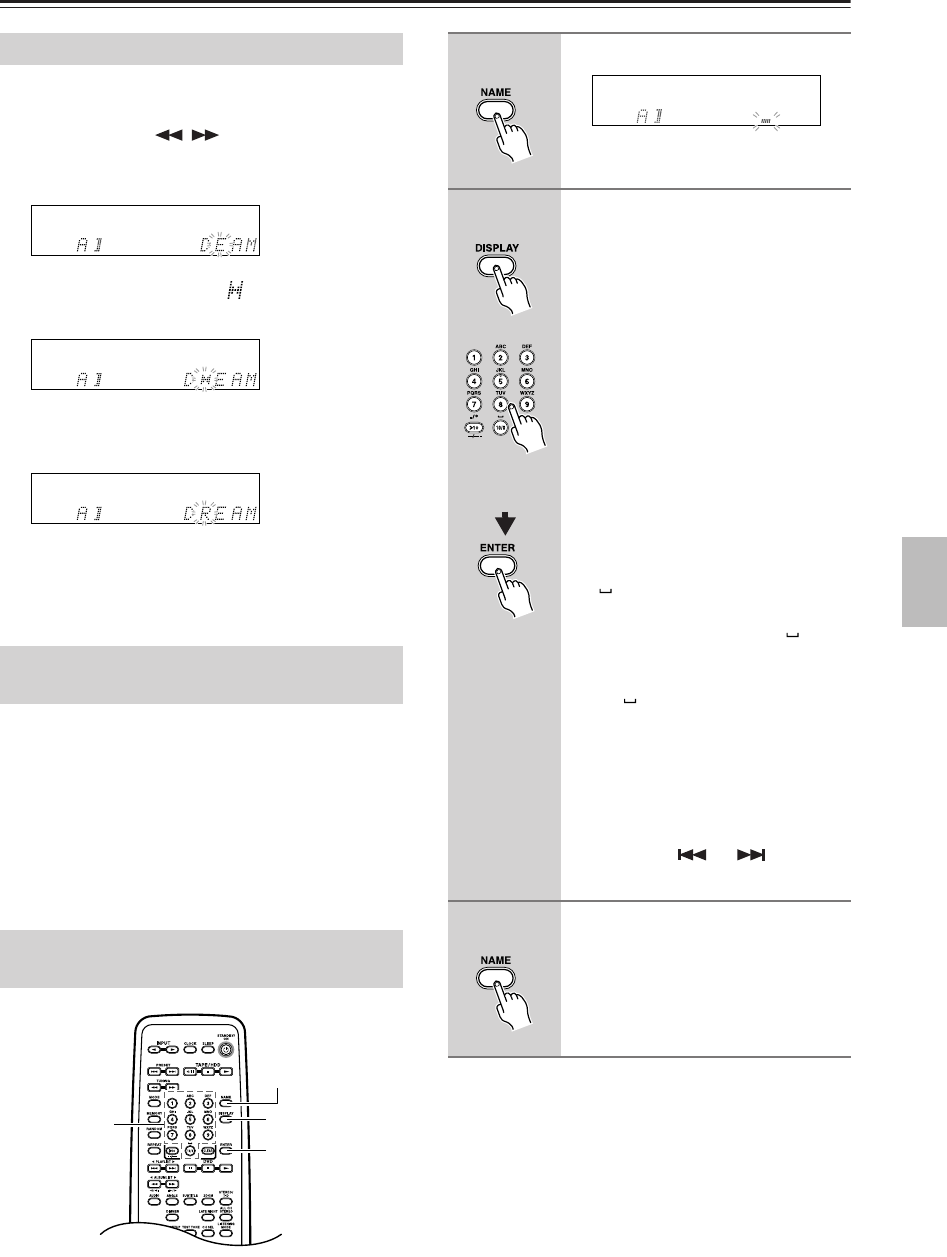
Press NAME.
2
Press DISPLAY repeatedly until
the character type you wish to
enter appears in the display.
Each press of the DISPLAY switches
the type of characters.
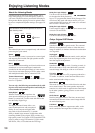
• Inputting alphabetical characters:
Each press of a number button
cycles through a few characters of
the alphabets. For example, repeat-
edly pressing the 2ABC button dis-
plays A→B→C→A in this order.
Display the desired character, then
press ENTER.
• Inputting numbers and symbols:
Pressing a number button displays
the corresponding number. Each
press of the >10 button or the 10/0
( ) button switches between the
symbols labeled on the correspond-
ing button. You can input “ → .
→ / → * → - →, → ! → ? → & →
’→ ( → ) ” using the >10 button,
and (space) using the 10/0 but-
ton. Display the desired number or
symbol, then press ENTER.
Note:
You cannot input all symbols from the
remote controller’s number buttons. To
input symbols, use the remote control-
ler’s PRESET or to select
the desired symbols.
3
Press NAME to complete the
naming process.