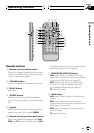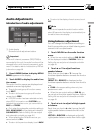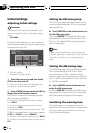
2 Touch a to turn the set back on and the
LCD panel slides to the back.
# Touch b to turn the set back off and the LCD
panel slides to the front.
3 Touch c or d to select the display to
open/close automatically or manually.
Touch c to select MANUAL, and you have to
press OPEN/CLOSE to open/close the display.
Touch d to select AUTO, and the display auto -
matically opens/closes when power to this
unit is turned on.
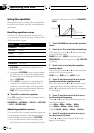
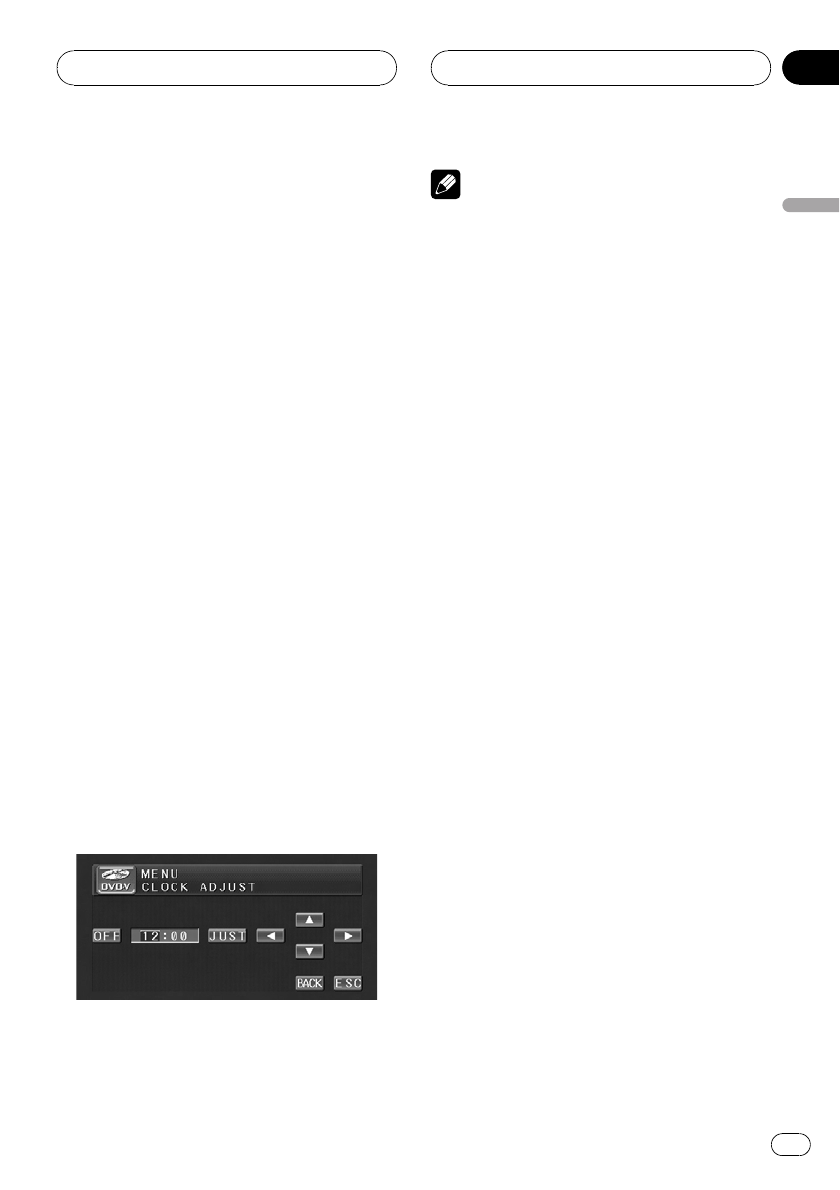
Setting the clock
Use these instructions to set the clock.
1 Touch CLOCK ADJUST on the setup
menu.
2 Touch OFF to turn the clock display on.
ON will appear in the display instead of OFF.
Clock display is now on.
# To turn the clock display off, touch ON.
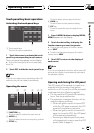
3 Touch c or d to select the segment of
the clock display you wish to set.
Each time you touch c or d it will select one
segment of the clock display:
Hour—Minute
As you select segments of the clock display
the segment selected will be highlighted.
4 Touch a or b to put a clock right.
Each time you touch a it increases the se-
lected hour or minute. Each time you touch b
it decreases the selected hour or minute.
Notes
! You can match the clock to a time signal by
touching JUST.
— If the minute is 00 to 29, the minutes are
rounded down. (e.g., 10:18 becomes
10:00.)
— If the minute is 30 to 59, the minutes are
rounded up. (e.g., 10:36 becomes 11:00.)
! Even when the sources are off, the clock dis-
play appears on the display.
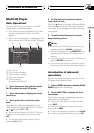
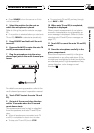
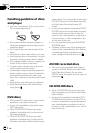
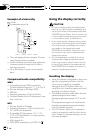
Using the AUX source
An IP-BUS-RCA Interconnector such as the
CD-RB20/CD-RB10 (sold separately) lets you
connect this unit to auxiliary equipment fea-
turing RCA output. For more details, refer to
the IP-BUS-RCA Interconnector owner’s man-
ual.
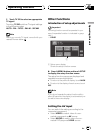
Selecting AUX as the source
% Touch the source icon and then touch
AUX to select AUX as the source.
# When the source icon is not displayed, you
can display it by touching the screen.
# If the auxiliary setting is not turned on, AUX
cannot be selected. For more details, see Switch-
ing the auxiliary setting on page 43.
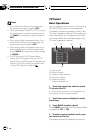
Setting the AUX title
The title displayed for the AUX source can be
changed.
1 After you have selected AUX as the
source, press A.MENU button and touch
FUNCTION and then touch NAME EDIT.
2 Touch ABC to select the desired charac-
ter type.
Touch ABC repeatedly to switch between the
following character types:
Operating this unit
En
47
Section
03
Operating this unit