E-43
English
EDITING
TRACK EDITING
Part Erase
You can erase part of a selected track.
■ Editing during the stop mode
1. Select and confirm “Part Erase” in step 5 of the
“Editing during the stop mode” on page 39.
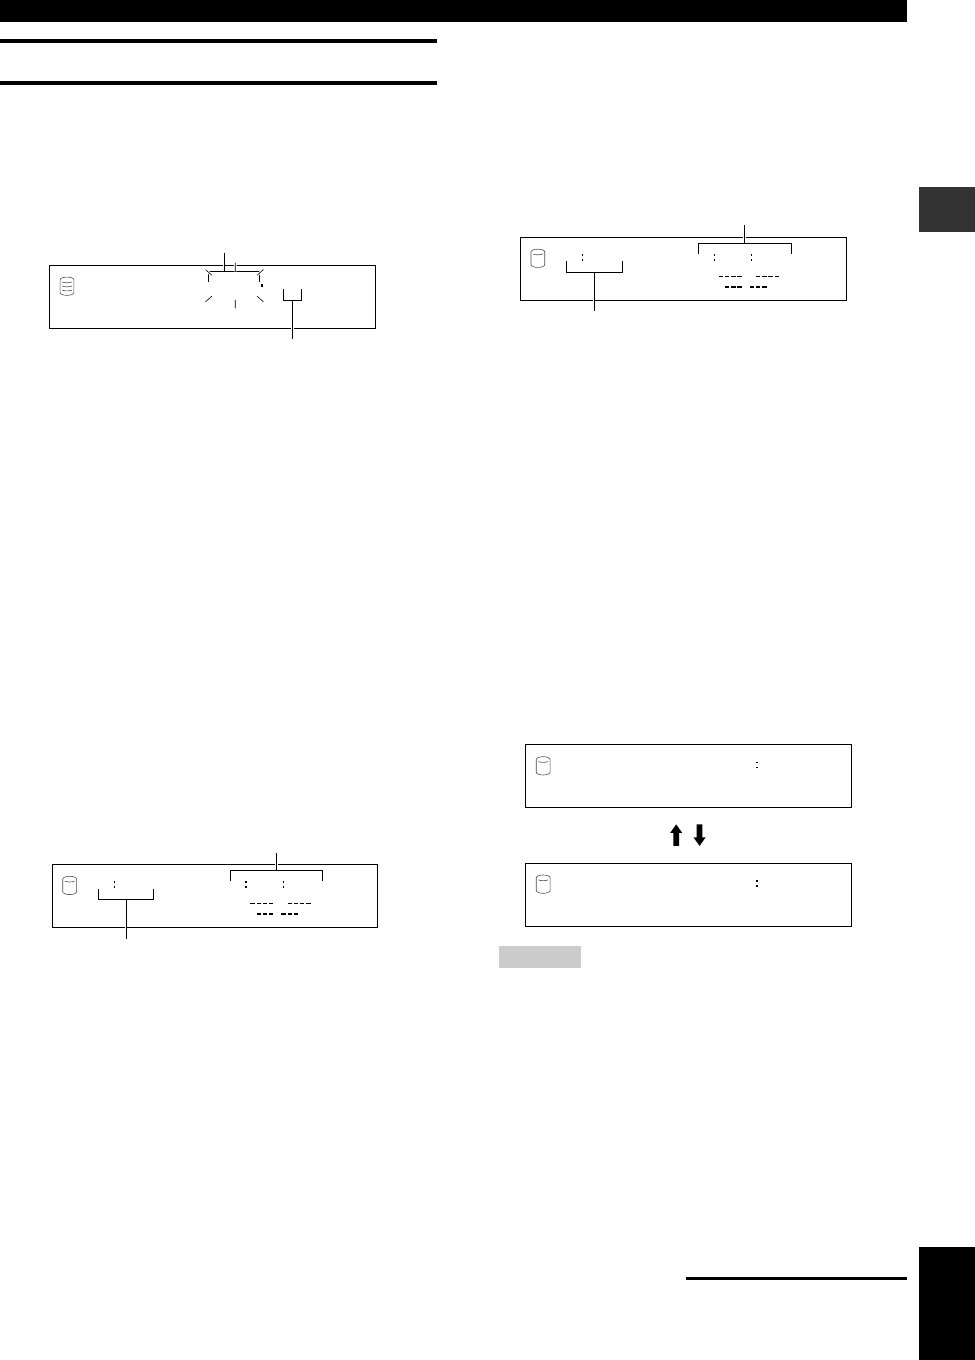
The following message appears on the display.
The disc number that contains the track to be partially erased
flashes.
2. Select the disc that contains the track to be partially
erased by rotating the MULTI JOG knob (pressing +/–
on the remote control).
3. Press the MULTI JOG knob (ENTER on the remote
control) to confirm the disc that contains the track to
be partially erased.
The number of the track to be partially erased flashes.
Press CLEAR to cancel the confirmed selection.
4. Select the track to be partially erased by rotating the
MULTI JOG knob (pressing +/– on the remote
control).
5. Press the MULTI JOG knob (ENTER on the remote
control) to confirm the track to be partially erased.
The passage between the point that is 5 seconds before the
temporary beginning point of the partial erase and the
temporary beginning point (the point that is 10 seconds elapsed
from the beginning of the track) is repeatedly played.
The following message appears on the display.
6. Set the beginning point of the partial erase by
rotating the MULTI JOG knob (pressing +/– on the
remote control).
The beginning point of the partial erase can be set by “minute:
second: frame”. The unit to be set is flashing. Move the flash to
the unit to be set by pressing t/e or r/y.
If you stop rotating the MULTI JOG knob, this unit searches
for the beginning point according to the setting made, and starts
repeated playback of the passage between the point that is 5
seconds before the beginning point and the beginning point.
7. Press MULTI JOG knob (ENTER on the remote
control) to confirm the beginning point of the partial
erase.
The passage between the temporary ending point of the partial
erase (the point that is 10 seconds after the beginning point)
and the point that is 5 seconds after the temporary ending point
is repeatedly played.
The following message appears on the display.
Press CLEAR to cancel the confirmed selection.
8. Set the ending point of the partial erase by rotating
the MULTI JOG knob (pressing +/– on the remote
control).
The ending point of the partial erase can be set by “minute:
second: frame”. The unit to be set is flashing. Move the flash to
the unit to be set by pressing t /e or r/y.
If you stop rotating the MULTI JOG knob, this unit searches
for the ending point according to the setting made, and starts
repeated playback of the passage between the ending point and
the point that is 5 seconds after the ending point.
9. Press MULTI JOG knob (ENTER on the remote
control) to confirm the ending point of the partial
erase.
The passage between the point that is 5 seconds before the
beginning point and the point that is 5 seconds after the ending
point of the partial erase is repeatedly played.
The following message appears on the display.
Caution
• During the playback of the passage mentioned above, the
sound may missing at the joint between the passage before
the beginning point and the passage after the ending point.
However, the partially erased track is played properly after
the partial erase has been completed.
To change the ending point, press CLEAR once to return to
step 8.
To change the beginning point, press CLEAR twice to return to
step 6.
10.
Press COMPLETE.
The selected part is erased.
This unit returns to the editing menu item selection.
Ending point of the partial erase
020 Ed 02000
TIME
Playing time of the track
Continues to next page
Prt.Er.001 1?
GROUP
L
R
dB –30 –10 –6 –20
Disc that contains the track to be partially erased
Track to be partially erased
005 St 01000
TIME
Beginning point of the partial erase
Playing time of the track
Prt.Er. 005
L
R
dB –30 –10 –6 –20
Pt.Fix 006
L
R
dB –30 –10 –6 –20
105_HD1300(E)39-51 02.6.24, 6:51 PM43


