


18-EN
Demonstration
This unit has a Demonstration feature which simulates the
display functions.
1 Press and hold the SETUP button for at least 3
seconds.
2 Press the DN or UP button to select the DEMO
mode.
3 Press the BAND button to turn on or off the DEMO
mode.
Each press toggles between DEMO ON and DEMO
OFF.
If no button is pressed for 30 seconds, the DEMO
mode activates.
NOTES
• The initial setting at the factory is “DEMO OFF.”
• To quit DEMO mode, set to “DEMO OFF.”
4 Press the SETUP button again to return to normal
operation.
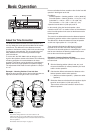
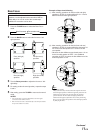
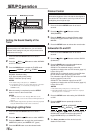
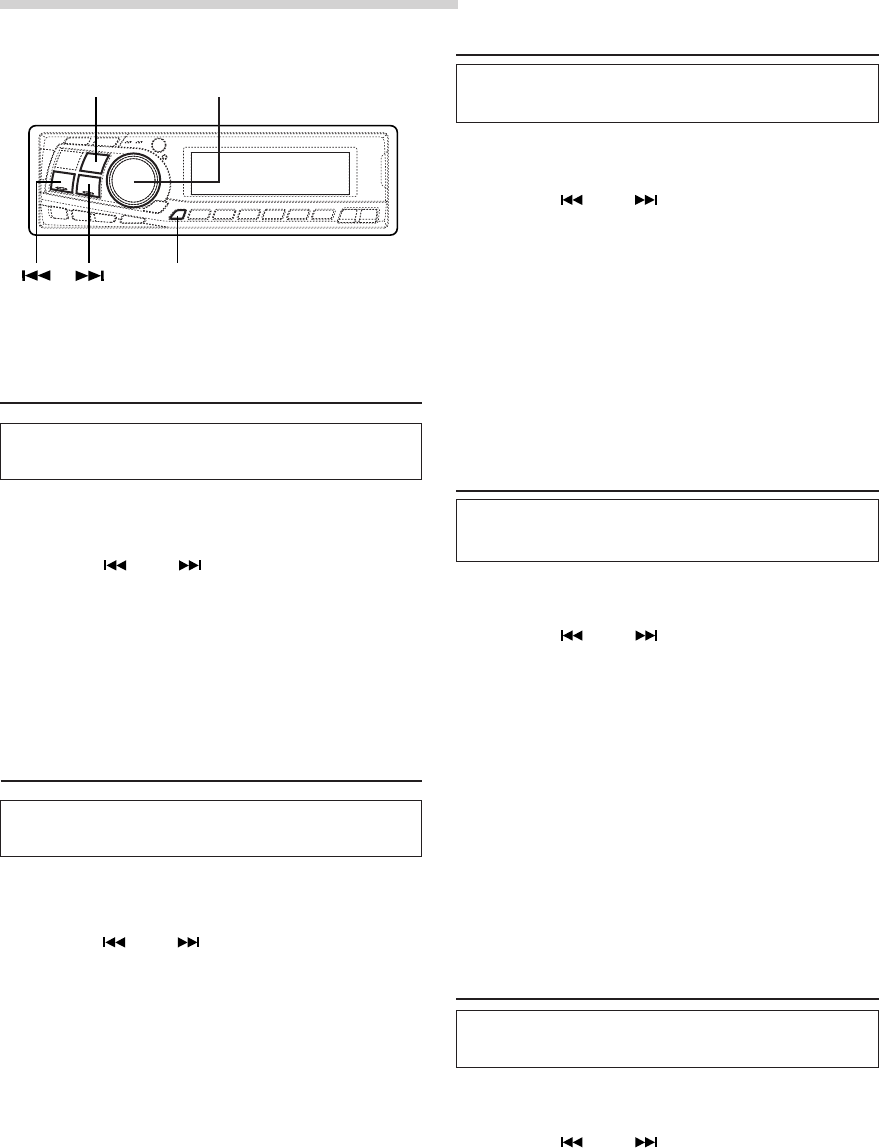
SETUP Operation
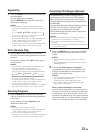
Rotary encoder
Setting the External Input Defeat
Mode
Turn DEFEAT ON to bypass BASS, TREBLE and MX
settings for any source using the external input.
1 Press and hold the SETUP button for at least 3
seconds.
2 Press the DN or UP button to select “INT.”
3 Press the BAND button to toggle the mode between
INT ON and INT OFF.
When using Initial mode, set this to ON.
When the Initial mode is not selected, set this to OFF.
4 Press the SETUP button to return to normal mode.
Setting the Digital Output
To connect an audio processor using the optical digital
output, set to “ON” with the following procedure.
1 Press and hold the SETUP button for at least 3
seconds.
2 Press the DN or UP button to select “OPTOUT”
mode.
3 Press the BAND button to set ON.
NOTE
The initial setting at the factory is “OPTOUT OFF”.
4 Press the SETUP button to return to normal mode.
NOTE
Afterwards, set ACC to OFF once, then turn it ON again.
The setting of Digital Output is decided.
Optical Digital Input Selection for an
External Audio Processor
Make sure “OPTOUT” is ON in “Setting the Digital
Output” (page 18) before switching this setting.
1 Press and hold the SETUP button for at least 3
seconds.
2 Press the DN or UP button to select “APRC
OTHER”.
NOTE
When OPTOUT is ON, “APRC OTHER” is displayed.
3 Press the BAND button to toggle the mode between
APRC OTHER and APRC H510.
APRC OTHER: When connecting any audio processor
via the optical digital cable except the PXA-H510.
APRC H510: When connecting PXA-H510.
4 Press the SETUP button to activate the normal mode.
NOTE
Afterwards, set ACC to OFF once, then turn it ON again.
The setting of fiber digital input switch is decided.
Adjusting Display Contrast
You can adjust the audio display contrast for better
visibility.
1 Press and hold the SETUP button for at least 3
seconds.
2 Press the DN or UP button to select
“CONTRAST.”
3
Turn the Rotary encoder to adjust the contrast of the
audio display. You can adjust in a range of -6 and +6.
The initial setting at the factory is “0.”
4 Press the SETUP button to set the selected mode.
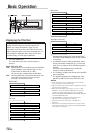
BAND
DN UP
SETUP