


38
|
KIV-BT900/ KIV-700
Clock and Other Functions
5
Select Summer Time
Turn the [Volume] knob and press it when the
desired item is displayed.
Select “Summer Time” > “ON” or “OFF”.
6
Enter Date adjustment mode
Turn the [Volume] knob and press it when the
desired item is displayed.
Select “Date Adjust”.
7
Adjusting Date
1. Turn the [Volume] knob and press it when
the desired item is displayed.
Select month, day or year.
2. Turn the [Volume] knob to select a setting
value, and then press the [Volume] knob.
3. Press the [MENU] button.
8
Enter Date format mode
Turn the [Volume] knob and press it when the
desired item is displayed.
Select “Date Mode”.
9
Select Date format
Turn the [Volume] knob and press it when the
desired item is displayed.
Select from 7 types.
10
Exit Menu List mode
Press the [MENU] button for at least 1 second,
and then press it again briefly.
Remarks
• Time zone
Set a time zone for your area as “Home”. When you set a
time zone for different area to the “Sub”, clocks for two
time zones can be displayed on the clock display. See
<Customization of Clock Display> (page 35).
For time zone list, see <Time zone list> (page 72).
Initial Settings
You can select following Initial Setting items.
1
Select the Standby
Press the [SRC] button. Turn the [Volume] knob
and press it when the desired item is displayed.
Select the “STANDBY” display.
✍ SRC Select mode 2: Pressing the [SRC] button
repeatedly also switches source.
2
Enter Menu List mode
Press the [MENU] button.
Clock and Date Adjustment
You can adjust the clock and date.
Display Overview
“Settings”
“Clock & Date”
“Clock Adjust”*
1
Sets the clock and Time zone.
“Time Synchronized”
Synchronizing the RDS station time data
and this unit’s clock.
“ON”/ “OFF”
“Summer Time”*
1
Advances the clock one hour when set
to ON.
“ON”/ “OFF”
“Sub Clock Adjust”
Adjusts the time difference caused by
summer time.
“-1h”/ “0h”/ “+1h”
“Date Adjust” Sets the date.
“Date Mode” Sets the date display mode.
( : Factory setting)
*
1
The “Time Synchronized” is set to “OFF”.
1
Enter Menu List mode
Press the [MENU] button.
2
Select RDS’s automatic time adjustment
Turn the [Volume] knob and press it when the
desired item is displayed.
Select “Settings” > “Clock & Date” > “Time
Synchronized” > “ON” or “OFF”.
When selected “OFF”, proceed to step 3.
When selected “ON”, proceed to step 6.
3
Enter Clock adjustment mode
Turn the [Volume] knob and press it when the
desired item is displayed.
Select “Clock Adjust”.
4
Adjusting Clock and Time zone
1. Turn the [Volume] knob and press it when
the desired item is displayed.
Select hours, minutes or time zone (home or
sub).
2. Turn the [Volume] knob to select a setting
value, and then press the [Volume] knob.
3. Press the [MENU] button.
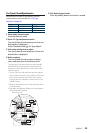
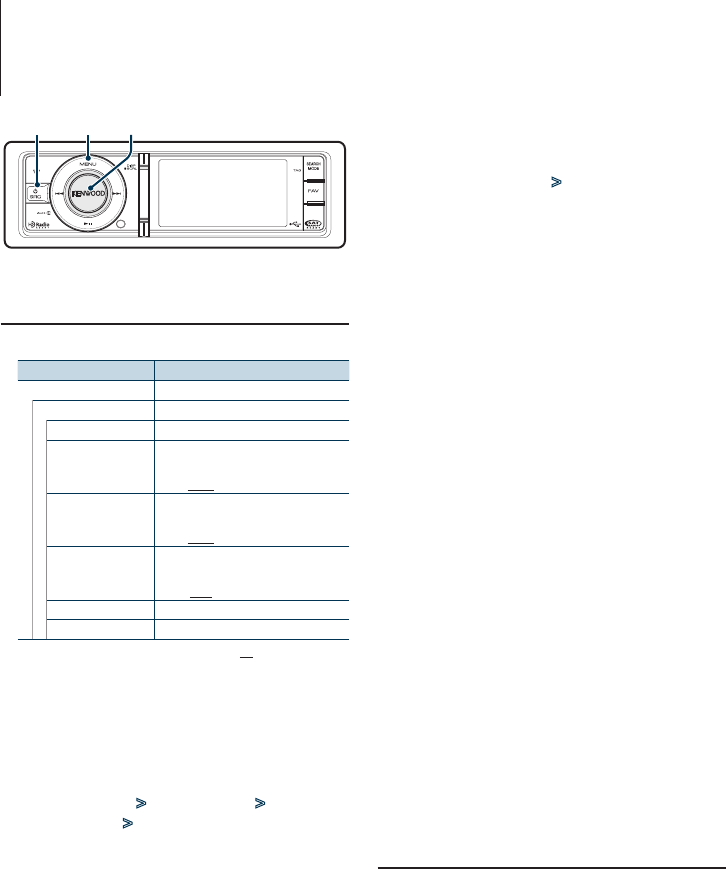
SRC MENU
Volume